Ombre nails have become one of the most popular nail trends in recent years, offering a subtle yet stylish way to enhance your nails. While long nails often get all the attention, short nails can look equally elegant with the right ombre design. This guide explores 10 natural ombre designs for short nails, including preparation, materials, and application techniques. Each design is described in detail to help you achieve professional results at home or in a salon.
Preparing Your Nails for Ombre Designs
Preparation is the cornerstone of a beautiful ombre manicure. Begin by removing any existing polish and cleaning your nails thoroughly with a gentle nail polish remover. This ensures that oils and residues do not interfere with the application. Next, shape your nails using a nail file, rounding the edges slightly to complement short nail lengths. Avoid sharp corners as they can create weak points that chip easily.
After filing, buff the nail surface lightly to remove ridges and create a smooth base for polish application. Apply a cuticle remover and gently push back the cuticles using a cuticle pusher. This step is crucial for short nails as it visually extends the nail bed, making the nails appear longer. Finally, wash your hands to remove any dust or residue and apply a base coat. The base coat protects your nails from staining, helps the polish adhere better, and prolongs the longevity of your ombre design.
Materials Needed for Natural Ombre Nails
Creating ombre nails requires a combination of essential materials and tools. You will need high-quality nail polish in two or more complementary colors. For natural ombre looks, soft pastels, nudes, and beige tones work best. A makeup sponge or nail gradient sponge is necessary for blending colors seamlessly. Nail polish remover and cotton swabs are essential for cleaning up edges and fixing mistakes.
Other tools include a base coat to protect the nails, a top coat to add shine and durability, and a small brush for detailing or cleanup. If using gel polishes, you will need a UV or LED lamp for curing. Nail buffer, nail file, and cuticle pusher are also important for nail preparation. Additionally, some people use a liquid latex or tape around the nail to protect the skin during sponging. Ensuring all your materials are within reach before starting helps the application process flow smoothly and reduces the risk of smudges or uneven blending.
Technique 1: Classic Nude Ombre
The classic nude ombre is perfect for a natural, elegant look on short nails. Start by applying a nude base coat that matches your skin tone. This creates a soft and neutral foundation. Once the base coat is dry, use a makeup sponge to blend a slightly lighter nude shade starting from the tip and fading towards the base. Gently dab the sponge until the transition looks seamless.
For short nails, it is important to avoid harsh lines, as they can make the nails appear even shorter. Layering the polish gradually ensures a smooth gradient. After achieving the desired blend, apply a top coat to smooth out the surface and add shine. The classic nude ombre complements any outfit and is suitable for work, casual, or formal settings. This style is subtle, sophisticated, and enhances the natural beauty of short nails without drawing excessive attention.
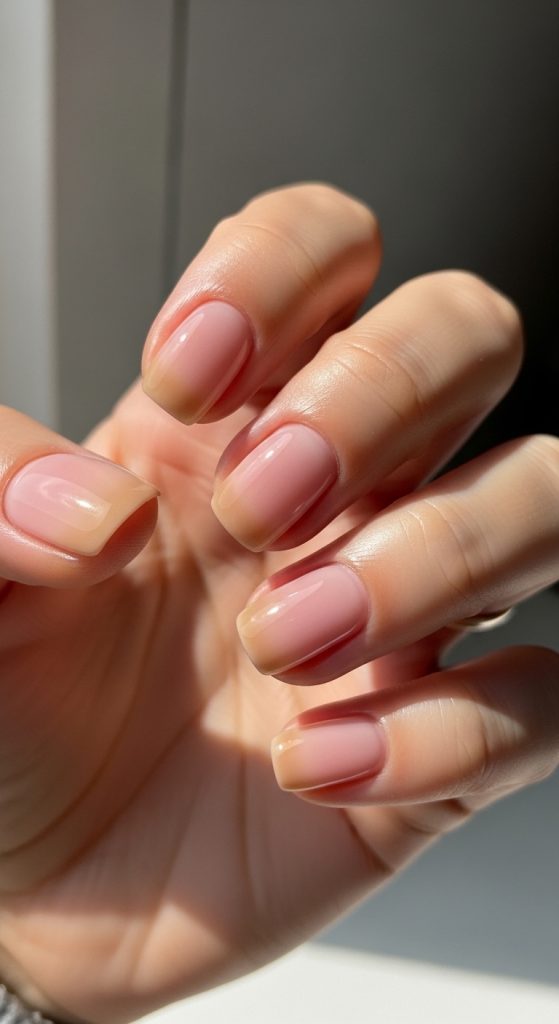
Technique 2: Pink and Beige Ombre
Pink and beige ombre nails combine warmth and softness, creating a youthful yet refined look. Begin with a beige base coat that matches your skin tone. Using a small makeup sponge, apply a soft pink polish starting at the tips and blending it downward into the beige base. Short nails benefit from careful blending, as it prevents the gradient from looking abrupt.
Repeat the sponging process in thin layers until the pink merges naturally with the beige. Use a top coat to blend the colors further and add a glossy finish. Pink and beige ombre designs are versatile and can be adapted for daily wear or special occasions. This combination also complements various skin tones, making it one of the most universally flattering ombre styles. It provides a gentle pop of color while maintaining a professional and polished appearance.
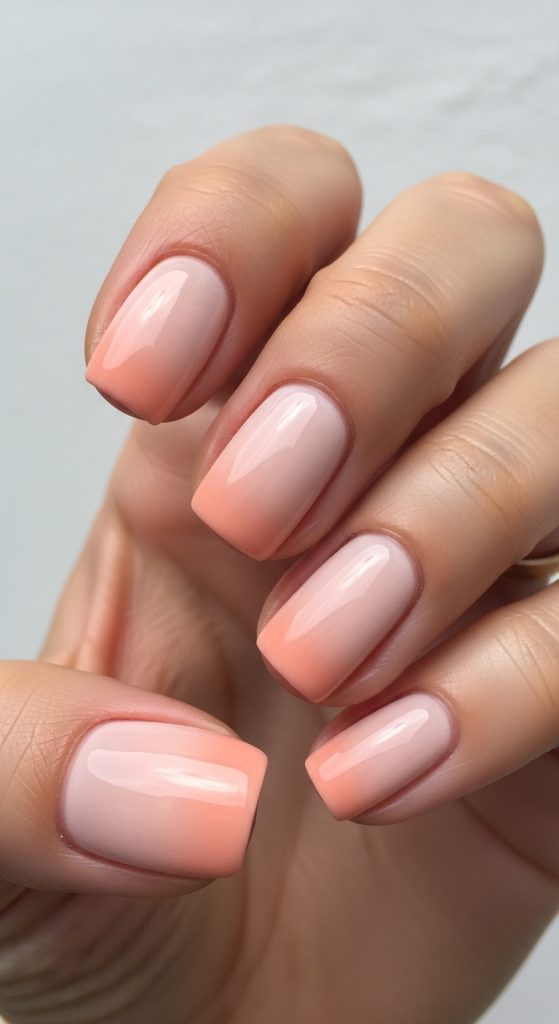
Technique 3: Peach Ombre
Peach ombre nails are perfect for spring and summer, offering a fresh and natural glow. Start with a light peach base and allow it to dry completely. On a makeup sponge, add a slightly darker peach shade at the tip of the nails and gently blend it towards the base. For short nails, applying thin layers is essential to maintain a smooth transition without overwhelming the nail surface.
This design works well with a glossy top coat, which enhances the ombre effect and makes nails appear longer. Peach ombre is ideal for casual or outdoor events, adding a warm and inviting touch to your hands. Additionally, the natural gradient effect complements minimal jewelry and soft pastel clothing, creating a cohesive and elegant aesthetic that enhances short nails gracefully.
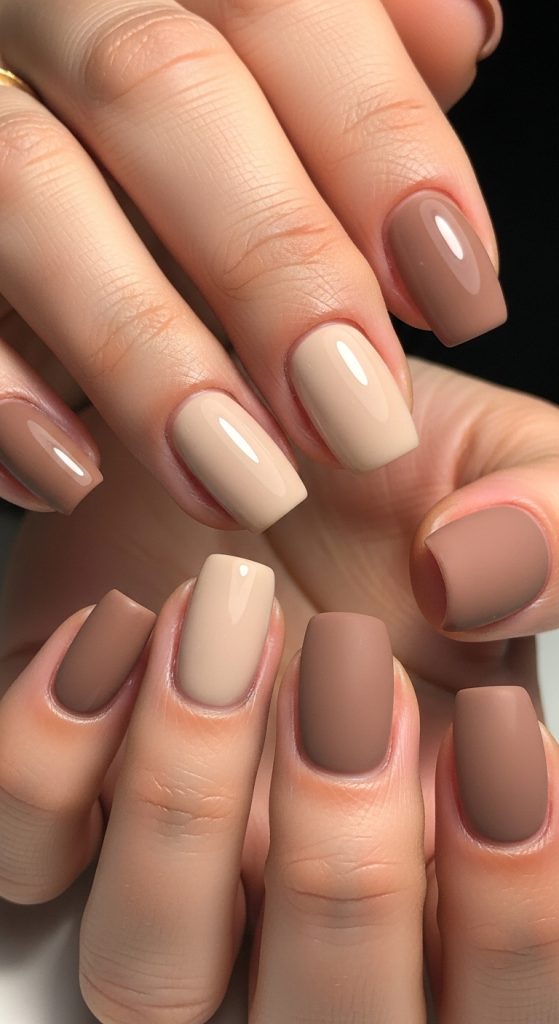
Technique 4: Light Brown Ombre
Light brown ombre is a chic and understated option for short nails. Begin with a light beige or taupe base coat. Apply a soft brown color to the tips using a sponge, blending it downward into the lighter base. The key is subtlety; avoid applying too much color at once, as short nails have limited surface area.
This design works well with matte or glossy finishes. For added elegance, a thin layer of clear top coat enhances the gradient and protects the polish from chipping. Light brown ombre nails are perfect for professional environments or minimalistic styles. The neutral tones elongate the fingers subtly and complement most outfits, making them a versatile choice for women seeking natural yet stylish nail art for short nails.
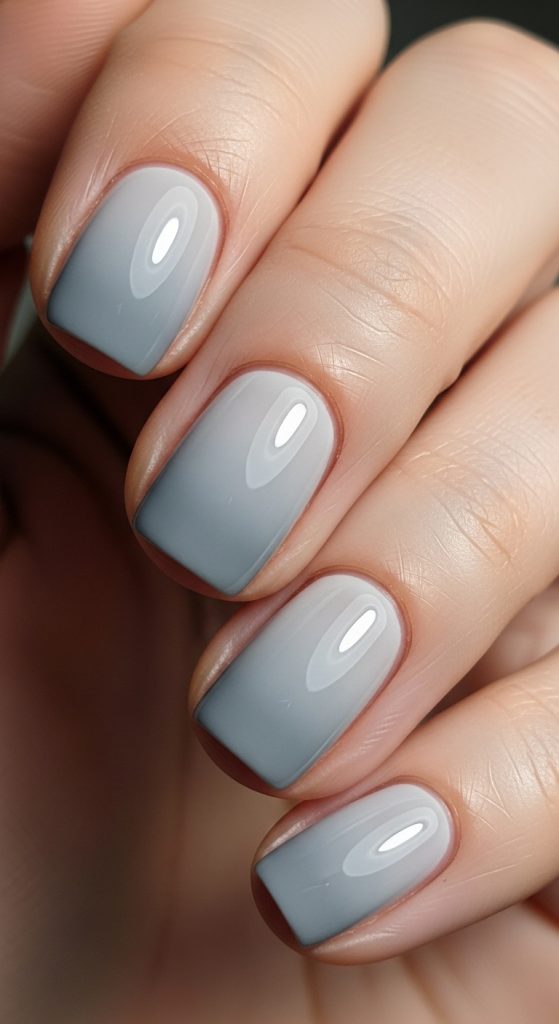
Technique 5: Soft Grey Ombre
Soft grey ombre nails offer a modern, minimalistic look that suits short nails perfectly. Start with a pale grey base coat. Using a sponge, apply a slightly darker grey on the tips and blend downward carefully. Layering the polish slowly ensures a smooth gradient without harsh lines.
This ombre style pairs beautifully with metallic or nude accessories, giving a contemporary and elegant vibe. A glossy top coat adds shine, while a matte top coat offers a chic, understated finish. Soft grey is versatile, working for both casual and formal occasions. Short nails with this ombre effect appear elongated, and the neutral palette enhances the hands’ natural beauty without overpowering them.
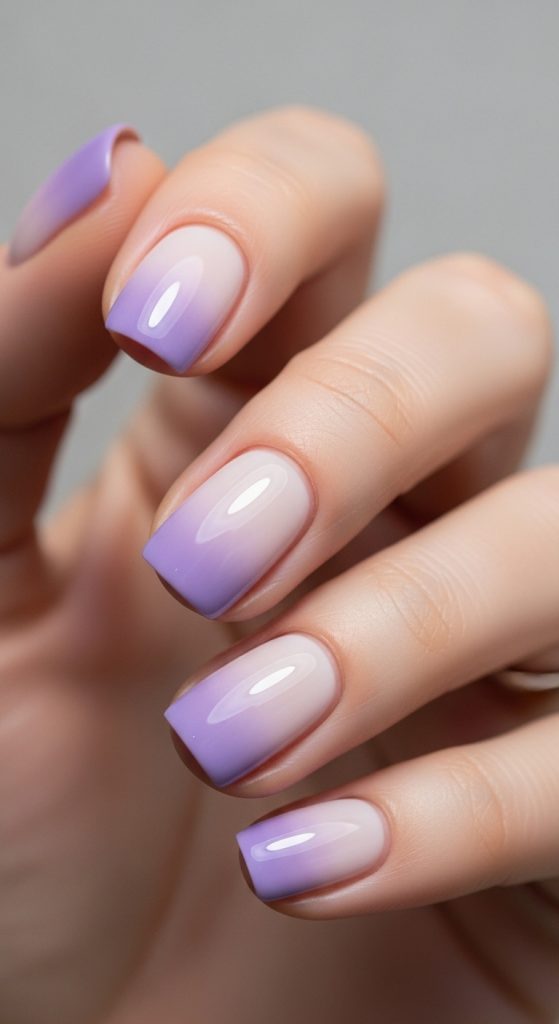
Technique 6: Lavender Ombre
Lavender ombre nails are soft, feminine, and ideal for short nails. Apply a light lavender base coat and allow it to dry completely. Using a sponge, blend a deeper lavender shade from the tips downwards. For short nails, gentle dabbing ensures the gradient remains seamless and proportionate to the nail length.
Lavender ombre works well with both matte and glossy finishes. This subtle pastel gradient adds a hint of color without appearing too bold. It pairs beautifully with spring and summer wardrobes and complements soft skin tones. Lavender ombre nails give a delicate and elegant appearance, making them perfect for everyday wear or special occasions.
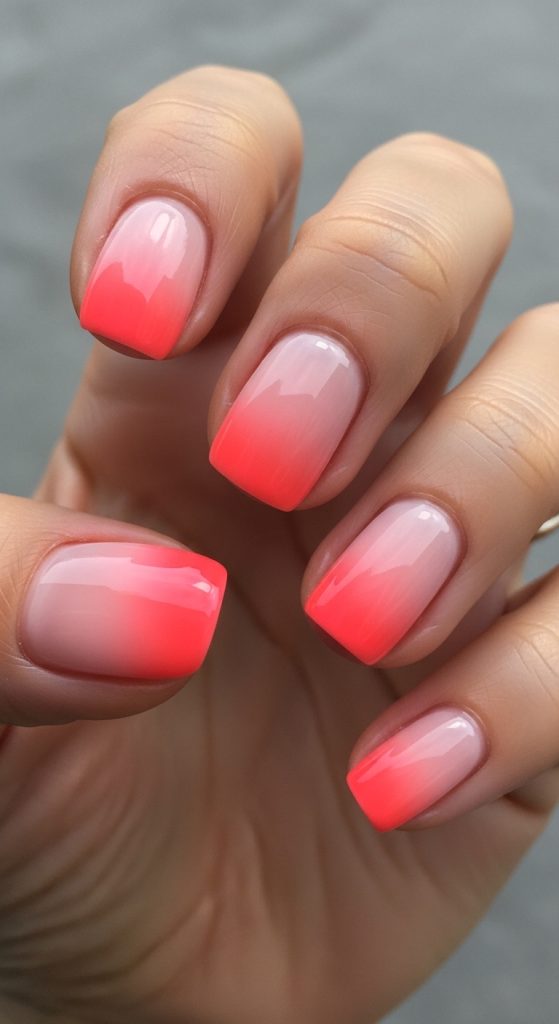
Technique 7: Coral Ombre
Coral ombre nails bring warmth and energy to short nails. Begin with a soft coral base coat. Using a sponge, blend a brighter coral or soft orange toward the tips. Short nails require careful layering to avoid a harsh contrast.
The coral gradient enhances a natural sun-kissed look and pairs beautifully with gold jewelry. A top coat smooths the surface and intensifies the color blend. Coral ombre is perfect for summer and casual settings, providing a fresh and lively aesthetic while keeping short nails chic and stylish.
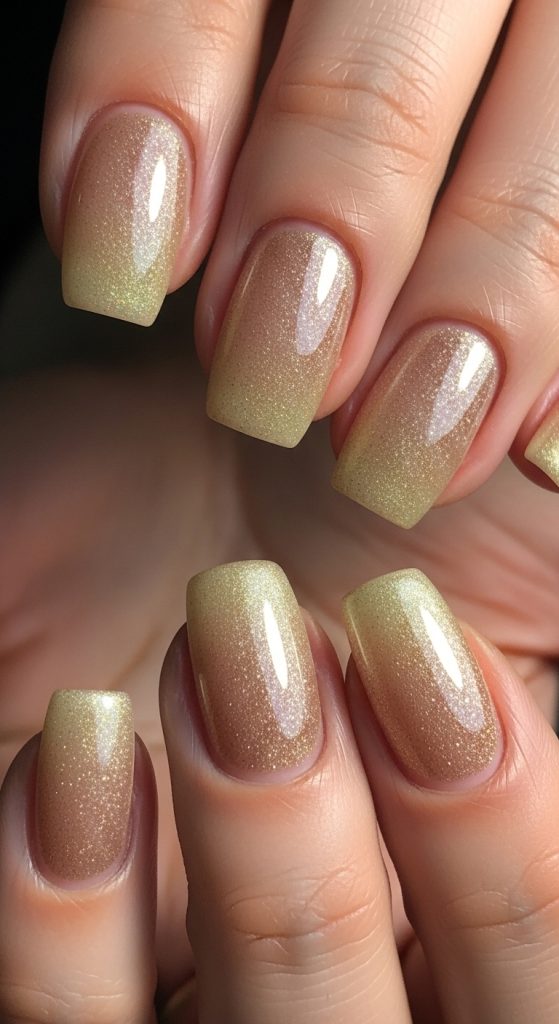
Technique 8: Champagne Ombre
Champagne ombre nails are glamorous yet subtle, perfect for short nails looking elegant. Apply a champagne base coat with a slight shimmer. Using a sponge, blend a light gold tone at the tips, fading toward the base. Gentle layering creates a luminous gradient effect.
This design is ideal for formal events or holiday seasons. Short nails appear longer due to the reflective shimmer and soft transition. A glossy top coat enhances the shine and longevity of the manicure. Champagne ombre nails balance sophistication and simplicity, making them suitable for various occasions while maintaining a natural and refined look.
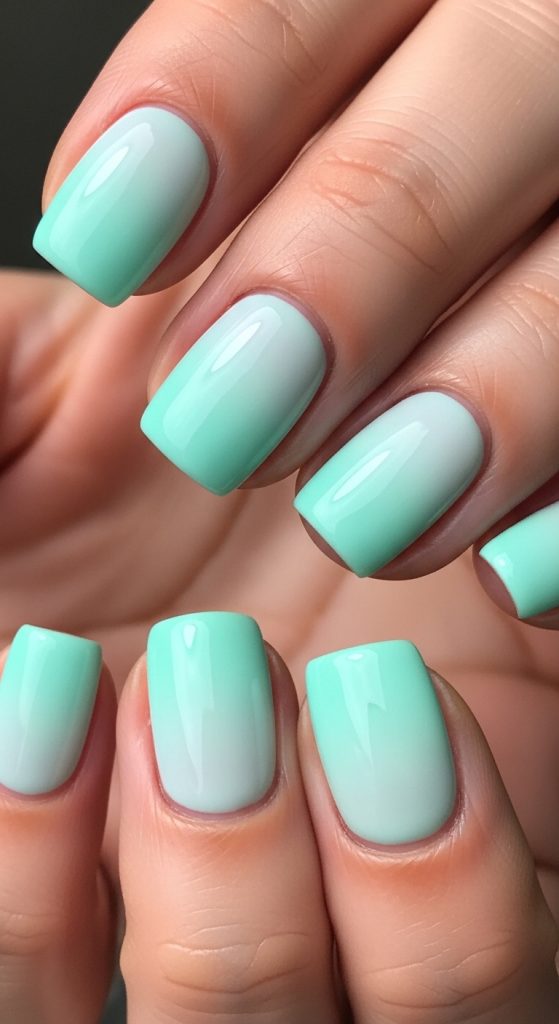
Technique 9: Mint Green Ombre
Mint green ombre nails offer a refreshing and modern aesthetic. Start with a pale mint base coat. Apply a slightly darker mint shade on the tips and blend downward using a sponge. For short nails, applying thin layers is key to achieving a smooth gradient.
Mint ombre works beautifully with silver or white accessories, creating a fresh and lively appearance. A glossy top coat enhances the color transition and adds shine. This natural pastel gradient is suitable for spring and summer, giving short nails a unique and stylish flair while maintaining subtlety.
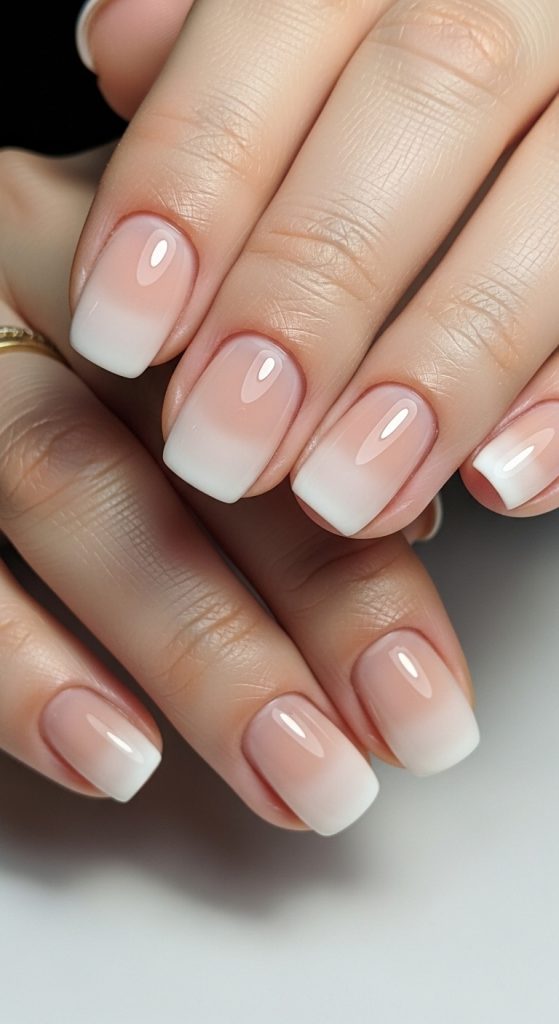
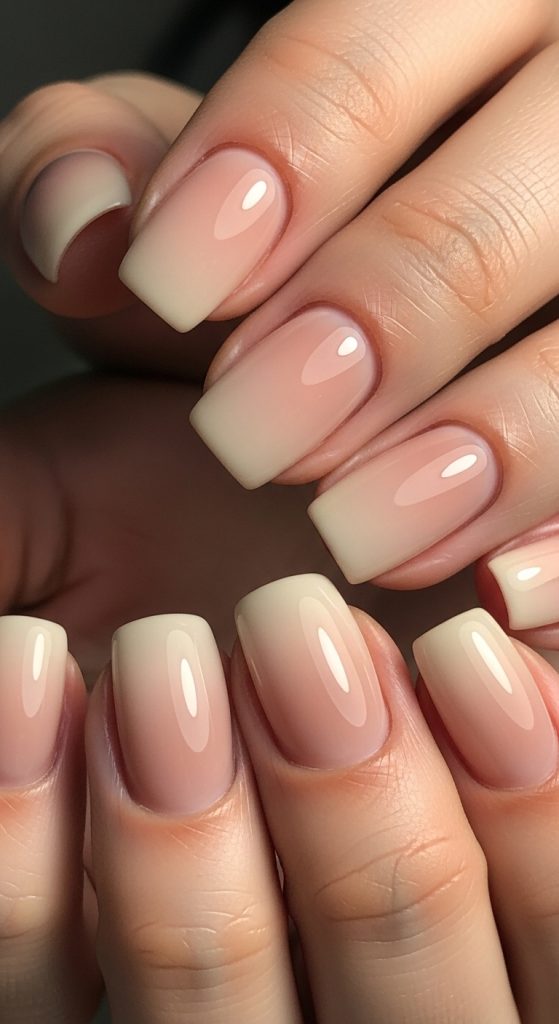
Technique 10: Beige and White Ombre
Beige and white ombre nails are the ultimate natural style for short nails. Apply a nude or beige base coat, then blend white polish from the tips downward. The gradient should be soft, enhancing the natural nail shape.
This classic combination elongates the fingers visually and complements any outfit. A glossy top coat smooths the gradient and adds durability. Beige and white ombre is versatile, timeless, and perfect for daily wear, weddings, or professional settings. Short nails look elegant and clean with this minimalist approach, making it a must-try for natural nail enthusiasts.