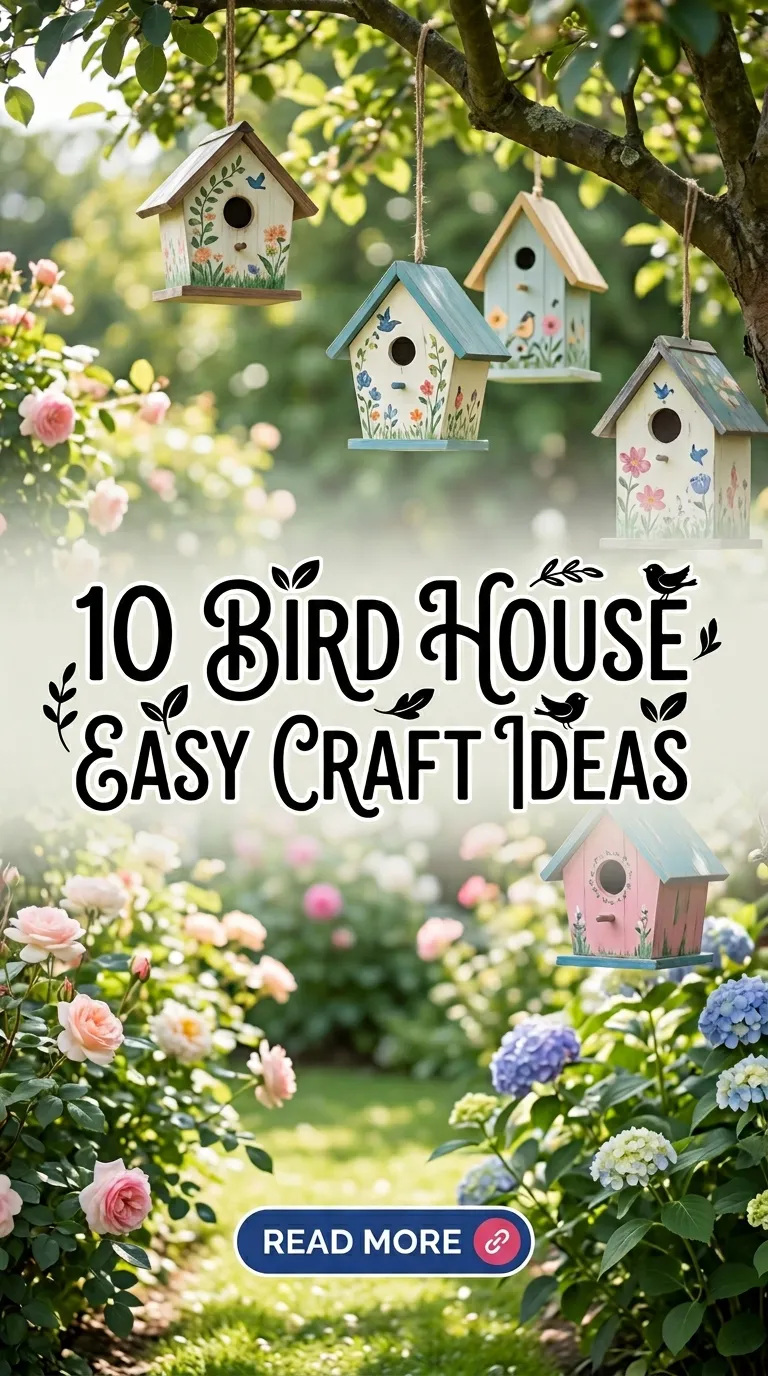

Bird house crafting has become a widely shared category within Pinterest ideas due to its blend of creativity, functionality, and connection to nature. A bird house is not only a decorative piece but also a practical addition to outdoor spaces, supporting local bird populations while enhancing visual appeal. This article explores ten easy and beginner friendly bird house DIY projects that focus on simple materials, clear methods, and aesthetic outcomes. Each idea is designed to be accessible, even for those with limited crafting experience, while still producing results suitable for modern home decor and garden styling. Readers will learn how to plan, construct, and personalize bird houses using straightforward step by step techniques. The goal is to provide inspiration that translates directly into action, allowing each project to be completed efficiently and with confidence. Whether the intention is to decorate a balcony, organize a garden corner, or introduce handmade elements into outdoor decoration, these ideas offer practical and creative solutions.
Why This Idea Is Trending or Useful
Bird house crafts are trending because they combine sustainability, decoration, and DIY accessibility in a single project. Many Pinterest users are searching for creative ideas that improve outdoor environments without requiring advanced tools or expensive materials. Bird houses meet this demand by offering a balance between functionality and aesthetic design. They are particularly appealing because they support wildlife while also acting as customizable home decor pieces. The simplicity of construction makes them ideal for beginners, while the variety of styles allows for personalization in color, shape, and structure. Another reason for their popularity is their adaptability to different spaces, including small balconies, gardens, patios, and even indoor decorative setups. These projects also align with the growing interest in handmade items and minimalist style, where natural materials and simple forms are preferred. As a result, bird house DIY tutorials continue to gain attention as practical, budget friendly, and visually appealing projects.
Materials and Preparation
Before starting any bird house project, proper preparation ensures efficiency and better results. Common materials include wood pieces, cardboard, clay, recycled containers, glue, nails, paint, and protective coatings. Tools such as scissors, small saws, brushes, measuring tape, and sandpaper are typically required depending on the chosen design. It is important to select materials that are safe for birds, avoiding toxic paints or unstable structures. Planning begins with choosing the bird house type, size, and placement location. Measurements should be determined in advance to ensure the structure is proportional and functional. Ventilation holes and entry size must also be considered to make the bird house practical. Preparing a clean workspace helps maintain organization and reduces errors during construction. Beginners should start with simple designs and gradually explore more complex styles. Gathering all materials beforehand prevents interruptions and allows for a smooth workflow. Careful preparation supports both the durability and aesthetic quality of the final handmade project.
Idea 1: Classic Wooden Bird House
How to Create
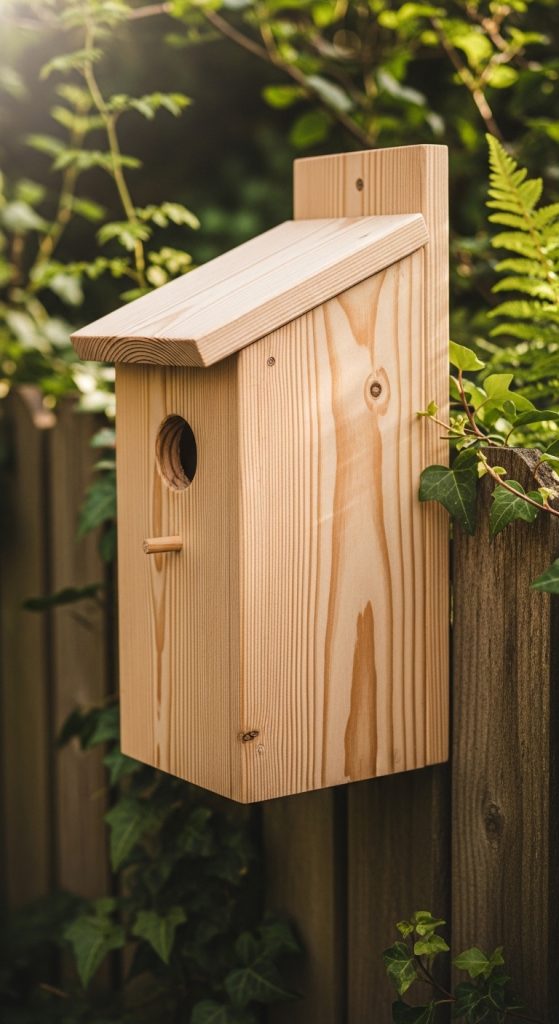
A classic wooden bird house is one of the most reliable and beginner friendly designs. It follows a simple box structure with a slanted roof, making it both functional and visually balanced. This style fits well into modern design themes as well as rustic garden decor. The use of natural wood provides durability and blends easily with outdoor environments. This idea is widely used in Pinterest inspiration boards because it offers a clean and minimalist style while remaining highly customizable. The structure includes a base, four walls, a roof, and a circular entry hole positioned above the center. Ventilation and drainage holes can also be incorporated to improve usability for birds. The simplicity of this design allows beginners to focus on accurate measurements and proper assembly without dealing with complex shapes or techniques.
To create this bird house, start by cutting wooden panels according to the desired dimensions. Sand all edges to prevent rough surfaces. Assemble the walls using nails or strong adhesive, ensuring that each joint is aligned properly. Attach the base securely, followed by the slanted roof panels to allow rainwater runoff. Drill a circular entrance hole on the front panel and add small ventilation openings near the top. Once the structure is complete, apply a non-toxic protective coating or paint for durability. Allow the bird house to dry completely before placing it outdoors. This step by step method ensures a stable and functional result that can last through various weather conditions.
Idea 2: Recycled Bottle Bird House
Step-by-Step Guide
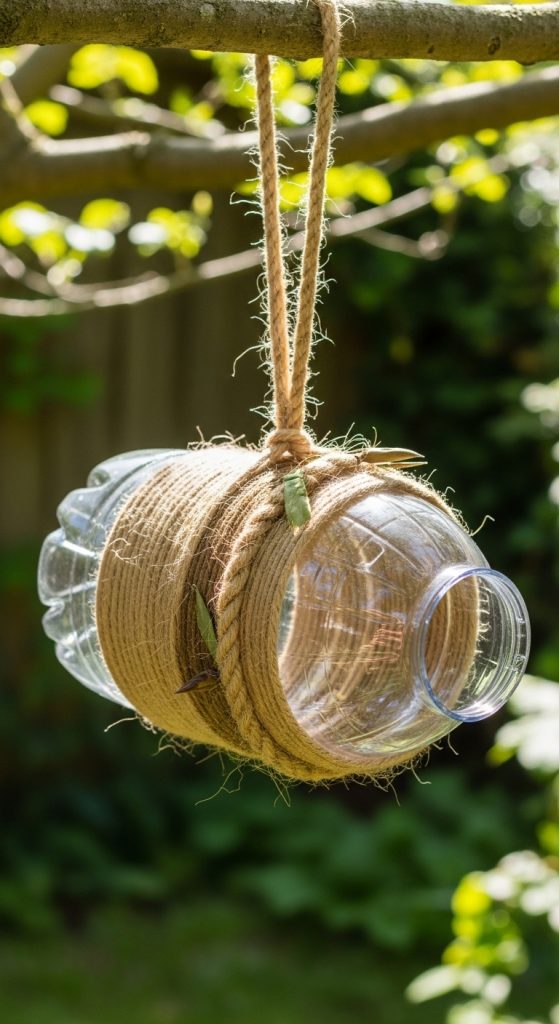
A recycled bottle bird house transforms everyday waste into a practical and creative project. This idea supports sustainability while offering an easy project that requires minimal tools. Plastic bottles are lightweight, easy to cut, and suitable for beginners who want a quick DIY solution. The transparency or color of the bottle can also add a unique aesthetic to the final design. This approach is commonly featured in Pinterest ideas because it combines environmental awareness with functional decoration. The structure typically involves cutting an entry hole into the bottle and reinforcing it to ensure safety for birds. Additional elements such as small perches or decorative coverings can enhance both appearance and usability.
To construct this bird house, begin by cleaning and drying a plastic bottle thoroughly. Mark the position of the entrance hole and carefully cut it using a sharp tool. Smooth the edges with sandpaper or tape to prevent sharp surfaces. Create small drainage holes at the bottom and ventilation holes near the top. Attach a string or wire around the neck of the bottle for hanging. Optionally, cover the exterior with natural materials like twine or fabric to improve insulation and visual appeal. Ensure that all additions are securely fixed. Once complete, hang the bird house in a sheltered outdoor location. This simple method demonstrates how recycled materials can be used effectively for creative projects.
Idea 3: Cardboard Bird House
How to Make
A cardboard bird house is an accessible option for beginners who want to practice crafting techniques before working with stronger materials. Cardboard is easy to cut, shape, and assemble, making it ideal for learning basic construction skills. This design is often used for decorative purposes rather than long-term outdoor use, especially in protected areas. The lightweight nature of cardboard allows for flexibility in shape and size, enabling more creative ideas. This project is commonly included in DIY tutorials because it requires minimal investment and offers quick results. It also provides an opportunity to experiment with colors, patterns, and decorative elements.
To build a cardboard bird house, start by sketching the layout of each panel on thick cardboard sheets. Cut the pieces carefully and fold where necessary to create clean edges. Use strong glue to assemble the structure, holding each section in place until it sets. Reinforce the corners with additional strips of cardboard for stability. Cut an entry hole on the front panel and add small openings for airflow. Once assembled, paint or decorate the exterior using non-toxic materials. Allow sufficient drying time before use. Although cardboard is not weather-resistant, applying a protective layer can extend its lifespan. This project is suitable for indoor decoration or temporary outdoor display.

Idea 4: Clay Pot Bird House
Execution Process
A clay pot bird house offers a distinctive aesthetic that blends well with garden environments. Using a simple terracotta pot, this design creates a cozy shelter with minimal modification. The natural texture and color of clay provide a rustic look that aligns with many home decor styles. This idea is popular among Pinterest users because it repurposes existing items into functional decoration. The inverted pot design allows for easy setup while maintaining stability. Additional features such as a wooden base or decorative painting can enhance the final appearance.
To create this bird house, begin by selecting a medium-sized clay pot and cleaning it thoroughly. Turn the pot on its side or upside down, depending on the desired design. Attach a flat wooden piece to serve as a base or entrance platform. Secure the pot using strong adhesive or brackets to prevent movement. Add a small perch below the opening if needed. Paint the exterior using weather-resistant, bird-safe paint to match your garden theme. Allow the paint to dry completely before installation. Position the bird house in a shaded area to protect it from extreme temperatures. This method combines simplicity with a visually appealing result.

Idea 5: Milk Carton Bird House
How to Create
A milk carton bird house is a practical example of using household items for creative projects. The rectangular shape of the carton provides a ready-made structure that requires minimal adjustment. This idea is widely used in beginner friendly tutorials because it simplifies the construction process. The lightweight material makes it easy to hang, while the flat surfaces allow for detailed decoration. It is often featured in budget ideas collections due to its low cost and accessibility. The design includes cutting an entry hole and reinforcing the structure for stability.
To construct this bird house, start by cleaning and drying an empty milk carton. Mark and cut a circular or square entrance on one side. Reinforce the edges with tape to ensure safety. Add small holes at the bottom for drainage and near the top for ventilation. Cover the exterior with paint, paper, or fabric to improve durability and aesthetic appeal. Insert a string through the top for hanging. Ensure that all materials used are safe and securely attached. Once finished, place the bird house in a suitable outdoor location. This project demonstrates how simple materials can be transformed into functional decoration.

Idea 6: Hanging Coconut Shell Bird House
Step-by-Step Guide
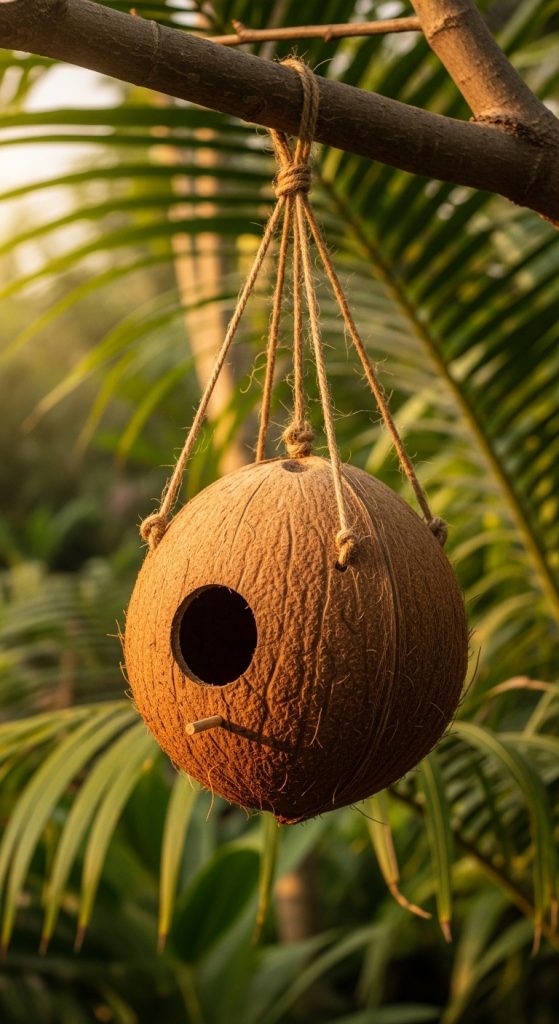
A coconut shell bird house offers a natural and organic design that blends seamlessly into outdoor environments. The hard shell provides durability, while its curved shape creates a comfortable enclosure for birds. This idea is frequently shared as inspiration for eco-friendly DIY projects. The natural texture and color require minimal decoration, making it suitable for minimalist style preferences. The structure is compact and easy to hang, making it ideal for small spaces such as balconies or patios.
To create this bird house, begin by cleaning a halved coconut shell and removing any remaining fibers. Smooth the edges to prevent sharp surfaces. Drill a small entry hole if needed and create additional holes for ventilation. Attach a strong rope or string through drilled holes at the top for hanging. Optionally, apply a protective coating to increase durability. Ensure that the structure is stable and securely tied. Hang the bird house in a shaded area with moderate exposure to sunlight. This method emphasizes simplicity while maintaining functionality and aesthetic value.
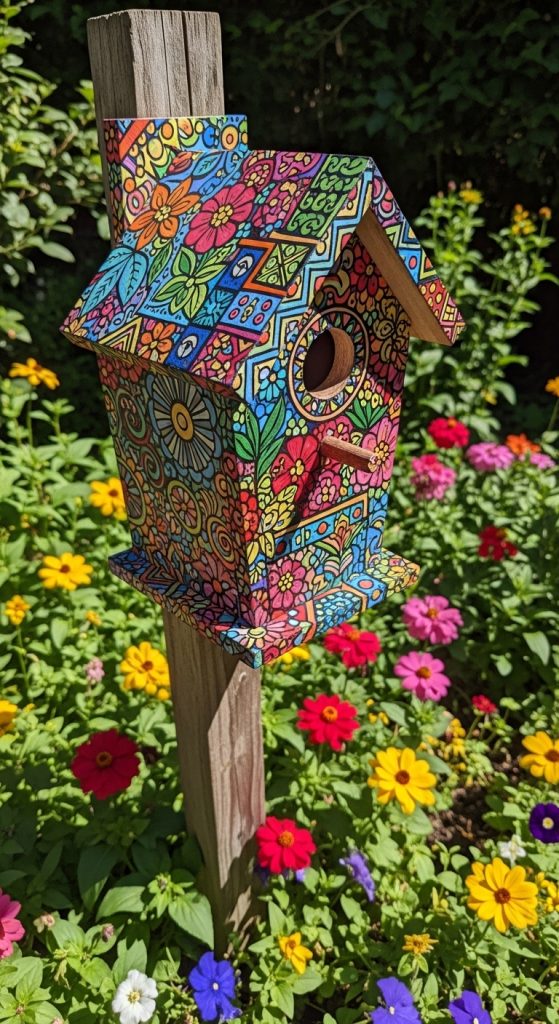
Idea 7: Painted Decorative Bird House
How to Make
A painted decorative bird house focuses on visual appeal while maintaining functionality. This idea allows for extensive customization, making it popular among those seeking creative expression. The base structure can be made from wood or other sturdy materials, while the exterior is enhanced through painting techniques. This approach aligns with Pinterest trends that emphasize aesthetic presentation and personalized decoration. Patterns, colors, and themes can be adapted to match existing home decor.
To create this bird house, start with a basic structure and ensure it is properly assembled. Apply a primer if necessary to prepare the surface for painting. Use non-toxic paints to add colors, patterns, or designs. Allow each layer to dry before applying additional details. Seal the surface with a protective coating to ensure durability. Once complete, place the bird house in a suitable outdoor location. This project demonstrates how simple structures can be transformed into visually striking pieces through careful decoration.
Idea 8: Log Style Bird House
Setup Method
A log style bird house uses natural wood pieces to create a rustic and durable structure. This design mimics natural nesting environments, making it both functional and visually appealing. The use of logs or thick branches provides insulation and strength, making it suitable for outdoor use. This idea is often included in creative projects that focus on natural materials and organic design. The structure typically involves hollowing out a section of wood to create an internal space.
To build this bird house, select a suitable log and carefully hollow out the center using appropriate tools. Smooth the interior to remove rough edges. Cut an entry hole on one side and add ventilation openings. Attach a wooden base and secure the top with a removable lid for cleaning. Sand the exterior lightly to maintain a natural finish. Optionally, apply a protective coating to extend durability. Place the bird house in a stable location, ensuring it is securely mounted. This method requires more effort but produces a long-lasting result.

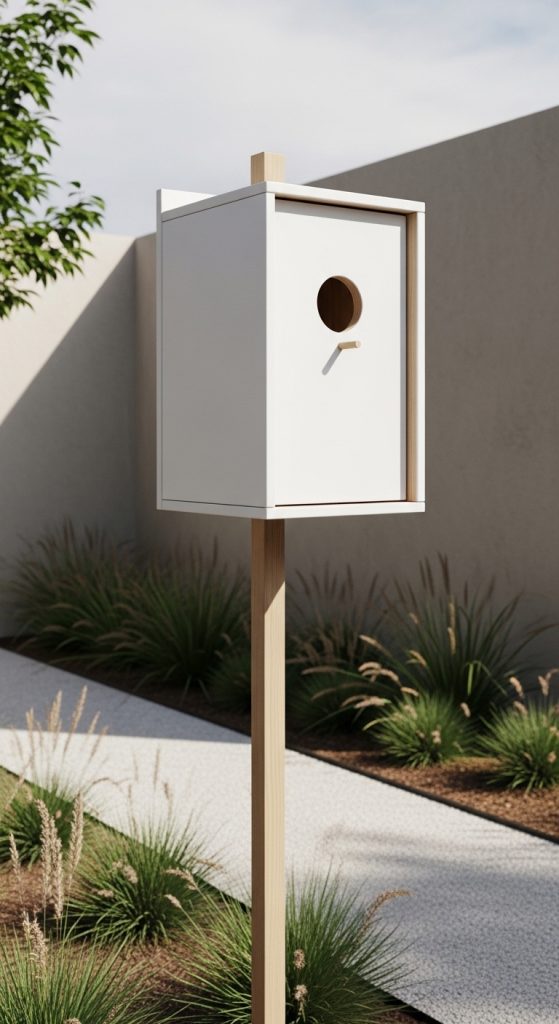
Idea 9: Minimalist Box Bird House
How to Create
A minimalist box bird house emphasizes clean lines and simple geometry. This design aligns with modern design principles and is suitable for contemporary outdoor spaces. The structure avoids unnecessary decoration, focusing instead on proportion and functionality. This idea is commonly featured in Pinterest inspiration boards for its simplicity and elegance. The design includes a basic rectangular shape with a single entry hole and a flat or slightly angled roof.
To create this bird house, measure and cut wooden panels with precise dimensions. Assemble the box using nails or adhesive, ensuring straight edges and tight joints. Drill an entry hole on the front panel and add small ventilation openings. Sand the surfaces to achieve a smooth finish. Apply a neutral-colored protective coating to maintain the minimalist aesthetic. Allow the structure to dry completely before placement. This step by step approach ensures a clean and modern result that fits various outdoor settings.
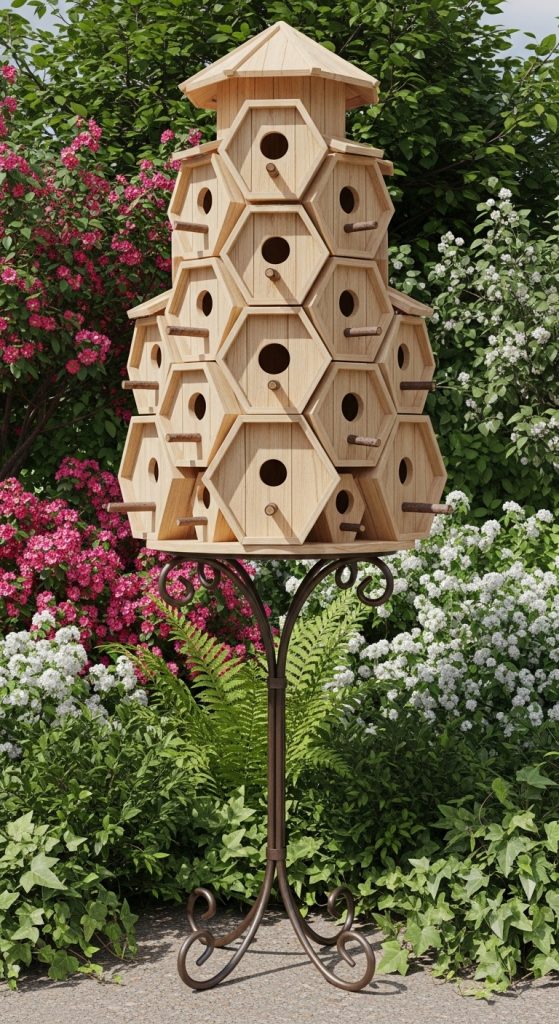
Idea 10: Multi-Level Bird House
Execution Process
A multi-level bird house introduces complexity by incorporating multiple compartments within a single structure. This design is suitable for those who want to expand beyond basic projects while still maintaining a manageable process. The structure can accommodate several birds, making it both functional and visually interesting. This idea is often highlighted in advanced DIY tutorials as a progression from simpler designs. The layout includes stacked or side-by-side sections, each with its own entry point.
To construct this bird house, begin by designing a layout that includes multiple compartments. Cut and assemble each section individually before combining them into a single structure. Ensure that each compartment has proper ventilation and drainage. Reinforce the joints to maintain stability. Add a roof that covers all sections, ensuring protection from weather. Apply a protective coating to enhance durability. Once complete, place the bird house in a suitable outdoor location. This project demonstrates how basic techniques can be expanded into more complex and functional designs.
Common Beginner Mistakes and How to Avoid Them
One common mistake in bird house DIY projects is using unsafe materials, such as toxic paints or weak adhesives. These can harm birds or reduce the durability of the structure. Another frequent issue is incorrect sizing, particularly the entrance hole, which may prevent birds from using the house. Poor ventilation and lack of drainage can also make the interior uncomfortable or unsafe. Beginners often overlook proper sanding, resulting in rough edges that can cause injury. Inaccurate measurements can lead to unstable structures that do not hold together properly. To avoid these problems, it is important to plan carefully, use bird-safe materials, and follow step by step construction methods. Testing the stability of the structure before placement ensures safety and functionality. Taking time to prepare and double-check each step significantly improves the outcome.
Practical Tips for Better Results
Achieving high-quality results in bird house projects requires attention to detail and consistent techniques. Using pre-measured templates helps maintain accuracy and reduces errors. Applying multiple thin layers of paint instead of one thick layer improves durability and appearance. Choosing the right location for placement is also essential, as it affects both visibility and usability. Regular maintenance, such as cleaning and checking for damage, extends the lifespan of the bird house. Using weather-resistant coatings protects the structure from environmental conditions. Keeping designs simple at the beginning allows for gradual improvement in skills. These practical tips support better outcomes and ensure that each project remains functional and visually appealing.
Styling, Presentation, or Organization Ideas
Presentation plays a key role in enhancing the visual impact of bird house projects. Arranging multiple bird houses at varying heights creates depth and interest in outdoor spaces. Coordinating colors with surrounding home decor elements ensures a cohesive look. Using natural materials such as wood and rope contributes to a consistent aesthetic. Organizing bird houses in clusters can create a focal point in gardens or patios. Adding subtle decorative elements, such as patterns or textures, enhances visual appeal without overwhelming the design. Proper spacing between bird houses ensures accessibility for birds while maintaining a clean arrangement. Thoughtful styling transforms simple projects into attractive decorative features.
Budget or Time Planning
Bird house projects can be completed efficiently with proper planning. Setting a clear budget helps in selecting appropriate materials without overspending. Many designs can be created using recycled or low-cost items, making them accessible for beginners. Breaking the project into manageable steps reduces time pressure and improves accuracy. Allocating time for drying and finishing processes ensures better results. Preparing all materials in advance prevents delays during construction. Starting with simple designs allows for quicker completion and builds confidence for more complex projects. Effective planning ensures that projects remain both affordable and manageable.
Creative Expansion and Advanced Inspiration
Once basic bird house projects are mastered, there are opportunities to explore more advanced variations. Combining different materials, such as wood and metal, can create unique designs. Experimenting with shapes and structures introduces new creative possibilities. Adding features such as removable panels or decorative elements enhances functionality and appearance. Integrating bird houses into larger garden designs creates cohesive outdoor themes. Exploring different painting techniques or textures adds depth to the final result. These advanced ideas provide continued inspiration and encourage skill development in DIY projects.