
Fabric cuff bracelets are stylish, soft, and beginner-friendly DIY accessories that girls can make at home. They’re comfortable to wear, easy to customize, and perfect for matching outfits, gifting to friends, or creating themed party favors. Unlike metal bangles, fabric cuffs are lightweight and safe, making them ideal for kids, teens, and even beginners exploring crafts.
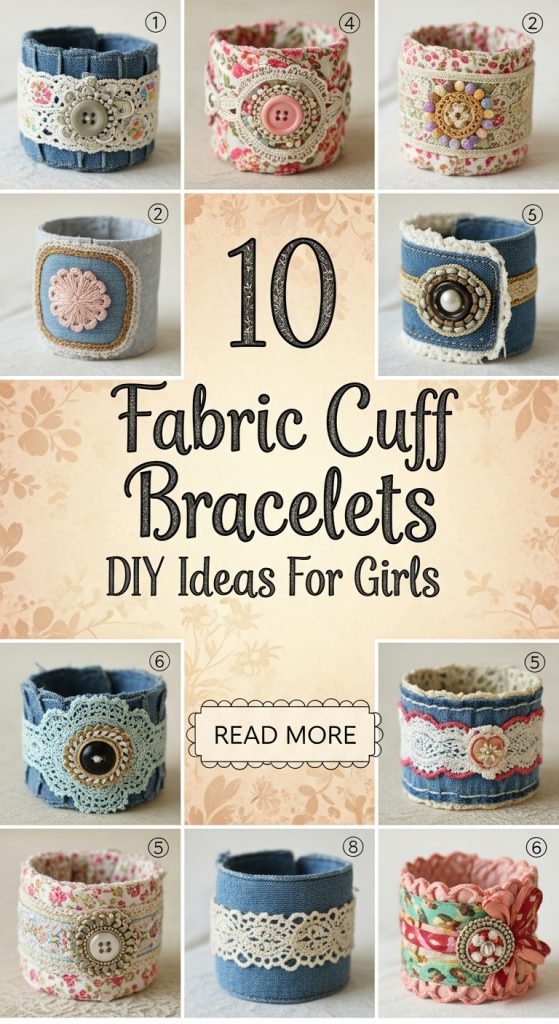
The best part about fabric cuff bracelets is their flexibility. You can use cotton, denim, lace, felt, velvet, or even recycled fabric scraps. Add beads, buttons, embroidery, patches, ribbons, or glitter accents to personalize each design. With basic craft supplies like fabric glue, scissors, and Velcro or snap buttons, you can create beautiful handmade accessories in under an hour.
Below are 10 creative, beginner-friendly DIY fabric cuff bracelet ideas that are fun, affordable, and Pinterest-worthy.
1. Floral Cotton Fabric Cuff
Introduction
A floral cotton fabric cuff bracelet is perfect for spring and summer outfits. Soft floral prints give a sweet and feminine look, making this bracelet ideal for casual wear or gifting. This design works especially well with pastel or bright cotton fabrics.
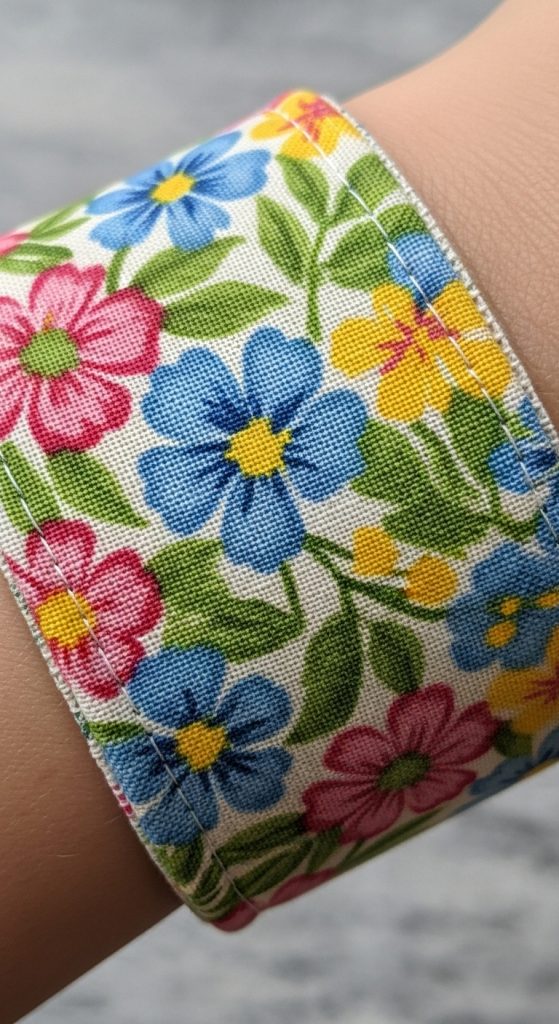
It’s simple to create and comfortable enough for daily use.
Definition / Explanation
A wide cuff bracelet made from floral-patterned cotton fabric with soft inner lining.
Step-by-Step DIY Guide
- Cut a rectangular strip of cotton fabric (about 2–3 inches wide).
- Cut matching felt or soft lining for the inside.
- Glue or sew the layers together.
- Fold and secure edges neatly.
- Attach Velcro or snap closure to both ends.
Materials Needed
- Floral cotton fabric
- Felt or lining fabric
- Fabric glue or needle and thread
- Velcro or snap buttons
- Scissors
2. Denim Patch Cuff Bracelet
Introduction
A denim cuff bracelet gives a trendy, casual look. It’s perfect for girls who love upcycled fashion. Adding patches, mini buttons, or embroidery makes it unique and stylish.

This is a great way to reuse old jeans.
Definition / Explanation
A cuff bracelet made from recycled denim decorated with patches or embellishments.
Step-by-Step DIY Guide
- Cut a strip from old denim jeans.
- Trim edges neatly.
- Decorate with small patches or embroidery.
- Attach closure using Velcro or snap.
- Secure all embellishments firmly.
Materials Needed
- Old denim fabric
- Decorative patches
- Needle and thread or fabric glue
- Closure fastener
3. Lace Overlay Fabric Cuff
Introduction
A lace overlay cuff creates a delicate, elegant look. It’s perfect for special occasions like birthdays or parties.
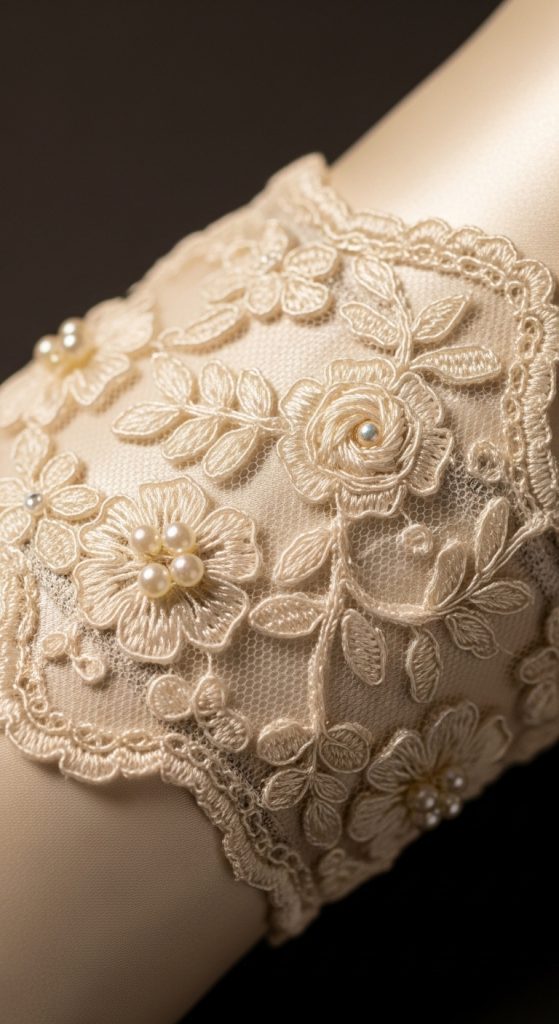
Soft pastel lace over neutral fabric gives a beautiful layered effect.
Definition / Explanation
A fabric cuff layered with lace fabric for added texture.
Step-by-Step DIY Guide
- Cut base fabric strip.
- Cut lace slightly smaller.
- Glue lace onto base.
- Secure edges.
- Add snap closure.
Materials Needed
- Base fabric
- Lace fabric
- Fabric glue
- Snap buttons
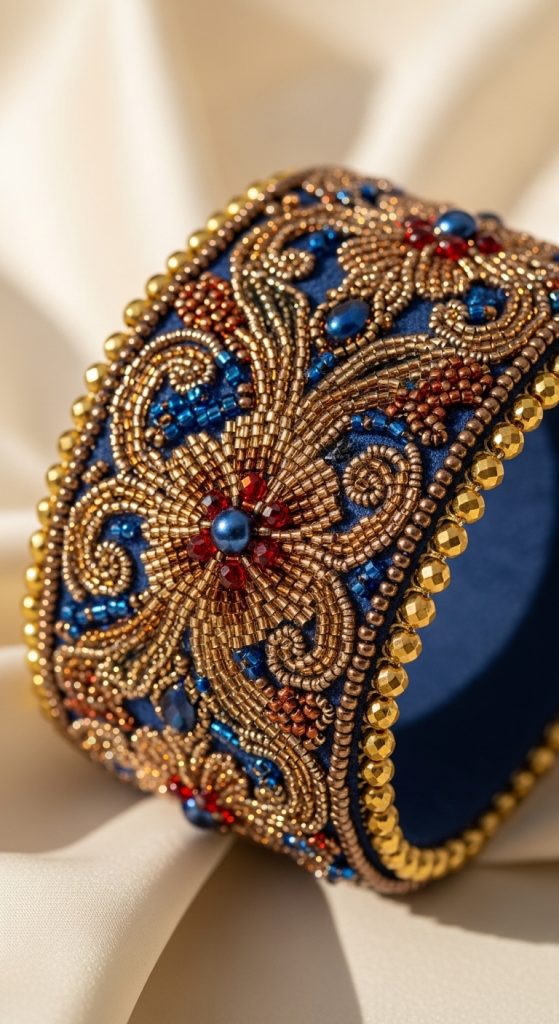
4. Beaded Fabric Cuff
Introduction
Adding beads to a fabric cuff creates sparkle and personality. Choose colorful beads or pearls depending on the style you want.
This bracelet looks fun and eye-catching.
Definition / Explanation
A fabric cuff decorated with stitched or glued beads.
Step-by-Step DIY Guide
- Create plain fabric cuff base.
- Plan bead pattern.
- Sew or glue beads securely.
- Allow glue to dry fully.
- Attach closure.
Materials Needed
- Fabric strip
- Beads
- Needle and thread
- Closure fastener
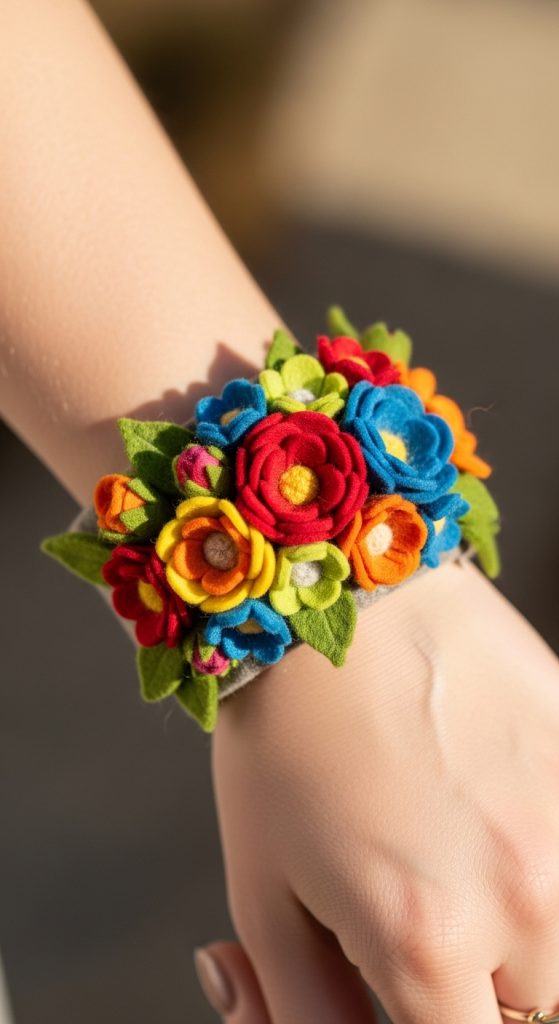
5. Felt Flower Cuff Bracelet
Introduction
Felt flowers add a playful 3D element to cuff bracelets. This design is soft, colorful, and perfect for younger girls.
You can mix different felt colors for variety.
Definition / Explanation
A cuff bracelet decorated with handmade felt flowers.
Step-by-Step DIY Guide
- Cut felt into flower shapes.
- Glue layers to create flower.
- Attach flower to cuff base.
- Secure edges.
- Add Velcro closure.
Materials Needed
- Felt sheets
- Scissors
- Fabric glue
- Velcro
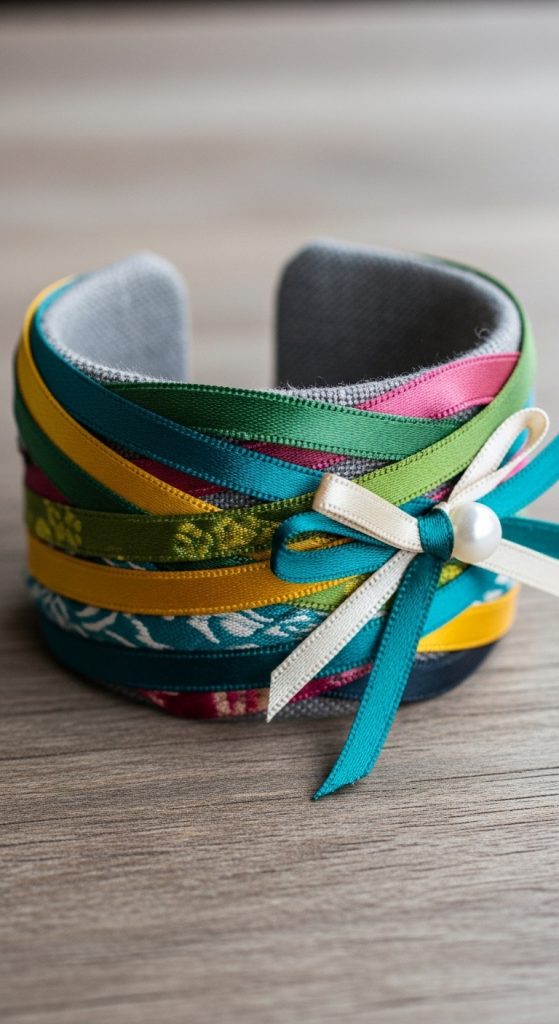
6. Ribbon-Wrapped Cuff
Introduction
Wrapping ribbon around a plain cuff base creates a smooth and polished look. This is great for matching specific outfits.
Definition / Explanation
A cuff bracelet covered entirely with decorative ribbon.
Step-by-Step DIY Guide
- Cut base strip from sturdy fabric.
- Wrap ribbon tightly around strip.
- Secure ends with glue.
- Attach snap or Velcro.
Materials Needed
- Sturdy fabric base
- Decorative ribbon
- Glue
- Closure fastener
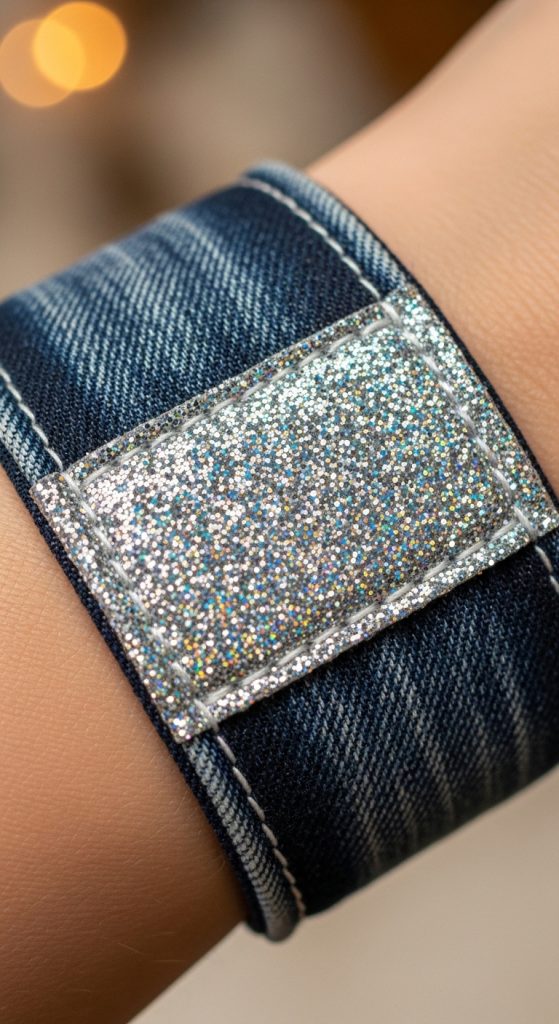
7. Glitter Accent Fabric Cuff
Introduction
For sparkle lovers, adding glitter accents makes the bracelet shine. Use fabric-safe glitter glue for best results.
Definition / Explanation
A fabric cuff decorated with glitter patterns.
Step-by-Step DIY Guide
- Create plain cuff.
- Draw simple design with glitter glue.
- Let dry completely.
- Attach closure.
Materials Needed
- Fabric
- Glitter glue
- Closure
8. Embroidered Name Cuff
Introduction
Personalized name cuffs are meaningful and great for gifting. Embroider initials or full names for a custom touch.
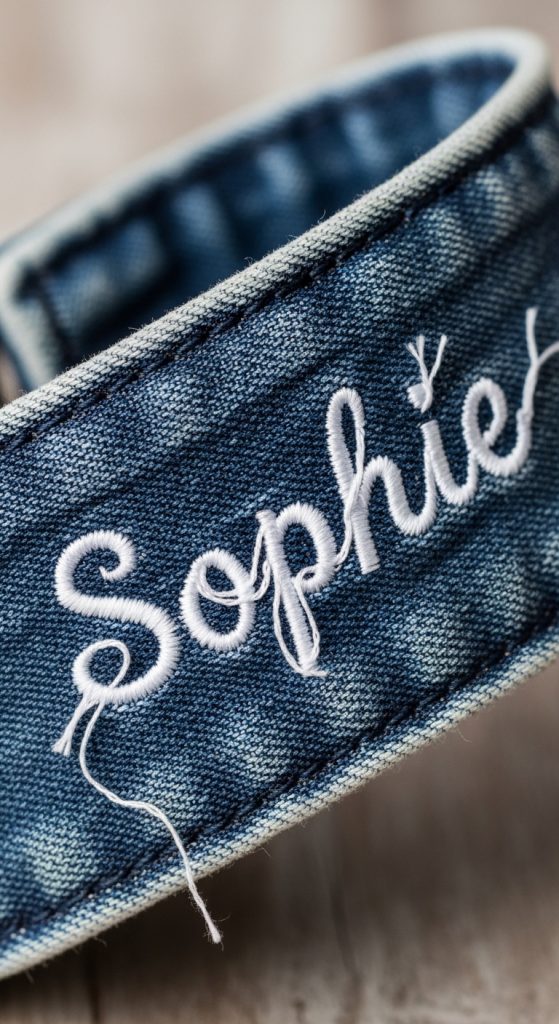
Definition / Explanation
A fabric cuff with stitched name or initials.
Step-by-Step DIY Guide
- Cut cuff base.
- Sketch name lightly.
- Stitch over letters carefully.
- Secure thread ends.
- Attach closure.
Materials Needed
- Fabric strip
- Embroidery thread
- Needle
- Closure
9. Bow Accent Fabric Cuff
Introduction
Adding a fabric bow creates a sweet and stylish bracelet perfect for parties.
Definition / Explanation
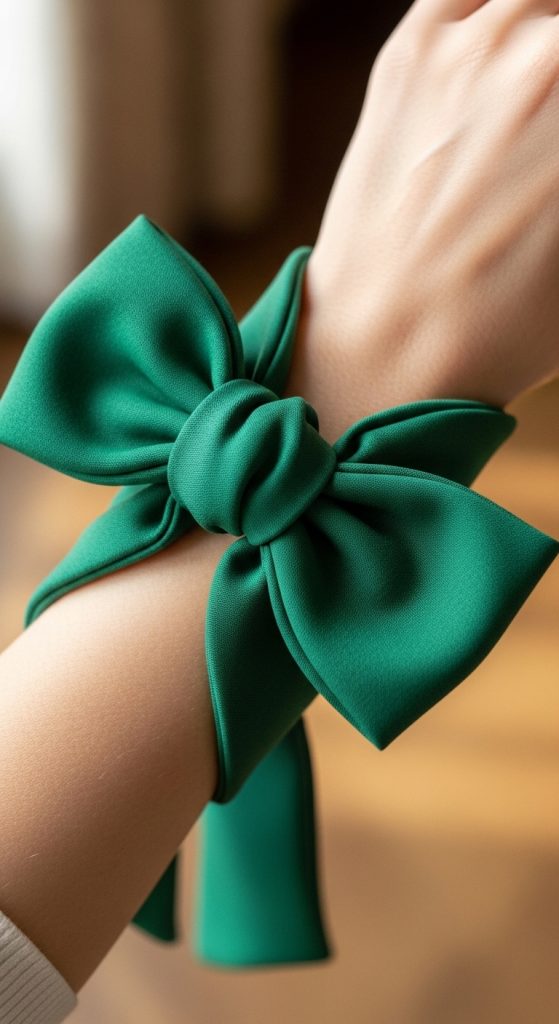
A cuff bracelet featuring a decorative fabric bow.
Step-by-Step DIY Guide
- Create base cuff.
- Make small fabric bow.
- Glue bow to center.
- Attach closure.
Materials Needed
- Fabric
- Glue
- Velcro or snap
10. Mixed Pattern Patchwork Cuff
Introduction
Patchwork cuffs combine multiple fabric prints for a colorful and creative look. It’s perfect for using leftover fabric scraps.
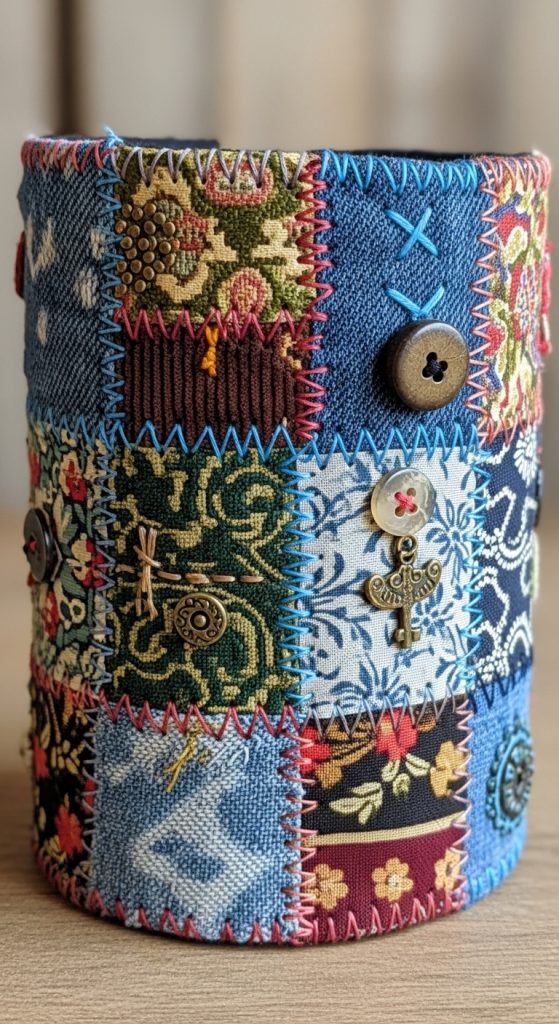
Definition / Explanation
A cuff bracelet made by stitching or gluing different fabric pieces together.
Step-by-Step DIY Guide
- Cut small fabric squares.
- Stitch or glue pieces into strip.
- Attach lining.
- Secure closure.
Materials Needed
- Fabric scraps
- Needle and thread or glue
- Lining fabric
- Closure