Throwing a beautiful party doesn’t require an expensive décor budget. With a little creativity and a trip to your local dollar store, you can create stunning, eye-catching centerpieces that look high-end but cost only a few dollars. Dollar store party centerpieces are perfect for birthdays, baby showers, bridal showers, graduation parties, holiday gatherings, and even weddings.
The key to making dollar store centerpieces look elevated is layering textures, coordinating colors, and using simple DIY techniques like spray painting, ribbon wrapping, and strategic arrangement. Glass vases, plastic bowls, foam blocks, artificial flowers, candles, and seasonal décor items can all be transformed into elegant table displays.
Below are 10 beginner-friendly DIY dollar store party centerpiece ideas that are affordable, practical, and Pinterest-worthy.
1. Floral Vase Centerpiece
Introduction
A floral vase centerpiece is one of the easiest and most versatile dollar store projects. With simple glass vases and artificial flowers, you can create a colorful or elegant display that matches your party theme. This works for birthdays, baby showers, bridal events, or even holiday gatherings.
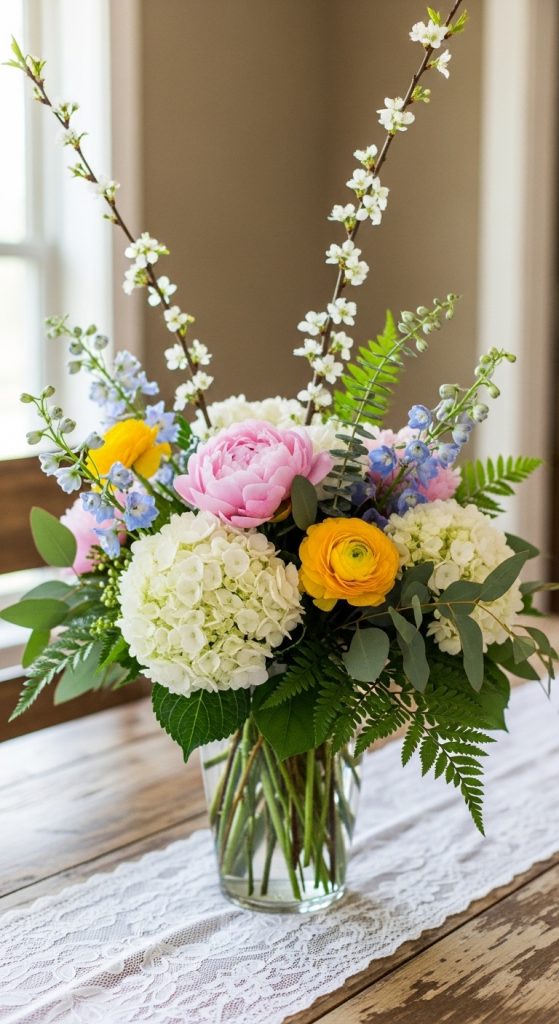
The secret is choosing flowers in a cohesive color palette and arranging them with varying heights for a fuller look.
Definition / Explanation
A simple glass vase filled with artificial flowers arranged to create height and balance.
Step-by-Step DIY Guide
- Purchase a clear glass vase from the dollar store.
- Select artificial flowers in your party colors.
- Trim stems to different heights.
- Arrange taller flowers in the center and shorter ones around.
- Add decorative ribbon around the vase for a polished finish.
Materials Needed
- Glass vase
- Artificial flowers
- Floral foam (optional)
- Ribbon
- Scissors
2. Mason Jar Candle Centerpiece
Introduction
Mason jars are budget-friendly and extremely versatile. A mason jar candle centerpiece adds warmth and charm to your party tables. You can customize it with colored sand, beads, or seasonal fillers.
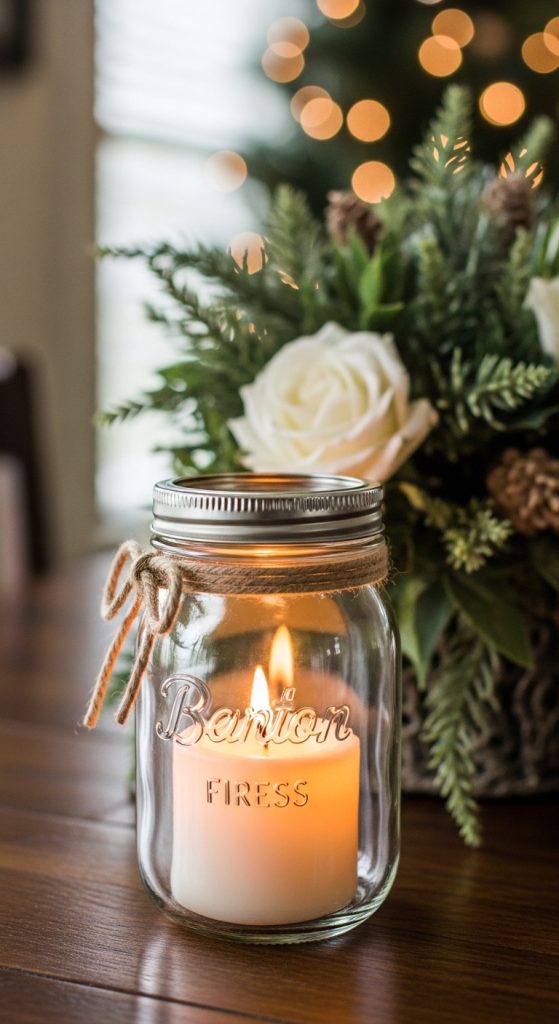
This works beautifully for rustic, farmhouse, or outdoor-themed parties.
Definition / Explanation
A decorated mason jar holding a candle as the focal point.
Step-by-Step DIY Guide
- Fill the bottom of the jar with sand or decorative stones.
- Place a small pillar or tea light candle inside.
- Wrap twine or ribbon around the jar neck.
- Add a small tag or charm for personalization.
Materials Needed
- Mason jar
- Tea light or pillar candle
- Decorative filler (sand, beads)
- Twine or ribbon
3. Balloon Bouquet Table Centerpiece
Introduction
Balloon bouquets aren’t just for floors or walls—they can also make beautiful table centerpieces. With mini balloon sticks and themed balloons, you can create a festive look that instantly elevates your party table.
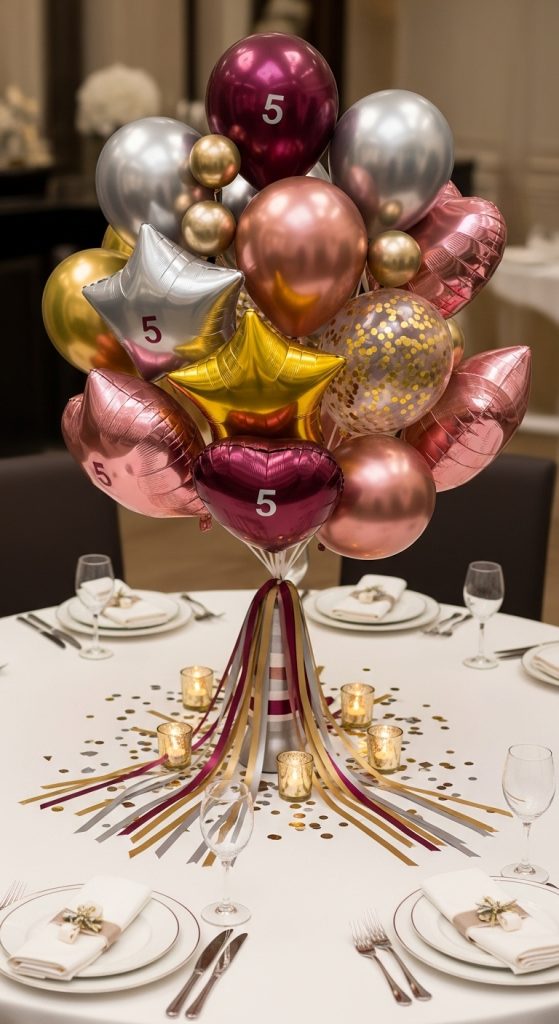
This idea is especially popular for birthdays and kids’ parties.
Definition / Explanation
A small balloon arrangement secured in a base for table décor.
Step-by-Step DIY Guide
- Inflate 3–5 balloons in coordinating colors.
- Attach balloons to sticks.
- Place sticks into a small weighted container.
- Cover base with tissue paper or shredded filler.
Materials Needed
- Balloons
- Balloon sticks
- Small container
- Decorative filler
4. Decorative Bowl with Floating Candles
Introduction
Floating candles in a decorative bowl create an elegant and calming centerpiece. This idea works beautifully for weddings, engagement parties, or dinner events.
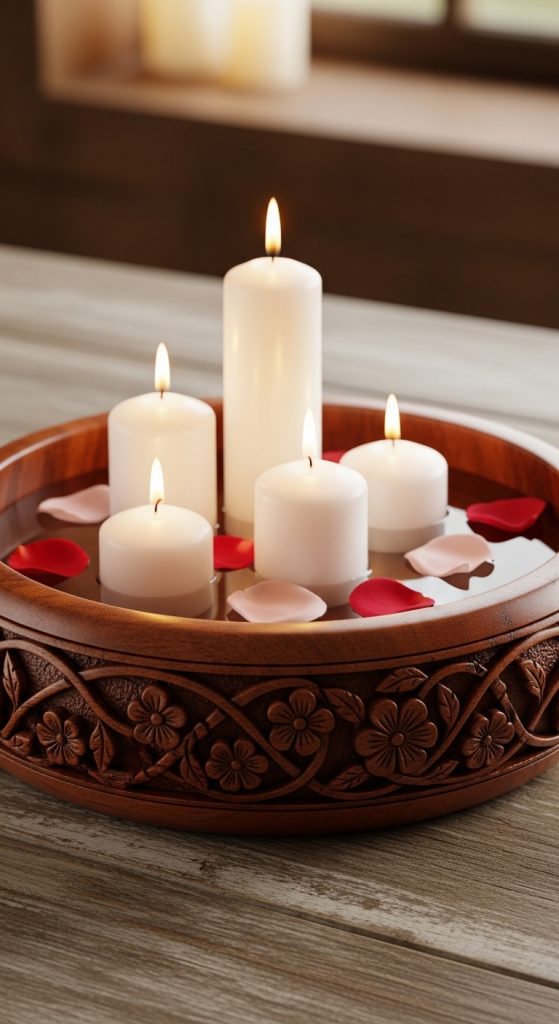
It’s simple yet sophisticated.
Definition / Explanation
A glass bowl filled with water and floating candles for soft ambiance.
Step-by-Step DIY Guide
- Fill clear bowl with water.
- Add floating candles.
- Drop in flower petals or faux greenery.
- Light candles before guests arrive.
Materials Needed
- Clear bowl
- Floating candles
- Faux petals or greenery
5. Tiered Tray Centerpiece
Introduction
A DIY tiered tray centerpiece creates height and dimension on your table. Using dollar store plates and candle holders, you can build your own display stand.
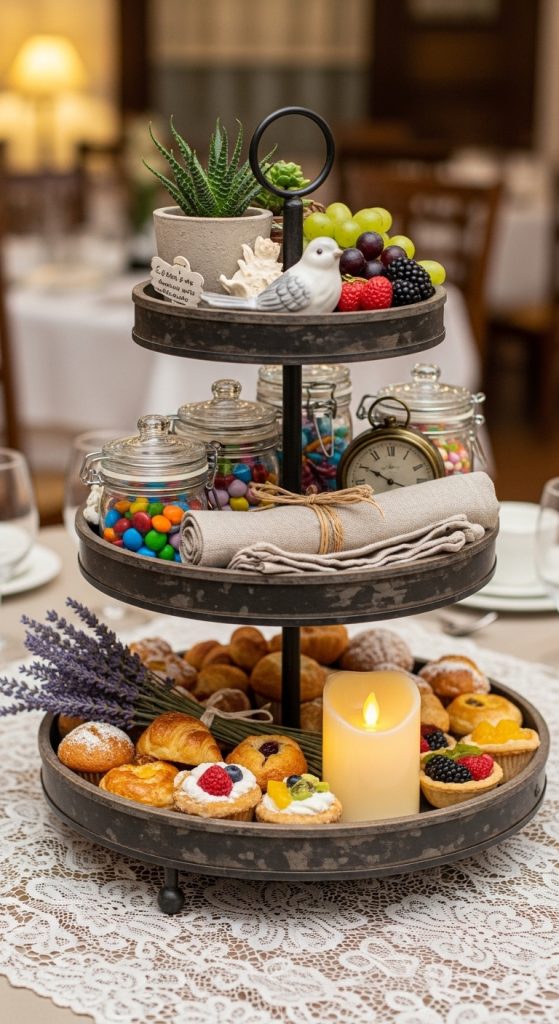
Perfect for dessert tables or themed parties.
Definition / Explanation
A stacked tray centerpiece created using glued plates and stands.
Step-by-Step DIY Guide
- Glue a candle holder upside down onto a plate.
- Attach a second plate on top.
- Let glue fully dry.
- Decorate tiers with flowers, cupcakes, or décor items.
Materials Needed
- Plates
- Candle holders
- Strong adhesive
- Decorative accents
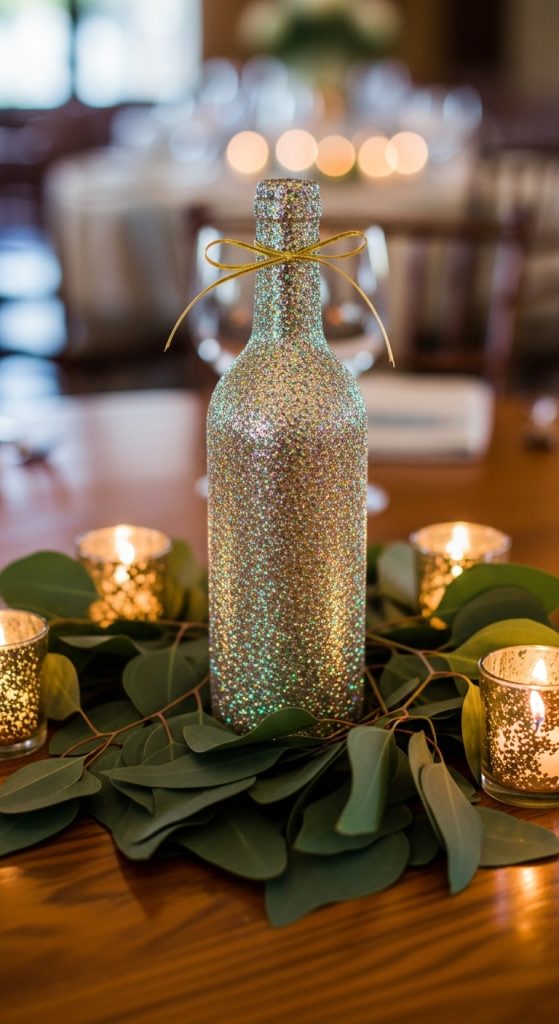
6. Glittered Wine Bottle Centerpiece
Introduction
Repurposing empty bottles and adding glitter creates a glamorous look. This centerpiece works well for adult birthday parties or New Year’s celebrations.
Definition / Explanation
A wine bottle decorated with glitter and used as a vase.
Step-by-Step DIY Guide
- Clean empty bottle.
- Apply glue to outside surface.
- Sprinkle glitter evenly.
- Let dry completely.
- Insert artificial flowers.
Materials Needed
- Empty bottle
- Glue
- Glitter
- Artificial flowers
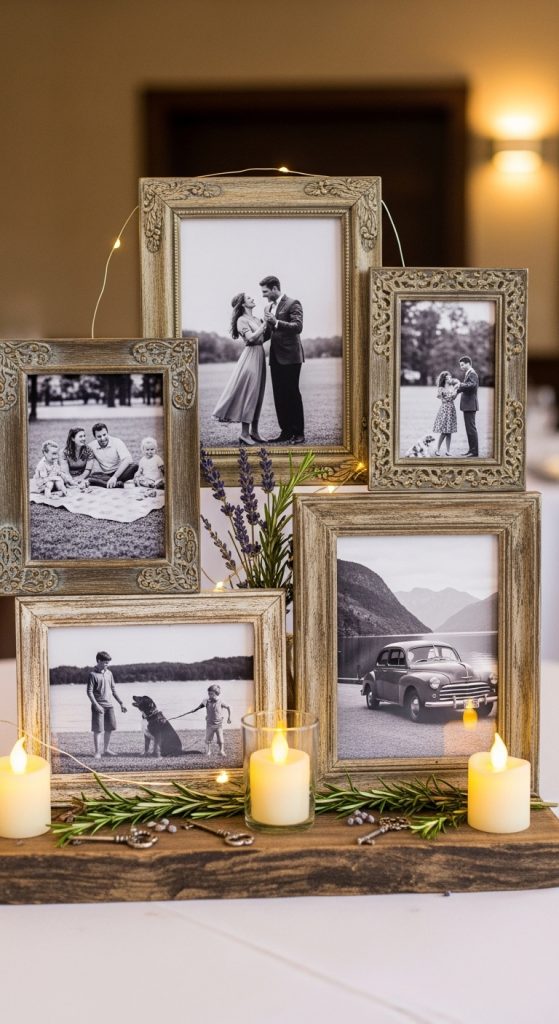
7. Photo Frame Memory Centerpiece
Introduction
Using photo frames as centerpieces adds a personal and meaningful touch. This idea works beautifully for anniversaries, graduations, and milestone birthdays.
Definition / Explanation
A framed photo placed in the center of the table as décor.
Step-by-Step DIY Guide
- Select meaningful photos.
- Insert into dollar store frames.
- Arrange frames back-to-back for 360° viewing.
- Add small decorative accents around base.
Materials Needed
- Picture frames
- Printed photos
- Small decorative accents
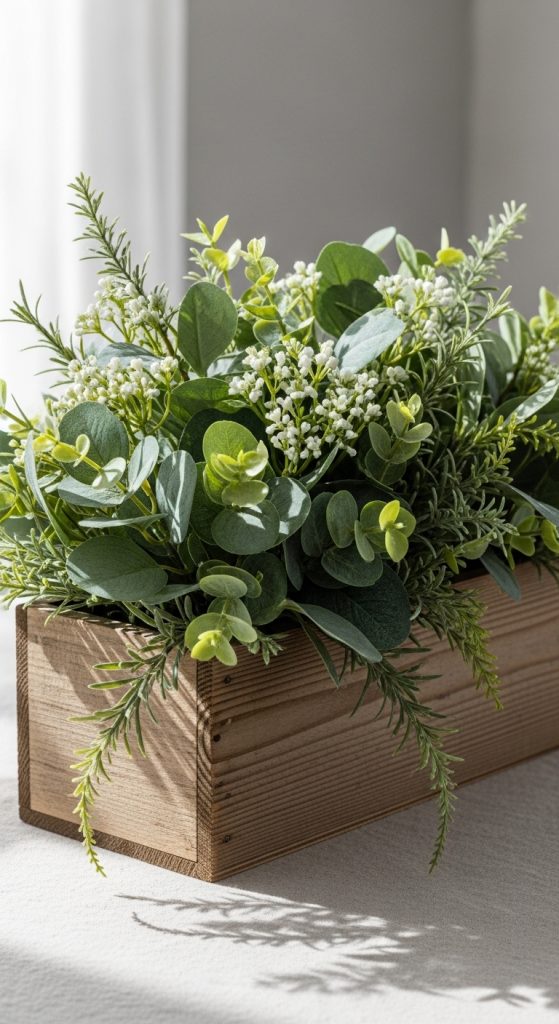
8. Faux Greenery Box Centerpiece
Introduction
Artificial greenery arranged in a small decorative box creates a fresh and natural look. This centerpiece works well for rustic or garden-themed parties.
Definition / Explanation
A box filled with faux greenery arranged as a table focal point.
Step-by-Step DIY Guide
- Place floral foam inside box.
- Insert greenery stems evenly.
- Add small flowers for contrast.
- Adjust for fullness.
Materials Needed
- Decorative box
- Floral foam
- Faux greenery
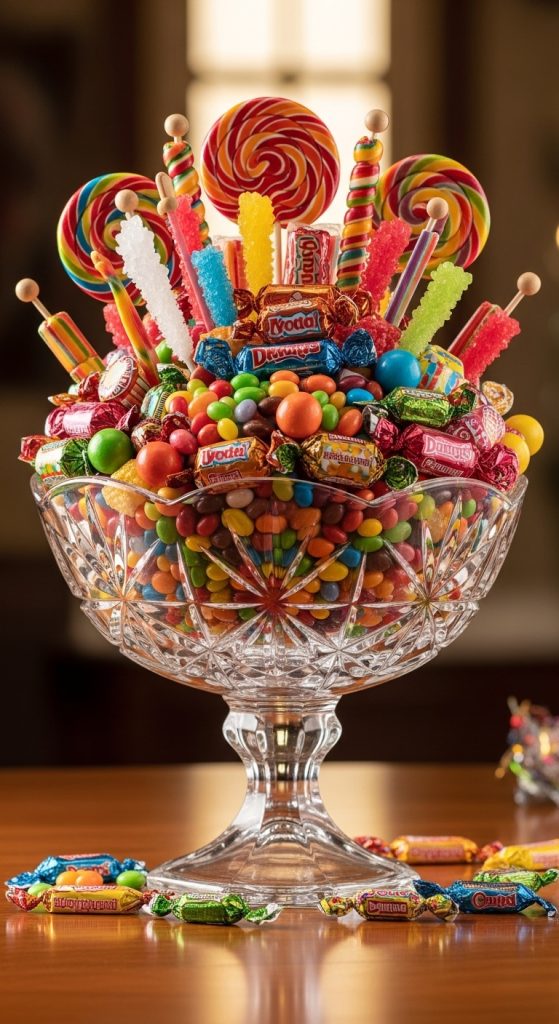
9. Candy-Filled Glass Centerpiece
Introduction
A candy-filled glass container doubles as décor and treats. It’s colorful and perfect for kids’ parties.
Definition / Explanation
A clear container filled with colorful candy.
Step-by-Step DIY Guide
- Choose a clear jar or bowl.
- Fill with themed candy colors.
- Add ribbon around base.
Materials Needed
- Clear container
- Candy
- Ribbon
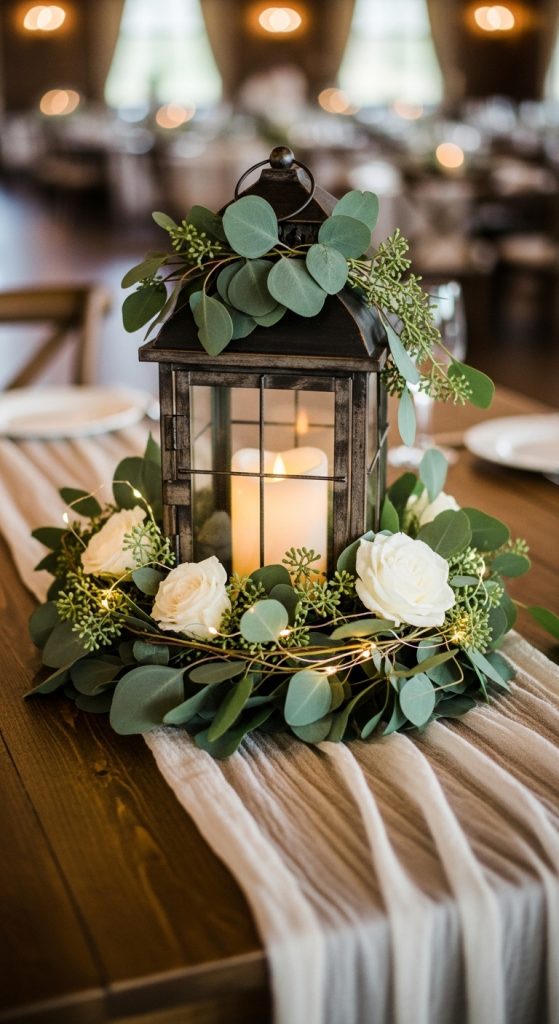
10. Lantern-Style Centerpiece
Introduction
Dollar store lanterns can instantly elevate your table décor. Add candles or fairy lights inside for a cozy glow.
Definition / Explanation
A decorative lantern used as a glowing table focal point.
Step-by-Step DIY Guide
- Place candle or LED light inside lantern.
- Add greenery around base.
- Position in center of table.
Materials Needed
- Decorative lantern
- LED candle
- Faux greenery