Almond nails are one of the most elegant and versatile nail shapes that have gained popularity among women of all ages. Their rounded, tapered tips resemble the shape of an almond, offering a perfect balance between sophistication and practicality. Unlike square or stiletto nails, almond nails are less prone to breakage due to their slightly rounded edges, making them ideal for daily wear. They provide a delicate, feminine look while offering a larger canvas for nail art and creative designs. Whether you prefer subtle, nude tones or bold, glittery patterns, almond nails can complement any style, occasion, or outfit.

Achieving the perfect almond nail requires attention to detail, patience, and the right materials. From proper preparation of your natural nails to selecting suitable polish or gel products, each step contributes to a long-lasting and polished look. In this blog post, we will explore ten elegant almond nail ideas and techniques, covering preparation, materials, and design tips. Each point is carefully crafted to provide practical guidance and inspiration, helping you achieve salon-quality results at home or with a professional.
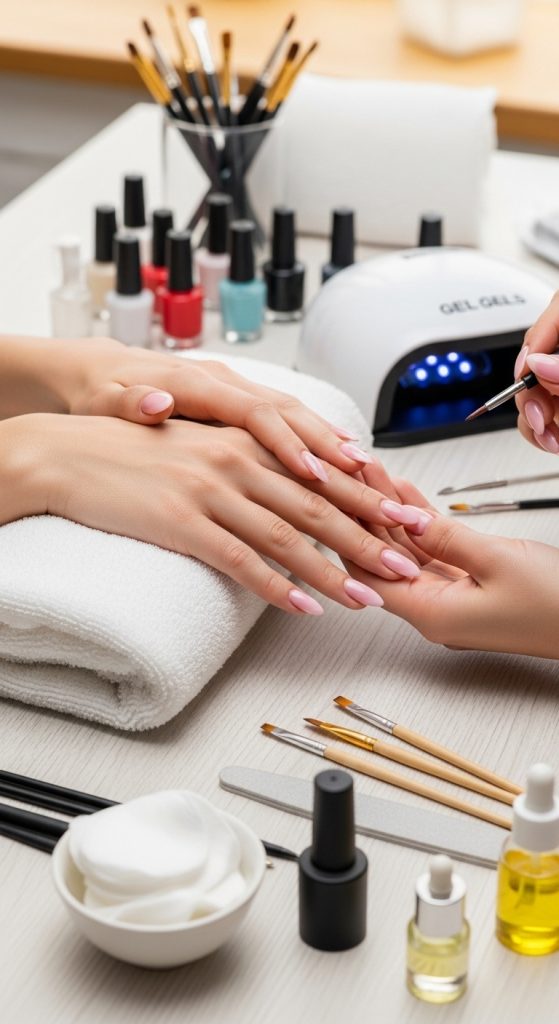
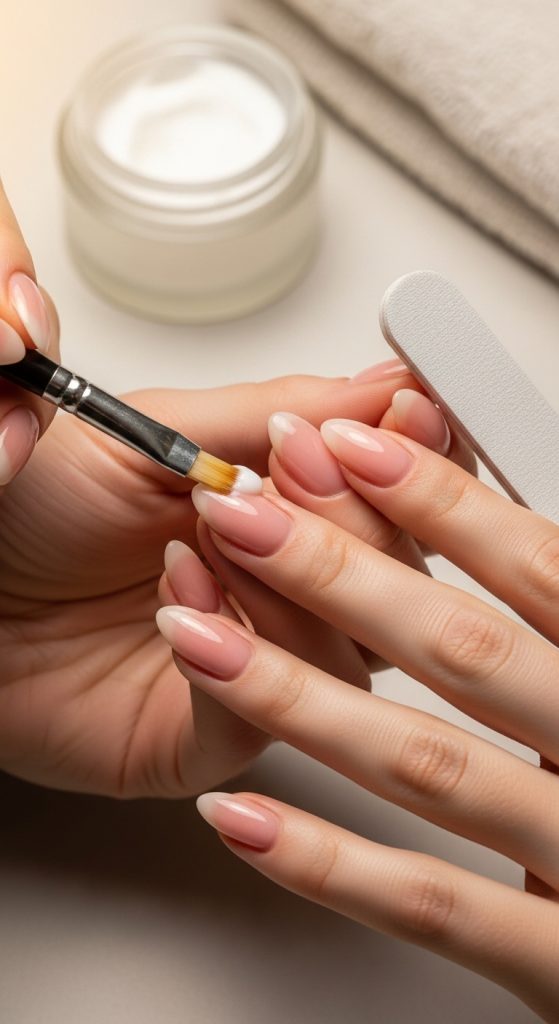
1. Preparing Your Nails for Almond Shape
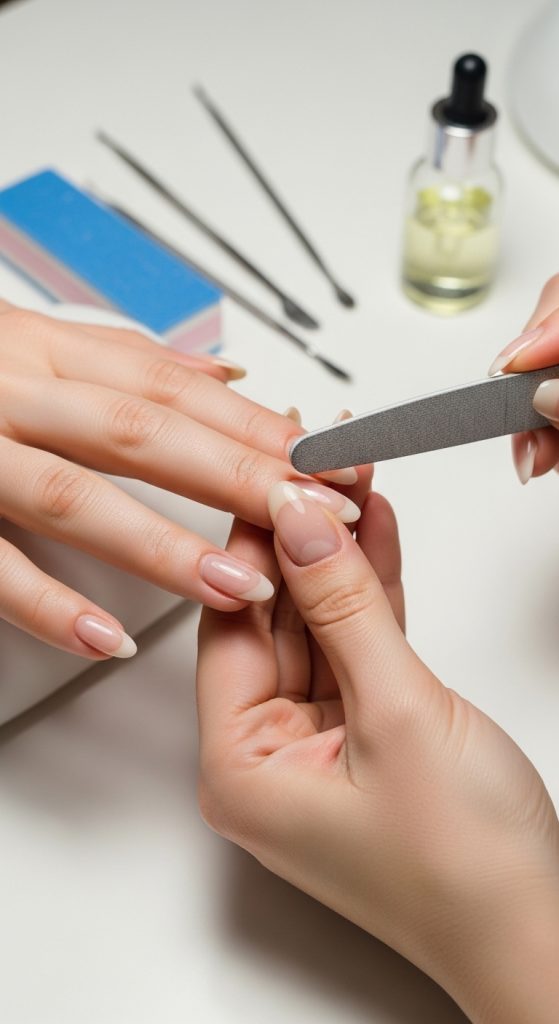
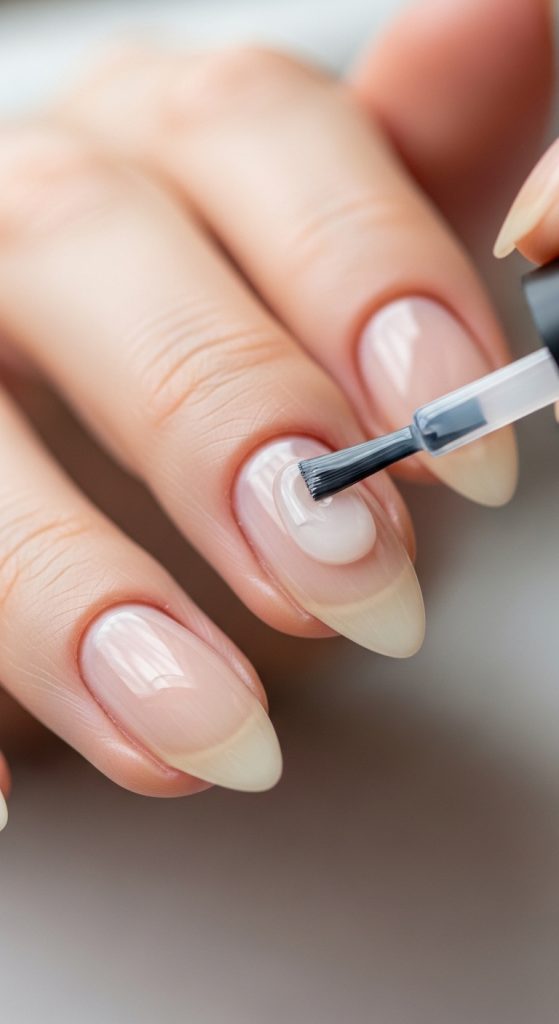
Preparation is the foundation for elegant almond nails. Start by removing any old nail polish using a gentle, non-acetone remover to avoid weakening your nails. Trim and file your nails to the desired length, keeping in mind that almond nails look best with medium to long nails. Begin shaping by filing the sides of the nail slightly narrower than the natural width and tapering towards a softly rounded tip. Avoid sharp points to maintain durability.
Next, push back your cuticles carefully using a wooden or metal cuticle pusher. Cuticle oil can soften them for easier handling. Buff your nail surface lightly to smooth ridges, which will help polish or gel adhere better. Finally, wash your hands thoroughly to remove any dust and oils. Applying a base coat not only protects your nails from staining but also creates a smooth foundation for color application. Proper preparation ensures that your almond nails remain strong, healthy, and ready for creative designs.
2. Choosing the Right Nail Tools and Materials
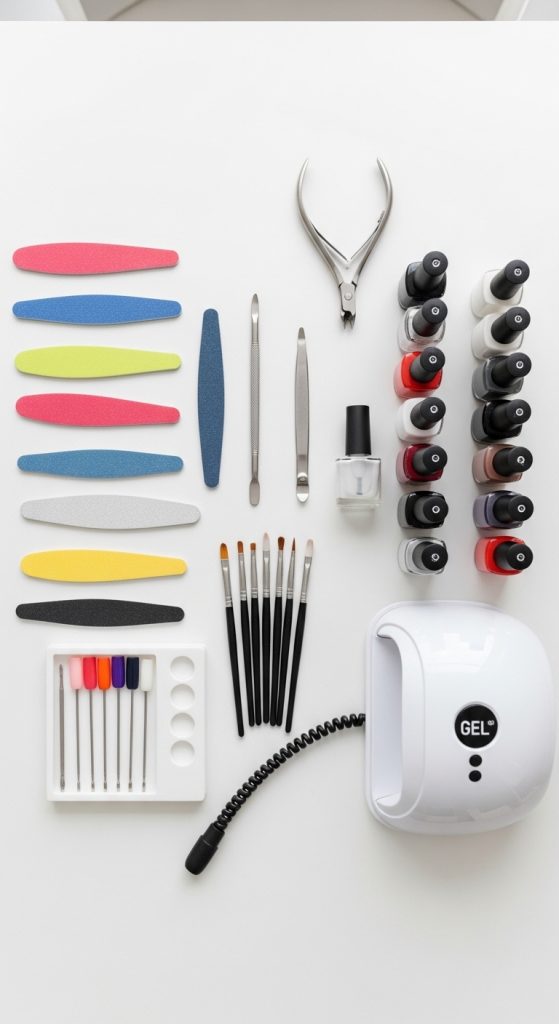
Having the right tools and materials is essential for creating elegant almond nails. High-quality nail files with medium and fine grit are important for precise shaping. A buffer helps smooth the nail surface for an even polish finish. Cuticle tools, including a pusher and nippers, allow safe cuticle management without causing damage.
For materials, a nourishing base coat is a must to prevent discoloration. Choose nail polishes with good pigmentation and durability. For gel nails, invest in a reliable UV or LED lamp and gel products, including base, color, and top coats. Acrylic powders and monomers can also be used for building almond shapes. Nail art brushes, dotting tools, and striping tapes help create intricate designs. Finally, hand cream and cuticle oil help maintain nail health after each session. Using the proper tools ensures professional-looking results and reduces the risk of breakage or uneven finishes.
3. Selecting the Perfect Almond Shape
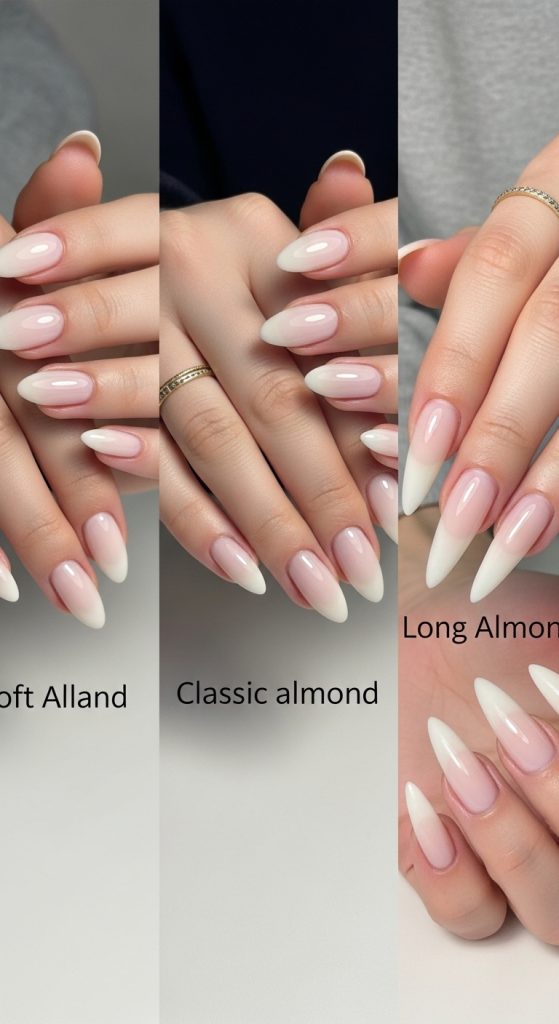
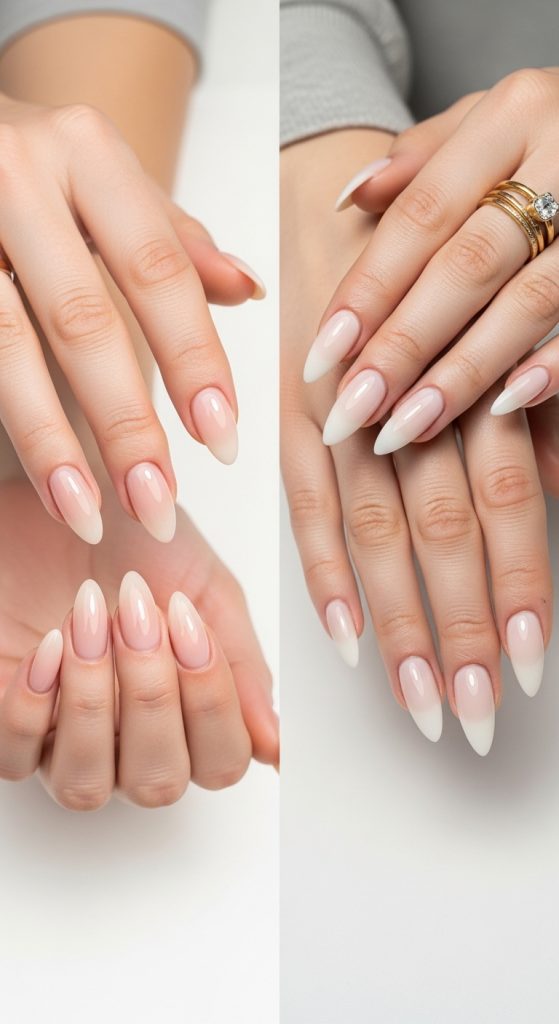
Not all almond shapes are identical, and selecting the right one for your fingers is key. A classic almond shape gently tapers to a rounded point, enhancing the natural look of the nails. A soft almond is slightly more rounded at the tip, making it practical for daily activities and less prone to chipping.
Longer almond shapes can elongate the fingers, giving a graceful appearance, but may be less durable. Shorter almond nails offer a balance of elegance and strength. Consider the width of your nail bed and finger length when choosing your shape. Wider nails may look better with a slightly softer almond, while narrow nails can handle a sharper taper. Selecting the right almond shape ensures your nails are visually flattering, comfortable, and durable, setting the stage for elegant polish and creative designs.
4. Base Coats and Nail Protection
A high-quality base coat is essential for almond nails. It acts as a protective barrier between your natural nails and colored polish, preventing stains and promoting adhesion. Base coats enriched with strengthening ingredients like calcium or keratin help improve nail health over time.
Apply a thin, even layer to prevent thick buildup, which can make shaping or polish application uneven. Allow the base coat to dry fully before applying color. For gel nails, use a gel base coat and cure under a UV or LED lamp as per product instructions. Some base coats also offer ridge-filling properties, giving a smoother surface for your polish or nail art. Proper base preparation ensures long-lasting color, prevents chipping, and protects nails from damage, maintaining the elegance of your almond shape.
5. Choosing Elegant Colors and Finishes
The right color and finish can elevate almond nails from simple to sophisticated. Neutral tones such as nude, beige, and soft pink highlight the nail’s natural shape, giving a classy and understated look. Darker shades like deep reds, burgundy, and navy add a luxurious feel, especially for evening occasions.
Shimmery or metallic finishes create a glamorous appearance, while matte polish offers a modern, minimalist vibe. Glitter and ombre designs work beautifully on almond nails because of the elongated shape, allowing creative gradients and sparkles to shine. Consider your skin tone and outfit preferences when selecting colors. Experimenting with complementary tones or subtle accents like a single glitter nail can create a unique, elegant statement. Color choice is a personal expression but should harmonize with the almond shape for a balanced, polished look.

6. Applying Nail Polish on Almond Nails
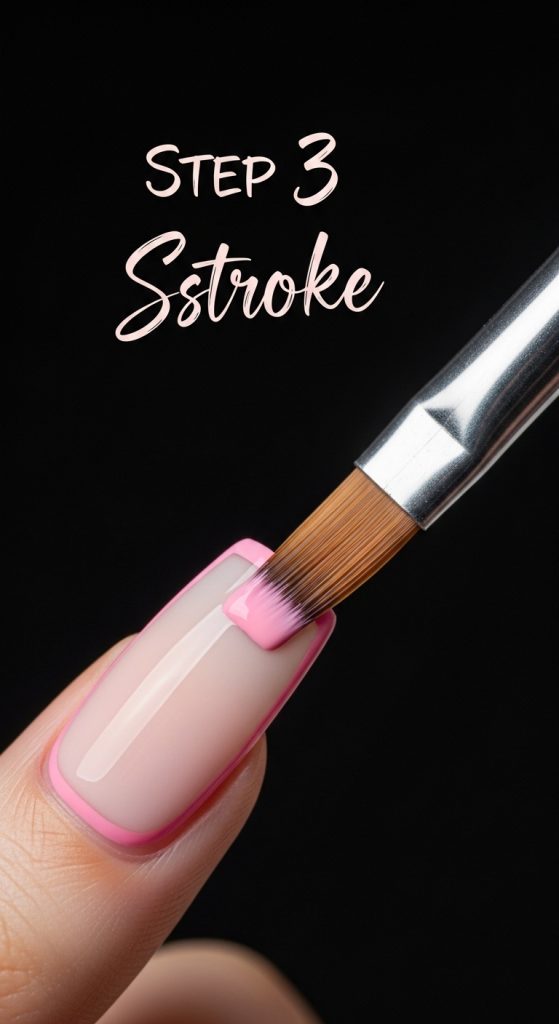
Applying nail polish correctly ensures a smooth, professional finish. Start by applying two thin coats of your chosen color, allowing each layer to dry fully before applying the next. Thin layers prevent streaks, bubbles, and uneven texture. For gel nails, cure each layer under a UV or LED lamp as instructed.
When painting almond nails, follow the natural curve of the nail, focusing on the tapered tip to maintain the almond shape. Use precise brush strokes from the base to the tip, avoiding excess polish on the cuticles. Finish with a top coat to seal the color, add shine, and increase longevity. For extra protection, apply a second top coat after a few days to prevent chipping. Correct polish application ensures your almond nails remain sleek, vibrant, and elegant for longer periods.
7. Nail Art and Design Ideas
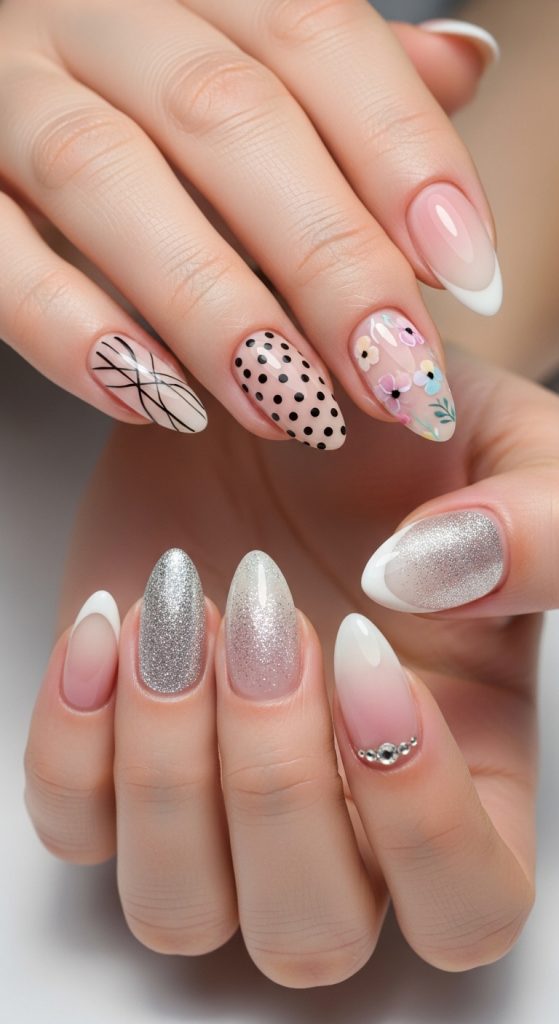
Almond nails offer a perfect canvas for creative designs. Minimalist art such as thin lines, dots, or geometric patterns enhances elegance without being overwhelming. Floral designs add a delicate touch, ideal for spring or summer. French tips are particularly flattering on almond nails, emphasizing the taper and length.
For a glamorous look, try glitter gradients, metallic accents, or rhinestones on a few nails. Ombre effects, blending two or more colors, create depth and sophistication. Seasonal themes or subtle abstract designs allow personalization without compromising elegance. Nail art requires steady hands and patience, but with practice, even simple tools like dotting pens or thin brushes can create impressive results. Choosing designs that complement the almond shape enhances the overall refined look of your manicure.
8. Gel vs. Acrylic Almond Nails
Choosing between gel and acrylic depends on durability, maintenance, and desired style. Gel nails are flexible, lightweight, and have a glossy finish. They are less damaging when removed correctly and allow for natural nail growth. Gel is ideal for shorter or medium-length almond nails and offers excellent polish adhesion.
Acrylic nails are stronger and more durable, making them suitable for longer almond shapes. They can be sculpted to precise lengths and customized with powders and gels for elaborate designs. However, acrylic removal requires soaking in acetone, which may weaken natural nails over time. Both options allow elegant finishes and creative art, but your lifestyle, nail health, and personal preference determine the best choice. Consulting a professional ensures safe application and long-lasting results.
9. Maintaining Almond Nails
Maintaining almond nails is essential for longevity and elegance. Moisturize cuticles and hands daily to prevent dryness and cracking. Avoid using nails as tools, which can lead to breakage, especially with longer almond shapes. Applying a top coat every few days helps preserve color and shine.
Regular touch-ups and filing prevent chips or uneven edges. For gel or acrylic nails, schedule professional fills every 2–3 weeks to maintain the shape and structure. Balanced nutrition, including vitamins like biotin, supports nail strength from within. Proper maintenance ensures that your almond nails remain beautiful, healthy, and ready for any occasion.
10. Tips for Professional Salon Results at Home
Achieving salon-quality almond nails at home requires practice, patience, and the right environment. Work in a well-lit, clean area with all tools organized for easy access. Use quality products, including base coats, polishes, and top coats. Following a step-by-step routine—preparation, shaping, polish application, and nail art—ensures consistent results.
Investing in a small LED lamp for gel nails, nail art brushes, and a cuticle oil pen can make home manicures more precise. Take your time during each step and allow polish to dry thoroughly to avoid smudges. Watching tutorial videos can provide visual guidance for shaping and designs. With practice, attention to detail, and patience, creating elegant almond nails at home can be both satisfying and cost-effective while achieving professional results.