
School hairstyles need to be practical, comfortable, and stylish at the same time. Whether you’re heading to middle school, high school, or college, the right hairstyle can boost confidence and make busy mornings easier. The best school hairstyles are quick to create, long-lasting throughout the day, and suitable for classes, sports, and after-school activities.
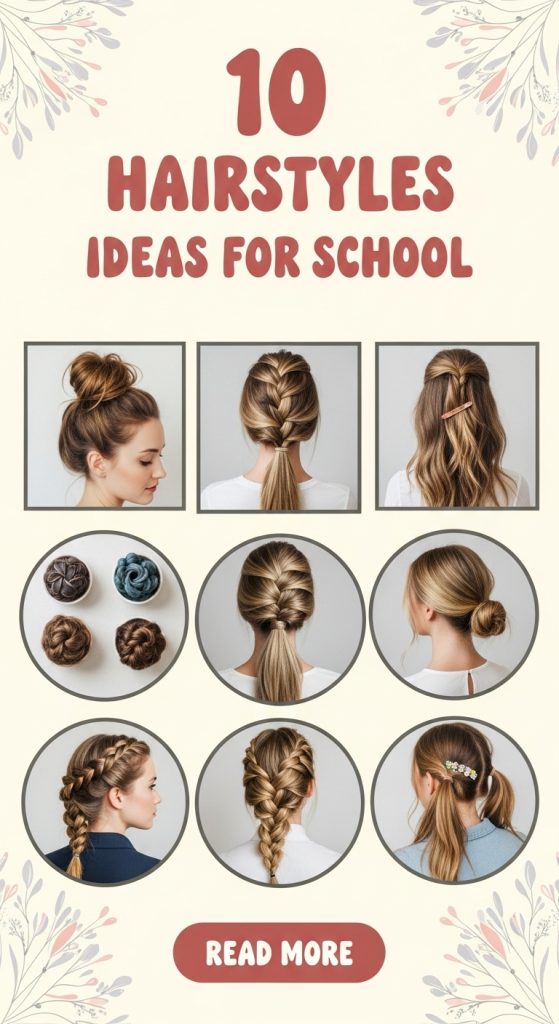
From sleek ponytails to soft braids and effortless half-up styles, there are endless options that work for different hair types and lengths. The key is finding styles that balance simplicity with personality. A good school hairstyle should keep hair out of your face while still looking cute and polished.
Below are 10 beginner-friendly hairstyle ideas for school that are easy to recreate and perfect for everyday wear.
1. High Sleek Ponytail
Introduction
The high sleek ponytail is a timeless school hairstyle that looks polished and put-together. It keeps hair completely off your face, making it ideal for long school days, sports practice, or hot weather. This style works on straight, wavy, or lightly curled hair and can be dressed up or kept simple.
It’s especially great for busy mornings because it takes less than five minutes to create.
Definition / Explanation
A smooth, high-positioned ponytail secured at the crown of the head.
Step-by-Step How-To
- Brush hair thoroughly to remove tangles.
- Gather hair at the crown of your head.
- Secure tightly with a hair elastic.
- Smooth flyaways with a small amount of gel or serum.
- Wrap a small section of hair around the elastic for a polished look (optional).
Tools / Materials Needed
- Hair brush
- Hair elastic
- Hair gel or serum
- Edge brush (optional)
2. Classic Low Bun
Introduction
The low bun is neat, simple, and perfect for school dress codes that require hair to be tied back. It’s comfortable and stays secure throughout the day. This hairstyle works well for straight and wavy hair and gives a clean, elegant look.
It’s ideal for presentations, exams, or more formal school events.

Definition / Explanation
Hair gathered at the nape of the neck and twisted into a bun.
Step-by-Step How-To
- Brush hair back smoothly.
- Gather into a low ponytail.
- Twist ponytail into a bun.
- Secure with elastic or bobby pins.
- Smooth any loose strands.
Tools / Materials Needed
- Hair elastic
- Bobby pins
- Hair spray (optional)
3. Half-Up Half-Down Style
Introduction
The half-up half-down hairstyle is perfect for students who want their hair down but still controlled. It keeps hair out of your face while showing length and texture. This style works for all hair types and lengths past the shoulders.
It’s casual, cute, and easy to customize.

Definition / Explanation
The top half of the hair is tied back while the bottom half remains loose.
Step-by-Step How-To
- Section off the top half of your hair.
- Gather and secure with a hair tie or clip.
- Leave the bottom half loose.
- Add a bow or scrunchie for style.
Tools / Materials Needed
- Hair elastic or clip
- Brush
- Decorative accessory (optional)
4. Simple Side Braid
Introduction
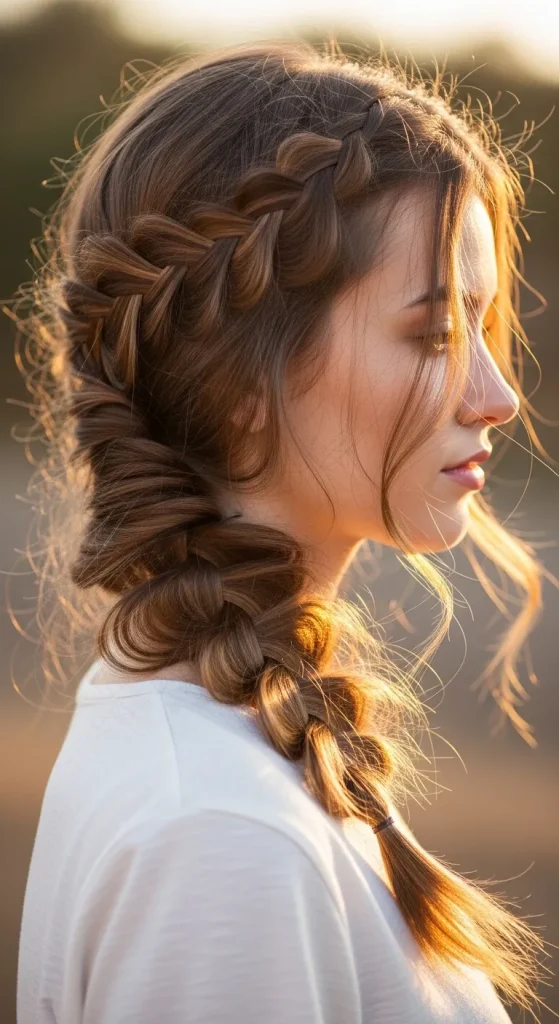
A side braid is a cute and effortless hairstyle that keeps hair neat all day. It works beautifully for medium to long hair and adds a soft, relaxed vibe to your look.
This style is perfect for windy days or outdoor activities.
Definition / Explanation
A three-strand braid positioned over one shoulder.
Step-by-Step How-To
- Brush hair to one side.
- Divide into three sections.
- Braid down evenly.
- Secure with an elastic.
- Gently loosen braid for volume (optional).
Tools / Materials Needed
- Hair brush
- Hair elastic
5. Double Dutch Braids
Introduction
Double Dutch braids are sporty and stylish. They keep hair fully secured and are perfect for active school days. This hairstyle works best on medium to long hair.
It also protects hair from tangling.

Definition / Explanation
Two braids created by crossing hair sections under instead of over.
Step-by-Step How-To
- Part hair down the middle.
- Start Dutch braiding from the front.
- Continue braiding toward the ends.
- Secure both braids with elastics.
Tools / Materials Needed
- Comb
- Hair elastics
- Hair spray (optional)
6. Messy Top Knot
Introduction
The messy top knot is quick and trendy. It’s ideal for rushed mornings and works well on second-day hair. This style looks effortless while still being practical.

Definition / Explanation
Hair gathered into a loose bun at the top of the head.
Step-by-Step How-To
- Flip head upside down.
- Gather hair at the crown.
- Twist loosely into bun.
- Secure with elastic.
- Pull out small strands for softness.
Tools / Materials Needed
- Hair elastic
- Bobby pins
7. Bubble Ponytail
Introduction
The bubble ponytail adds fun and creativity to a regular ponytail. It’s playful and works well for younger students or anyone who wants a unique look.

Definition / Explanation
A ponytail divided into sections using multiple elastics to create “bubbles.”
Step-by-Step How-To
- Create a regular ponytail.
- Add elastic every few inches.
- Gently pull sections to create bubble effect.
Tools / Materials Needed
- Multiple small elastics
- Brush
8. Claw Clip Twist
Introduction
Claw clip hairstyles are trendy and easy. This twist style keeps hair secure without tight elastics.

Definition / Explanation
Hair twisted upward and clipped with a claw clip.
Step-by-Step How-To
- Gather hair at back.
- Twist upward.
- Secure with claw clip.
Tools / Materials Needed
- Claw clip
9. Low Side Ponytail
Introduction
A low side ponytail is simple yet stylish. It’s comfortable and perfect for long school days.

Definition / Explanation
Hair gathered to one side at the nape.
Step-by-Step How-To
- Brush hair to one side.
- Secure low with elastic.
- Adjust for volume.
Tools / Materials Needed
- Hair elastic
- Brush
10. Braided Headband Style
Introduction
The braided headband style adds detail while keeping hair out of your face. It’s perfect for medium to long hair and adds a feminine touch.

Definition / Explanation
A small braid created along the hairline like a headband.
Step-by-Step How-To
- Take small front section.
- Braid along hairline.
- Secure behind ear.
- Pin in place.
Tools / Materials Needed
- Bobby pins
- Hair elastic