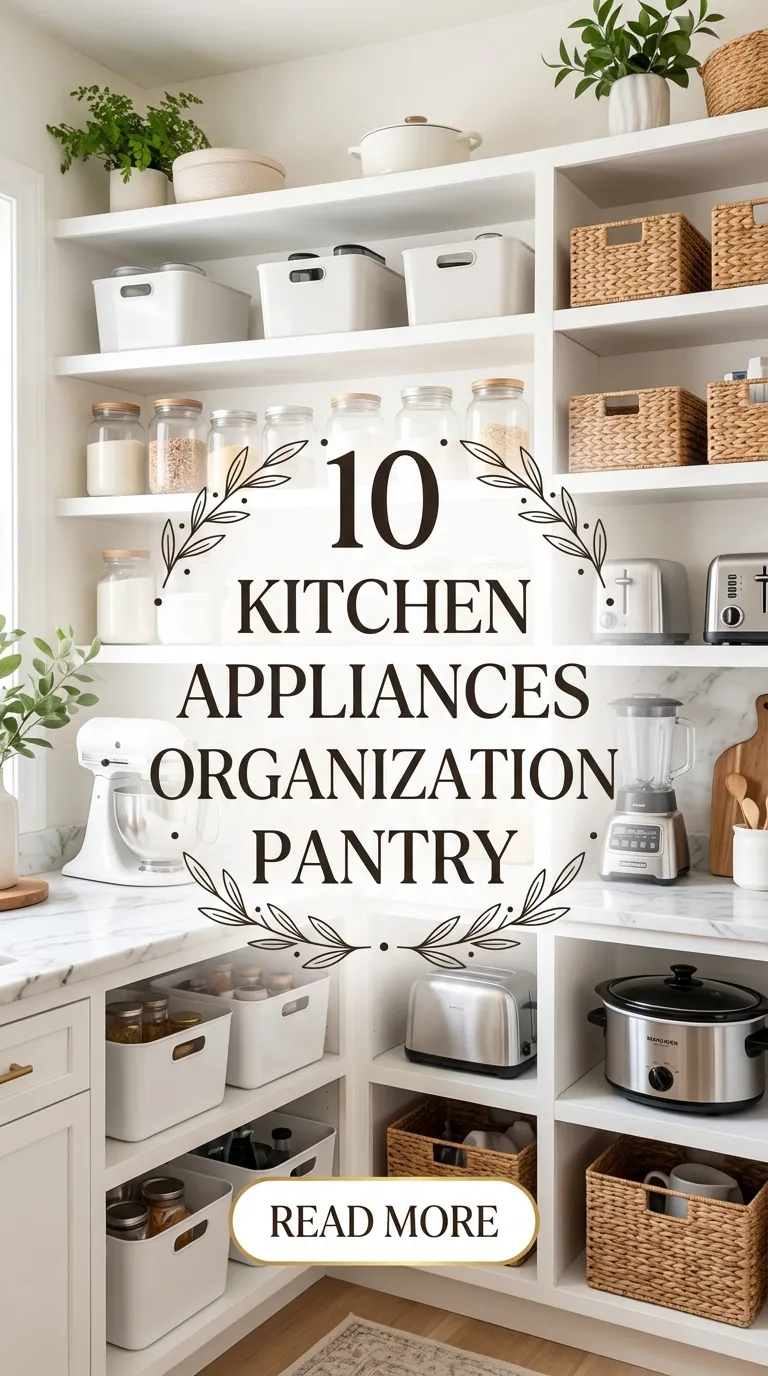
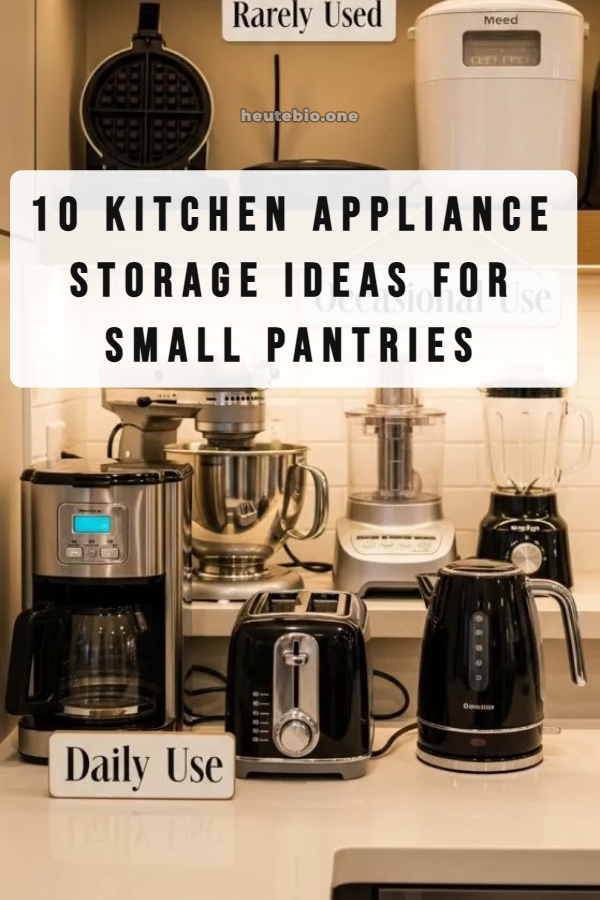
A well-organized kitchen makes cooking easier, faster, and more enjoyable. Many people struggle with cluttered countertops, crowded cabinets, and disorganized pantries. Kitchen appliances, especially small ones, can quickly take up valuable space if they are not stored properly. Blenders, mixers, toasters, air fryers, and other appliances are very helpful tools, but without a proper system they can create confusion and mess. Organizing these appliances inside a pantry is one of the best ways to keep the kitchen neat while still having easy access to the tools you use regularly.
A pantry is not only for food storage. With the right planning, it can also become a functional storage area for kitchen appliances and cooking tools. Proper appliance organization helps protect your equipment, reduces damage, and allows you to find what you need quickly. It also improves safety by preventing heavy appliances from being stacked unsafely or placed in unstable positions.
Before organizing, it is important to understand how often you use each appliance, how much space it needs, and where it fits best in the pantry. Good organization combines planning, labeling, shelving, and efficient placement. In this guide, we will explore ten practical and effective ways to organize kitchen appliances in your pantry. Each method focuses on preparation, materials needed, and how to implement the system in a real kitchen.
- Categorize Appliances by Frequency of Use
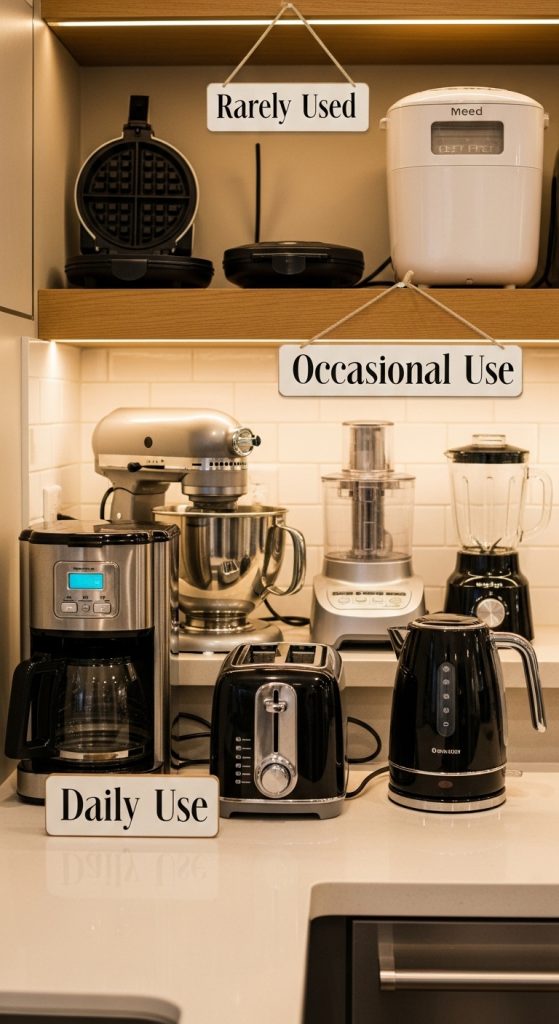
The first and most important step in organizing kitchen appliances in a pantry is to categorize them according to how often you use them. Many kitchens become cluttered because frequently used appliances are stored in hard-to-reach places, while rarely used ones occupy prime shelf space. Proper categorization helps you create a logical system that makes daily cooking more efficient.
Start by gathering all your kitchen appliances in one place. This allows you to see exactly what you own and evaluate how often each item is used. Divide them into three main groups: daily use appliances, occasional use appliances, and rarely used appliances. Daily use items may include a coffee maker, toaster, blender, or electric kettle. Occasional appliances might include a food processor or stand mixer. Rarely used items could include specialty tools like a waffle maker or ice cream machine.
After categorizing, place frequently used appliances on pantry shelves that are at waist or chest height. This makes them easy to grab without bending or reaching. Occasional appliances can go on higher or lower shelves. Rarely used items can be placed in the back of the pantry or on the highest shelves.
The main materials needed for this step include storage bins, shelf labels, and possibly a notepad to list appliance categories. This simple preparation step lays the foundation for a well-organized appliance pantry.
- Install Adjustable Pantry Shelving
One of the biggest challenges when organizing kitchen appliances is dealing with different sizes and shapes. Some appliances are tall and bulky, while others are compact. Adjustable pantry shelving provides the flexibility needed to store these items efficiently.
Fixed shelves often waste vertical space because they cannot be modified to fit taller appliances. Adjustable shelves allow you to customize the height of each section based on the appliance stored there. This helps prevent stacking appliances on top of each other, which can cause damage and make them difficult to access.
Preparation begins by measuring the height and width of your pantry space. Next, measure your largest appliances, such as stand mixers or air fryers. This information will help you decide the best shelf spacing. Most adjustable shelving systems use metal tracks and brackets that allow shelves to move up or down easily.
Materials needed for this project include adjustable shelf brackets, wooden or metal shelves, measuring tape, a drill, wall anchors, and a level. Installation usually takes a few hours but provides long-term storage benefits.
Once installed, assign each shelf to a specific appliance category. For example, one shelf may hold baking appliances while another holds beverage equipment. Adjustable shelving creates a clean, flexible structure that keeps appliances safe and accessible.

- Use Appliance Storage Bins and Containers
Storage bins and containers are very effective tools for keeping pantry appliances organized. Many small appliances come with extra parts such as cords, blades, attachments, and lids. Without proper storage, these parts can easily get lost or mixed with other items.
Using storage bins allows you to keep each appliance and its accessories together. Clear plastic bins are especially helpful because you can see what is inside without opening them. This reduces the time spent searching for parts when you want to use the appliance.
Preparation involves identifying appliances that have multiple accessories. For example, a food processor may have different blades and discs. A blender might include extra cups or lids. Gather all these components and assign them to a single storage container.
Label each bin with the appliance name so everyone in the household knows where to return items after use. Labels can be printed or written using permanent markers. Stackable bins are also useful because they save vertical space on pantry shelves.
The materials required include clear plastic bins, label stickers, permanent markers, and possibly dividers for separating smaller parts. This system prevents clutter and ensures that every appliance accessory has a designated place in the pantry.

- Create a Dedicated Appliance Zone in the Pantry
A dedicated appliance zone is a specific section of the pantry designed exclusively for storing kitchen appliances. Instead of scattering appliances across different shelves and cabinets, this method groups them in one organized location.
The preparation stage involves choosing an area of the pantry that has enough space and easy access. Ideally, this zone should be close to the kitchen counter where appliances will be used. If the pantry is large, one side can be converted into an appliance storage section.
Start by clearing the selected shelves and cleaning the area. Then place appliances based on size and weight. Heavy appliances such as stand mixers should be placed on sturdy lower shelves. Medium-sized appliances can go on middle shelves, while lighter ones can be placed higher.
Materials that help create an appliance zone include shelf liners, storage mats, and cord organizers. Shelf liners protect the pantry surface from scratches caused by heavy appliances. Cord organizers keep electrical cords neatly wrapped and prevent tangling.
By creating a dedicated appliance zone, you make the kitchen workflow more efficient. When you need a blender or mixer, you know exactly where to find it. This system also prevents overcrowding in other pantry areas used for food storage.

- Use Pull-Out Pantry Shelves for Heavy Appliances
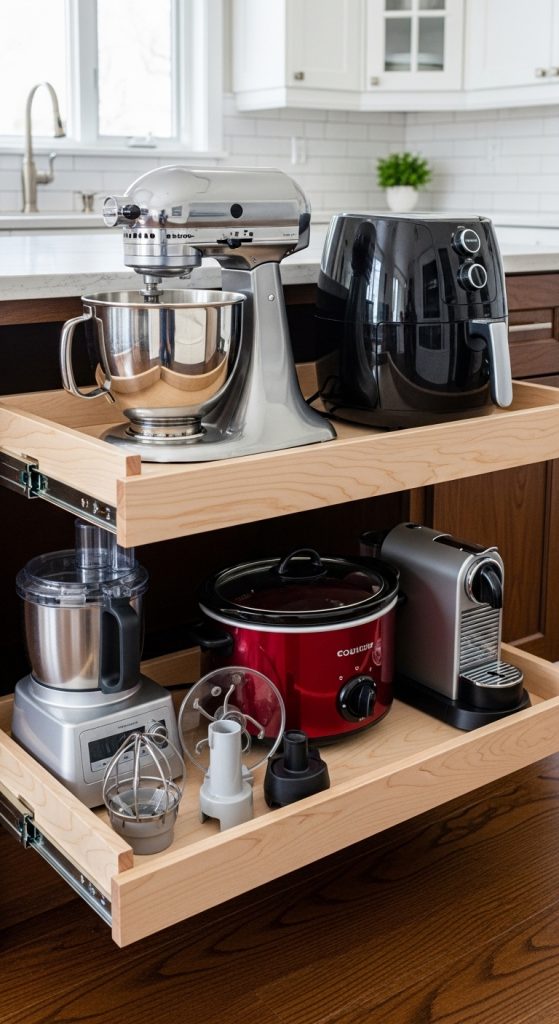
Pull-out shelves are one of the most practical upgrades for organizing kitchen appliances. Many appliances are heavy and difficult to lift from deep pantry shelves. Pull-out shelves solve this problem by allowing the entire shelf to slide forward.
The preparation stage involves identifying appliances that are difficult to access, such as stand mixers, air fryers, or bread machines. These items benefit the most from pull-out shelving because they can be moved forward without lifting.
Pull-out shelves are typically installed using sliding drawer hardware attached to the sides or bottom of a shelf. Once installed, the shelf glides smoothly outward, bringing the appliance closer to you.
Materials needed include sliding drawer tracks, wooden shelves, screws, a drill, and measuring tools. Some homeowners also purchase pre-built pull-out shelf kits designed specifically for pantry cabinets.
This storage solution improves safety because it reduces the risk of dropping heavy appliances while removing them from high shelves. It also makes the pantry more accessible for all family members.
Pull-out shelves are especially useful in deep pantry cabinets where items at the back are normally hard to reach. With this system, every appliance becomes visible and easy to access.
- Manage Appliance Cords Properly
One of the most common causes of pantry clutter is tangled appliance cords. When appliances are stored without managing their cords, wires become messy, difficult to untangle, and sometimes damaged. Proper cord management is essential for a clean and safe pantry.
The preparation process begins by unplugging each appliance and wrapping the cord carefully. Many appliances have built-in cord storage areas underneath their base. If this feature is available, use it to secure the cord neatly.
For appliances without built-in storage, cord organizers can be attached to the appliance body. These organizers allow you to wrap the cord around a designated holder. Velcro cable ties are another simple solution that keeps cords bundled together.
Materials required include Velcro cable ties, adhesive cord organizers, cable clips, and labels if necessary. Some people also use small pouches to store detachable cords separately.
Proper cord management reduces the risk of electrical damage and keeps appliances looking neat inside the pantry. It also prevents cords from getting caught when removing appliances from shelves.
When every appliance has its cord wrapped and secured, the pantry becomes easier to maintain. This small step makes a big difference in keeping the appliance storage area tidy and organized.

- Label Pantry Shelves and Appliance Sections
Labeling is a simple but powerful tool for maintaining long-term pantry organization. Without labels, appliances may slowly return to random shelves, especially in busy households where multiple people use the kitchen.
Preparation begins by deciding how you want to categorize the appliance storage areas. Categories might include baking appliances, beverage appliances, cooking appliances, and specialty appliances. Once categories are defined, each shelf or section can be labeled accordingly.
Labels should be placed on the front edge of pantry shelves or on storage bins. This ensures that anyone using the kitchen can quickly identify where each appliance belongs. Clear labels also make it easier to return items after cleaning or cooking.
Materials needed include label stickers, a label maker, permanent markers, and adhesive holders if you want removable labels. Waterproof labels are recommended for kitchen environments because they resist spills and humidity.
The main benefit of labeling is consistency. When every appliance has a designated space, clutter is less likely to develop. Labels also help family members follow the organization system, keeping the pantry tidy over time.

- Use Vertical Storage for Compact Appliances
Vertical storage is an excellent strategy for maximizing pantry space. Instead of spreading appliances across wide shelves, stacking them vertically allows you to store more items in a limited area.
Preparation involves identifying compact appliances that can safely be stored vertically. Examples include sandwich makers, waffle makers, electric grills, and flat griddles. These appliances often have a slim shape that fits well in upright storage positions.
Vertical dividers can be installed on pantry shelves to separate appliances. These dividers act like file organizers, allowing each appliance to stand upright without leaning or falling over.
Materials required include shelf dividers, wire racks, or vertical storage organizers. Some people repurpose dish rack organizers or file holders for this purpose. Rubber shelf liners can also be added to prevent slipping.
Vertical storage not only saves space but also improves visibility. Instead of stacking appliances on top of each other, each item becomes easy to grab and return. This approach works especially well in smaller pantries where every inch of space matters.

- Store Rarely Used Appliances on High Shelves
Not every kitchen appliance needs to be within immediate reach. Some appliances are used only during special occasions or specific recipes. Storing these items on high pantry shelves helps free up valuable space for everyday tools.
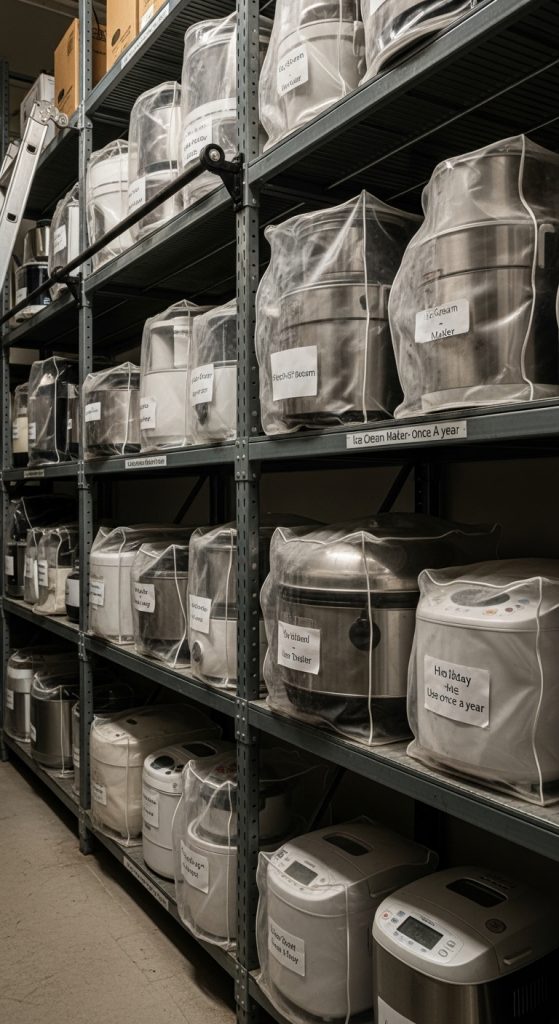
Preparation begins by identifying appliances used only a few times per year. Examples may include turkey roasters, ice cream makers, specialty baking machines, or holiday cooking equipment.
Once identified, clean these appliances and place them in protective storage containers or appliance covers. This prevents dust from accumulating during long storage periods.
Materials required include protective covers, storage bins, step stools for safe access, and labels to identify each appliance. Using labeled containers makes it easier to remember what is stored on high shelves.
High shelf storage keeps the most accessible pantry areas reserved for daily cooking appliances. It also reduces clutter at eye level, making the pantry appear more organized and spacious.
Safety is important when using this system. Heavy appliances should not be stored on very high shelves. Only lightweight or rarely used items should be placed there.
- Perform Regular Appliance Pantry Maintenance
Even the best organization system requires regular maintenance. Over time, new appliances may be purchased, old ones may break, and accessories may accumulate. Regular pantry maintenance ensures that the appliance storage system continues to function effectively.
Preparation involves scheduling periodic reviews of the pantry, ideally every three to six months. During this process, remove all appliances from their shelves and clean the pantry surfaces. Check for dust, crumbs, or spills that may have collected.
Next, evaluate whether each appliance is still useful. If an appliance has not been used for a long time, consider donating, selling, or recycling it. Removing unused equipment frees valuable pantry space.
Materials needed for maintenance include cleaning cloths, mild cleaning solutions, storage bins for sorting, and possibly a checklist to review appliance categories.
After cleaning and decluttering, return appliances to their designated shelves following the original organization system. Check that labels are still visible and storage bins are intact.
Regular maintenance prevents clutter from slowly returning and keeps the pantry functional. With consistent upkeep, your organized appliance pantry will continue to support an efficient and enjoyable cooking environment.
