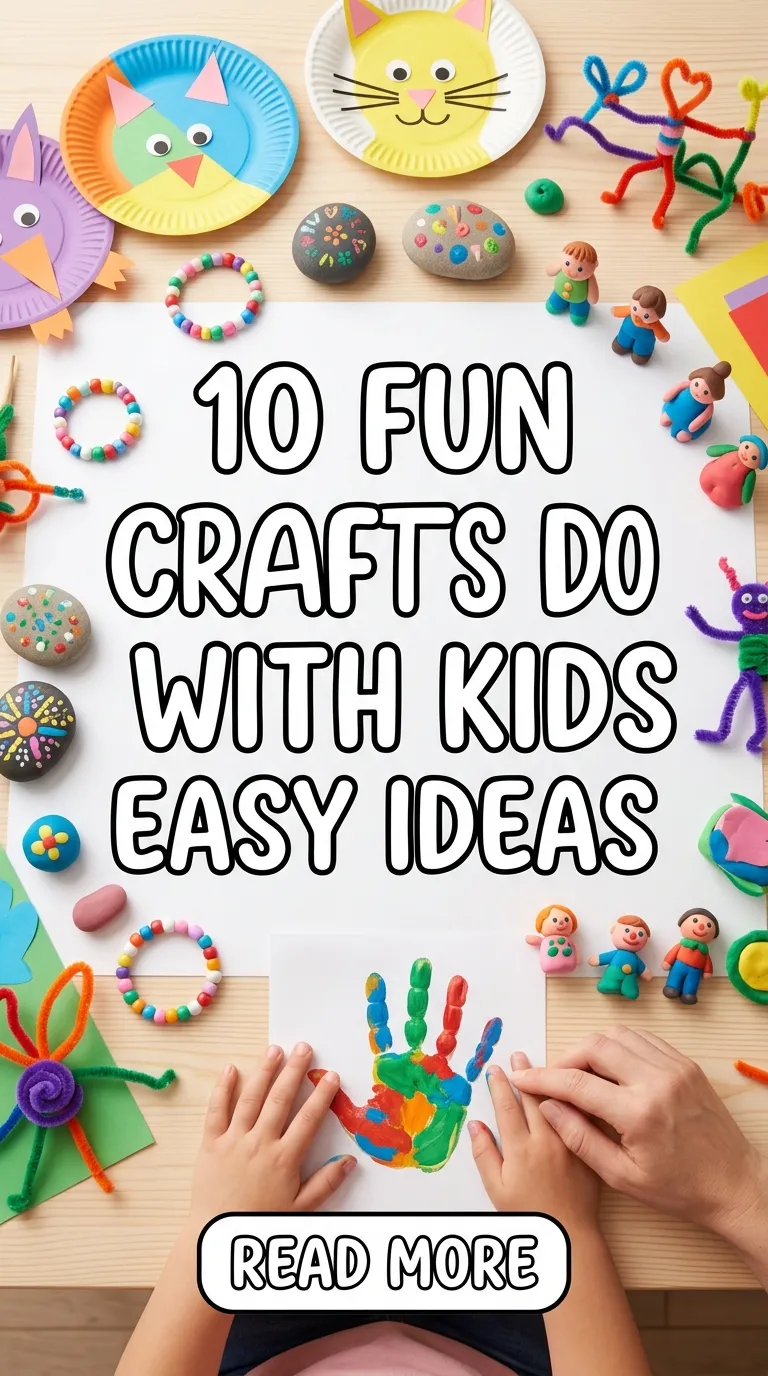
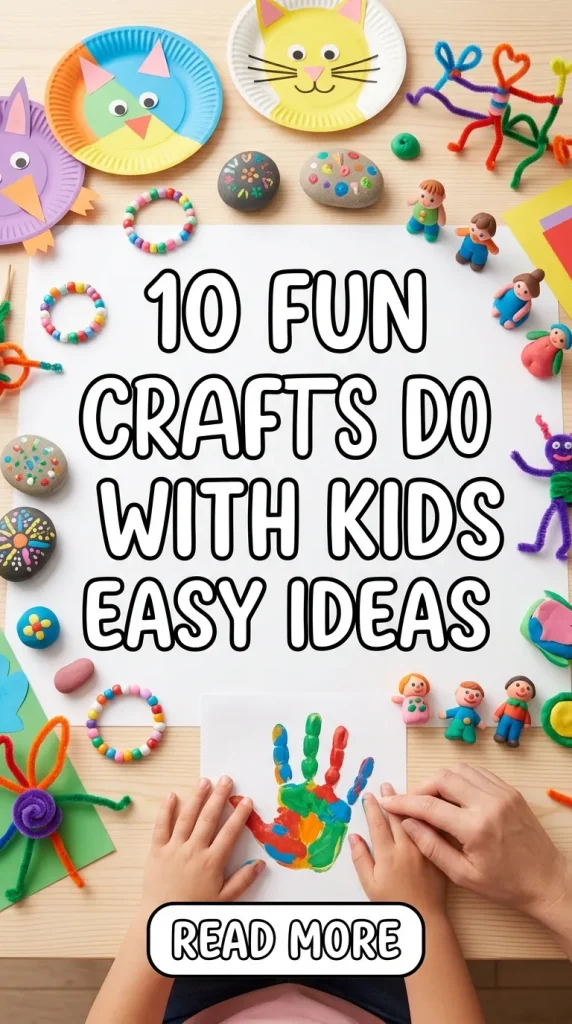
Crafting with children is a practical way to combine creativity, learning, and quality time into one meaningful activity. Many Pinterest ideas focus on simple, engaging projects that encourage children to explore colors, textures, and basic construction techniques while developing fine motor skills. These DIY activities are designed to be accessible, requiring minimal materials and preparation, making them suitable for both home and classroom settings. This article presents ten beginner-friendly craft ideas that are easy to follow and structured for clear results. Each idea includes step-by-step guidance, ensuring that even first-time crafters can confidently complete each project. These creative projects are not only entertaining but also support early learning through hands-on interaction. Readers will learn how to organize materials, follow structured processes, and create visually appealing handmade decorations. Whether the goal is home decor, educational play, or simple creative expression, these ideas provide a reliable foundation for productive crafting sessions with children.
Why This Idea Is Trending or Useful
Craft-based Pinterest ideas continue to gain popularity because they combine creativity with practicality in a format that is easy to replicate. Parents and educators increasingly seek activities that limit screen time while encouraging active engagement, and DIY crafts meet this need effectively. These projects are designed to be beginner friendly, making them accessible regardless of prior experience. The emphasis on simple materials and clear tutorials ensures that children can participate without frustration, which increases motivation and confidence. Additionally, many of these crafts align with modern design preferences, including minimalist style and aesthetic presentation, allowing finished pieces to function as home decor or decorative items. The growing interest in handmade and sustainable activities also contributes to the popularity of these ideas, as they often reuse household materials. From an organizational perspective, crafting helps structure free time while fostering creativity and problem-solving skills. These trending ideas offer both entertainment and developmental value, making them a practical choice for families and educators alike.
Materials and Preparation
Before starting any creative project, proper planning and preparation ensure a smooth and enjoyable crafting experience. Most of these easy projects require basic materials such as colored paper, glue, scissors, markers, paint, cardboard, and recyclable items like bottles or boxes. Organizing these materials in advance helps maintain focus and reduces interruptions during the activity. Tools should be selected based on the child’s age and ability, with safety scissors and washable paints recommended for younger participants. Preparation also includes setting up a dedicated workspace that is easy to clean and well-lit. Covering surfaces with paper or cloth can protect against spills and make cleanup easier. Clear instructions should be reviewed beforehand so that the process can be explained step by step without confusion. Time planning is also important, as each craft should be broken into manageable stages to maintain engagement. With proper preparation, these DIY activities become structured, enjoyable, and efficient, allowing children to focus on creativity rather than logistics.
Idea 1: Paper Plate Animal Faces
How to Create
Paper plate animal faces are a simple and engaging craft that introduces children to basic shapes and character design. This creative idea uses common household materials to transform plain plates into colorful animal representations. The concept focuses on using paper plates as a base, then adding features such as ears, eyes, and noses using colored paper and drawing tools. This activity encourages children to observe animals and recreate their features in a simplified way. It also supports creativity by allowing variation in colors, patterns, and expressions. As a beginner friendly project, it requires minimal preparation and offers immediate visual results. The finished pieces can be used as decoration in a child’s room or displayed as part of a themed wall arrangement. This type of DIY project is particularly effective for younger children because it involves cutting, pasting, and basic drawing, all of which contribute to skill development while keeping the process enjoyable and manageable.
To create paper plate animal faces, start by selecting the animal design and gathering materials such as paper plates, colored paper, glue, scissors, and markers. Begin by painting or coloring the plate to match the base color of the animal. Allow it to dry completely before adding details. Cut out shapes for ears, eyes, and other features from colored paper, ensuring the sizes are appropriate for the plate. Attach these pieces using glue, placing them carefully to maintain symmetry and balance. Draw additional details such as whiskers, fur patterns, or facial expressions using markers. Encourage children to follow a step by step approach, focusing on one feature at a time to avoid confusion. Once completed, allow the craft to dry fully before displaying it. This process ensures a structured workflow and results in a visually appealing handmade decoration suitable for home decor or classroom display.

Idea 2: Handprint Art Creations
Step-by-Step Guide
Handprint art is a highly interactive craft that transforms simple hand impressions into creative designs such as animals, trees, or abstract patterns. This idea is widely used in Pinterest inspiration because it combines personal expression with a tangible result. Each handprint serves as a unique base that reflects the child’s individuality, making the finished piece more meaningful. The concept is straightforward and adaptable, allowing for various themes depending on the occasion or learning objective. This project also introduces children to color mixing and spatial awareness, as they must decide where to place their prints and how to build upon them. The aesthetic appeal of handprint art makes it suitable for framing or gifting, turning a simple activity into a lasting keepsake. This creative project is especially useful for younger children, as it requires minimal precision while still producing visually engaging results.
To create handprint art, prepare washable paint, paper, and cleaning materials. Start by selecting a theme, such as animals or seasonal designs. Apply paint evenly to the child’s hand using a brush or sponge, ensuring full coverage without excess dripping. Press the hand firmly onto the paper, then lift it carefully to maintain a clear imprint. Allow the print to dry before adding details. Use markers or additional paint to transform the handprint into a recognizable design, such as adding eyes, wings, or stems. Repeat the process as needed to build a complete composition. Ensure that hands are cleaned promptly to maintain comfort and hygiene. This step by step method ensures clarity and helps children understand the progression from base shape to finished design, resulting in a cohesive and attractive handmade piece.

Idea 3: DIY Paper Flower Bouquets
How to Make
DIY paper flower bouquets are a practical and visually appealing craft that introduces children to layered construction and color coordination. These handmade decorations mimic real flowers using simple materials such as colored paper and glue. The concept focuses on creating individual flower components and assembling them into a bouquet arrangement. This project aligns with modern design trends, particularly minimalist style and aesthetic presentation, making it suitable for home decor. It also encourages planning and organization, as children must decide on color combinations and arrangement styles. This activity is beginner friendly and adaptable, allowing for simple or more detailed designs depending on skill level. The finished bouquets can be used as decorative items or gifts, adding a practical outcome to the creative process.
To make paper flower bouquets, gather materials such as colored paper, scissors, glue, and sticks or straws for stems. Begin by cutting flower shapes, including petals and centers, ensuring consistent sizes for a balanced look. Assemble each flower by layering petals and attaching a center piece. Secure the flower to a stem using glue, ensuring it is firmly attached. Repeat this process to create multiple flowers, varying colors for visual interest. Once all flowers are complete, arrange them into a bouquet and secure them together with string or tape. This step by step approach ensures that each component is completed before assembly, resulting in a structured and efficient process. The final product is a cohesive and decorative arrangement suitable for display.

Idea 4: Cardboard Box Creations
Execution Process
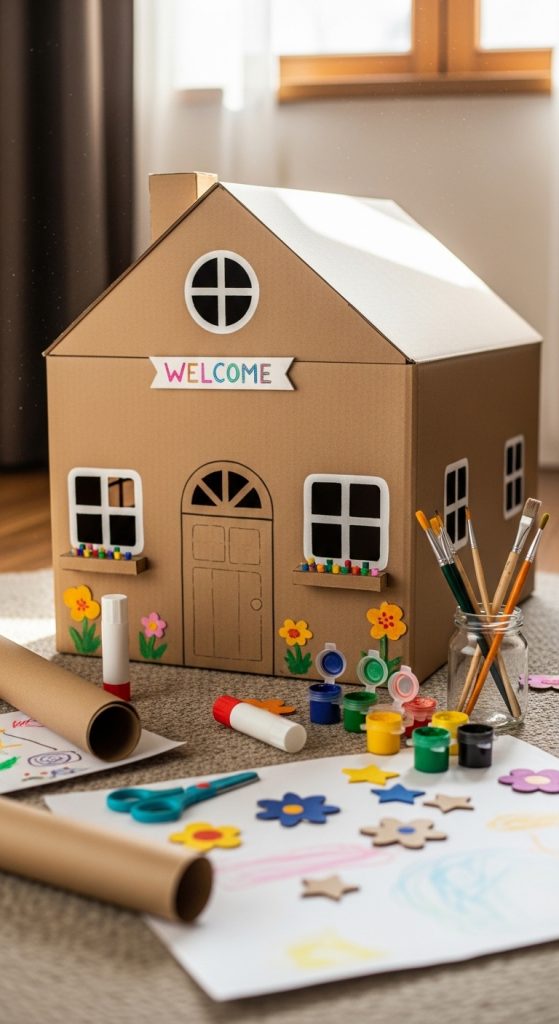
Cardboard box creations offer a versatile and sustainable crafting option by repurposing everyday materials into functional or decorative items. This idea aligns with budget ideas and environmentally conscious practices, making it highly relevant in modern Pinterest trends. Children can transform boxes into houses, vehicles, or storage containers, encouraging imaginative play and practical use. The concept emphasizes structure and assembly, helping children understand how different parts fit together to create a complete object. This type of creative project also promotes problem-solving, as children must adapt shapes and materials to achieve their desired outcome. The flexibility of cardboard allows for endless variations, making it suitable for repeated use without repetition.
To execute cardboard box creations, begin by selecting a box of appropriate size and strength. Plan the design, including any openings or additional features such as windows or compartments. Use scissors or safe cutting tools to shape the box, ensuring edges are smooth and safe. Reinforce joints with tape or glue for stability. Decorate the surface using paint, markers, or colored paper, applying designs that match the intended concept. Allow sufficient drying time before handling the finished piece. This step by step method ensures a stable structure and a polished appearance, resulting in a durable and creative handmade item.
Idea 5: Painted Rock Designs
Setup Method
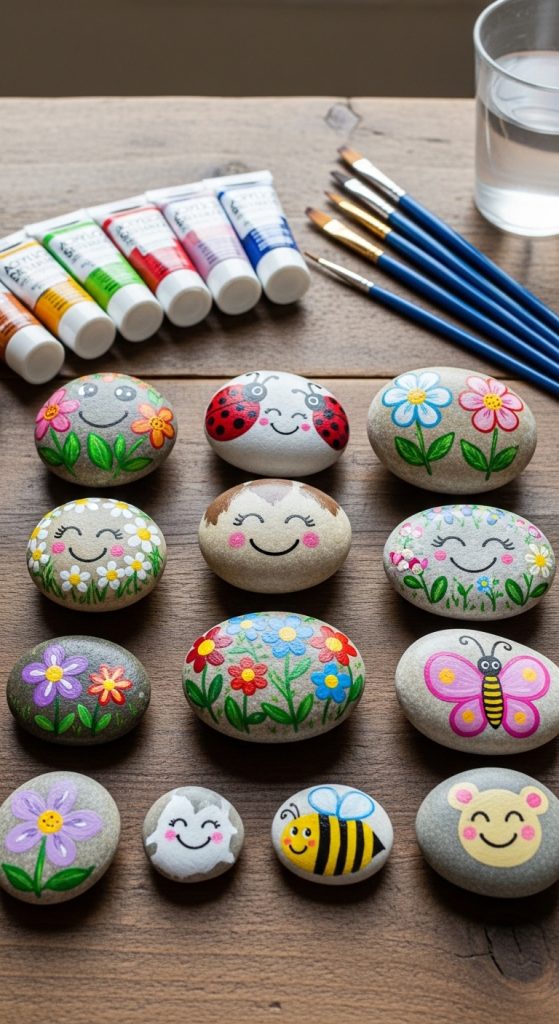
Painted rock designs are a simple and accessible craft that combines natural materials with artistic expression. This idea is widely used for outdoor and indoor decoration, offering a balance between creativity and practicality. The concept involves selecting smooth stones and decorating them with patterns, characters, or messages. This activity encourages attention to detail and patience, as the surface area requires careful application of paint. It also introduces children to texture and surface variation, adding an educational component to the process. Painted rocks can be used as decorative items, garden accents, or gifts, making them a versatile addition to any collection of creative ideas.
To create painted rock designs, gather smooth stones, acrylic paint, brushes, and a protective coating if desired. Clean the rocks thoroughly to remove dirt and ensure proper paint adhesion. Apply a base coat and allow it to dry completely before adding designs. Use fine brushes to create patterns or images, working slowly to maintain accuracy. Allow each layer to dry before adding additional details. Once the design is complete, apply a clear sealant to protect the surface. This structured process ensures durability and a clean finish, resulting in a polished decorative item suitable for various uses.
Idea 6: Popsicle Stick Crafts
How to Create
Popsicle stick crafts are a classic DIY activity that offers a structured approach to building small-scale objects. These crafts are widely used in educational settings because they introduce basic construction techniques such as alignment and reinforcement. The concept involves using wooden sticks as building blocks to create items like frames, boxes, or simple models. This activity supports organization and planning, as children must arrange pieces carefully to achieve stability. It also aligns with minimalist style and modern design when kept simple and symmetrical. Popsicle stick crafts are beginner friendly and require minimal materials, making them accessible for most households.
To create popsicle stick crafts, gather sticks, glue, and decorative materials such as paint or markers. Begin by planning the design and laying out the sticks to visualize the structure. Apply glue to the संपर्क points and press pieces together firmly, allowing time for drying between layers. Build the structure gradually, ensuring alignment and balance. Once the base is complete, decorate the surface as desired. This step by step process ensures stability and a neat appearance, resulting in a functional and visually appealing handmade item.

Idea 7: DIY Collage Art
Step-by-Step Guide
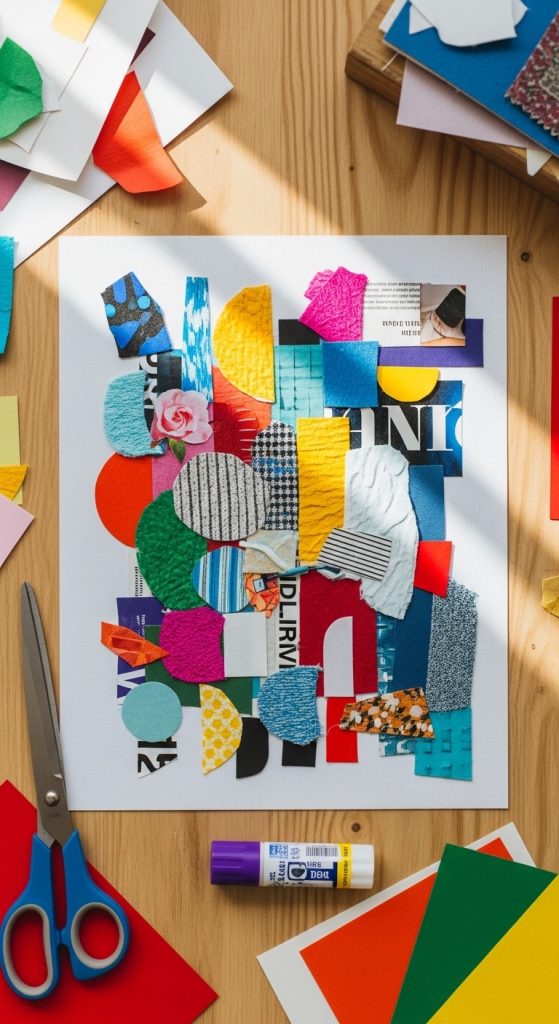
DIY collage art is a creative project that focuses on combining different materials to form a cohesive visual composition. This idea encourages experimentation with textures, colors, and shapes, making it ideal for developing artistic skills. Collage art is highly adaptable, allowing children to use magazines, paper scraps, or fabric pieces to create unique designs. The concept emphasizes arrangement and layering, helping children understand composition and balance. This activity is particularly useful for expressing ideas visually without requiring advanced drawing skills. The finished pieces can serve as decoration or personal artwork, adding value to the creative process.
To create collage art, gather materials such as paper, glue, scissors, and assorted scraps. Begin by selecting a theme or concept to guide the arrangement. Cut out shapes and images, organizing them by size and color. Arrange the pieces on a base surface before gluing to ensure a balanced layout. Once satisfied, attach each piece securely using glue. Allow the collage to dry completely before displaying. This structured approach ensures clarity and results in a cohesive and visually engaging design.
Idea 8: Clay Modeling Projects
How to Make
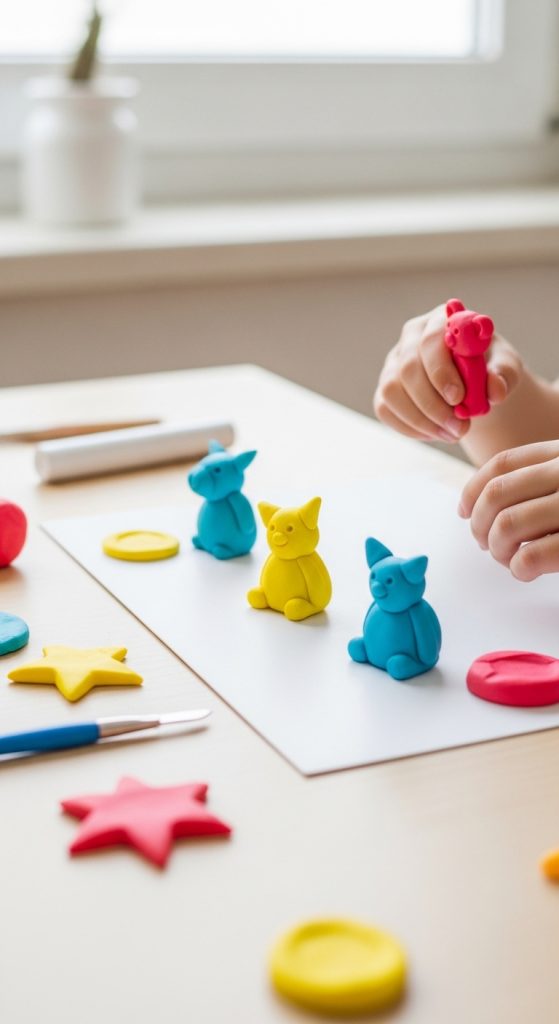
Clay modeling projects introduce children to three-dimensional crafting, offering a different perspective compared to flat designs. This activity focuses on shaping and forming objects using soft, moldable material. The concept supports creativity and fine motor skill development, as children manipulate clay to achieve desired forms. Clay projects can range from simple shapes to more detailed figures, making them adaptable for different skill levels. The tactile nature of clay adds an engaging sensory element, enhancing the overall experience. These projects are commonly used for decorative purposes or as educational tools.
To make clay models, gather air-dry clay, shaping tools, and a clean workspace. Begin by kneading the clay to achieve a smooth texture. Shape the material into the desired form, working gradually to refine details. Use tools to add texture or define features. Allow the model to dry completely according to instructions. Once dry, paint or decorate the piece if desired. This step by step method ensures a stable structure and a polished finish, resulting in a durable and creative handmade object.
Idea 9: DIY Bookmark Crafts
Execution Process
DIY bookmark crafts are practical and easy projects that combine creativity with everyday functionality. These bookmarks can be customized with patterns, drawings, or decorative elements, making them both useful and visually appealing. The concept focuses on creating a simple rectangular base and enhancing it with creative details. This activity supports organization and encourages reading habits by providing a personalized accessory. Bookmark crafts are beginner friendly and require minimal materials, making them suitable for quick projects.
To create bookmarks, gather cardstock, scissors, and decorative materials such as markers or stickers. Cut the cardstock into uniform strips, ensuring smooth edges. Decorate the surface using patterns or illustrations, maintaining a balanced design. Optionally, add a hole at the top and attach a ribbon for added detail. This step by step process ensures a clean and functional result, producing a durable and attractive handmade bookmark.

Idea 10: Recycled Bottle Crafts
Setup Method
Recycled bottle crafts offer a sustainable approach to DIY projects by transforming waste materials into useful or decorative items. This idea aligns with budget ideas and environmental awareness, making it highly relevant in modern creative trends. Bottles can be converted into planters, storage containers, or decorative pieces, encouraging practical use. The concept emphasizes cutting, shaping, and decorating, providing a comprehensive crafting experience. This activity also promotes resourcefulness and creativity, as children learn to repurpose materials effectively.
To create recycled bottle crafts, start by cleaning and drying the bottle thoroughly. Plan the design and mark areas for cutting. Carefully cut the bottle using appropriate tools, ensuring safety at all times. Smooth edges if necessary and decorate the surface using paint or other materials. Allow the project to dry before use. This structured approach ensures safety and a polished finish, resulting in a functional and creative handmade item.

Common Beginner Mistakes and How to Avoid Them
One common mistake in DIY crafts is starting without proper planning, which often leads to incomplete or inconsistent results. Preparing materials in advance and following a clear step by step process helps maintain structure and efficiency. Another frequent issue is using too many materials at once, which can overwhelm children and reduce focus. Limiting materials to essential items ensures better organization and clearer outcomes. Inadequate drying time is also a common problem, especially when working with paint or glue, leading to smudged or damaged designs. Allowing sufficient time between steps improves the final appearance. Safety oversights, such as using sharp tools without supervision, should be avoided by selecting age-appropriate equipment. By addressing these common challenges, the crafting process becomes smoother and more enjoyable.
Practical Tips for Better Results
Improving craft results requires attention to detail and consistent practice. Using high-quality basic materials ensures durability and better visual outcomes. Encouraging children to work in stages helps maintain focus and reduces errors. Maintaining a clean workspace improves efficiency and prevents accidental damage to materials. Demonstrating each step clearly before starting allows children to understand the process fully. Consistency in measurements and alignment enhances the overall appearance of the project. These practical adjustments lead to more refined and visually appealing handmade creations.
Styling, Presentation, or Organization Ideas
Presentation plays an important role in enhancing the visual impact of finished crafts. Arranging items in a coordinated manner, such as grouping similar designs together, creates a cohesive aesthetic. Using neutral backgrounds or simple frames can highlight the details of each project. Organizing materials in labeled containers improves efficiency and makes future projects easier to manage. Displaying crafts at eye level or in well-lit areas enhances visibility and appreciation. These styling techniques transform simple DIY projects into attractive decorative elements.
Budget or Time Planning
Effective planning ensures that craft projects remain manageable and cost-efficient. Selecting materials that are readily available or recyclable reduces expenses. Breaking projects into smaller steps helps manage time and maintain engagement. Setting a clear schedule for each activity prevents delays and ensures completion. Reusing leftover materials for future projects maximizes efficiency. These strategies make crafting accessible and sustainable without compromising quality.
Creative Expansion and Advanced Inspiration
Once basic crafts are mastered, projects can be expanded into more complex designs by combining techniques or adding new elements. For example, simple paper crafts can evolve into layered compositions, while basic models can incorporate moving parts. Experimenting with different materials introduces variety and enhances creativity. Encouraging children to design their own projects fosters independence and innovation. These advanced ideas provide ongoing inspiration and ensure that crafting remains a dynamic and engaging activity.