Paper plates are one of the most versatile and affordable materials for children’s crafts. They are easy to cut, paint, fold, and decorate, making them ideal for creative activities at home, in classrooms, or during holiday events. Because paper plates are inexpensive and widely available, they allow children to experiment freely without worrying about making mistakes. Crafting with paper plates also helps children develop fine motor skills, creativity, and problem solving abilities. When kids cut shapes, glue pieces, and paint designs, they improve hand eye coordination and build confidence in their artistic abilities.
Another great benefit of paper plate crafts is that they require very simple materials. Most projects only need basic supplies such as colored paper, glue, scissors, markers, and paint. Many of these materials are already available in homes or classrooms. These crafts are also flexible for different age groups. Younger children can enjoy simple coloring and sticking activities, while older kids can try more detailed cutting and decorating.
This blog post presents ten fun and creative paper plate crafts for kids. Each craft includes preparation steps, materials needed, and instructions on how to make the project. The ideas are simple, engaging, and designed to keep children entertained while encouraging creativity and learning.
1. Paper Plate Sun Craft
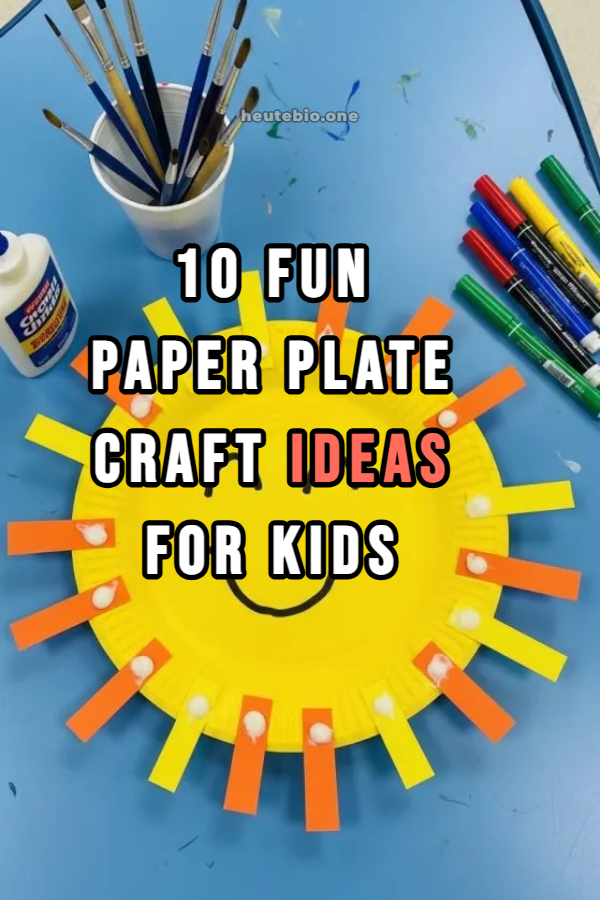
A paper plate sun craft is a bright and cheerful activity that helps children learn about weather and seasons. This craft is especially fun for younger children because it involves simple coloring and cutting.
Materials needed include one paper plate, yellow and orange paint, paintbrush, scissors, glue, yellow construction paper, and markers.
Preparation begins by covering the workspace with newspaper or a craft mat to avoid paint spills. Give each child a paper plate and ask them to paint the front side using yellow or orange paint. Allow the paint to dry for a few minutes.
Next, cut several long triangle shapes from yellow construction paper. These triangles will act as the sun’s rays. Children can help cut these shapes if they are old enough to safely use scissors.
Once the plate is dry, glue the triangles around the outer edge of the back side of the plate so they stick out like rays. Children can then draw a smiling face in the center of the plate using markers or crayons.
For extra creativity, kids can add glitter, stickers, or small pieces of tissue paper to make the sun sparkle. This craft helps children understand the importance of the sun and encourages them to use bright colors and imagination.

2. Paper Plate Animal Masks
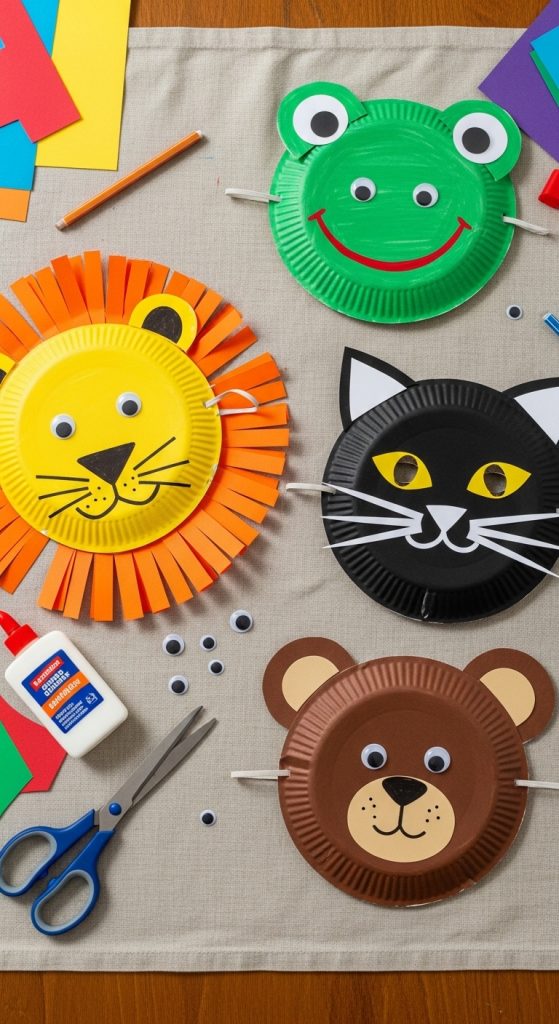
Paper plate animal masks are a fun craft that encourages imaginative play. Children can pretend to be different animals while learning about wildlife and creativity.
Materials needed include paper plates, colored construction paper, scissors, glue, paint or crayons, elastic string, and a hole punch.
To prepare the activity, decide which animals children will create. Popular choices include lions, cats, bears, rabbits, and frogs. Start by cutting two holes in the center of the plate for the eyes. An adult may help with this step to ensure safety.
Children can then paint or color the plate to match their chosen animal. For example, a lion mask can be painted yellow or brown, while a frog mask can be painted green.
Next, cut shapes from construction paper to create ears, noses, whiskers, or manes. Glue these pieces onto the plate to complete the animal features. Once the decorations are finished and dry, use a hole punch to make holes on both sides of the plate.
Attach elastic string through the holes so the mask can be worn on the face. Kids can now wear their masks and pretend to be animals. This activity combines art with imaginative storytelling and role play.
3. Paper Plate Rainbow Craft
A paper plate rainbow craft is perfect for teaching children about colors while creating a bright decorative project. This craft works well in classrooms or rainy day activities.
Materials needed include one paper plate, cotton balls, glue, colored paper in rainbow colors, scissors, and crayons or markers.
Start by cutting the paper plate in half to create a curved rainbow shape. Children can then color the curved surface using markers or glue strips of colored paper in the order of the rainbow colors.
The rainbow colors typically include red, orange, yellow, green, blue, and purple. Adults can help younger children remember the correct order of colors.
Once the rainbow section is complete, glue cotton balls on both ends of the plate to create fluffy clouds. The cotton balls give the rainbow a soft and realistic look.
Kids can also add glitter, stickers, or small drawings of raindrops and sunshine around the rainbow. When finished, the craft can be hung on a wall or window as decoration.
This activity helps children learn color recognition while encouraging patience and careful placement of materials.

4. Paper Plate Fish Craft
A paper plate fish craft is a simple and colorful project that introduces children to ocean animals. It is a great activity for lessons about marine life.
Materials needed include a paper plate, paint or markers, scissors, glue, colored paper, and googly eyes.
To begin, cut a triangle shape from the side of the plate. This triangle will become the fish tail. Glue the triangle onto the opposite side of the plate to form the tail.
Children can paint the plate in bright colors such as orange, blue, yellow, or purple. They can also draw scales using markers.
Next, cut small fins from colored paper and glue them onto the sides of the fish. Add a googly eye near the front of the plate to give the fish a playful look.
For extra decoration, children can glue small circles of colored paper to create shiny scales. Glitter or foil paper can also be used to make the fish sparkle.
This craft encourages creativity and helps children learn about sea creatures while practicing cutting and gluing skills.

5. Paper Plate Clock Craft
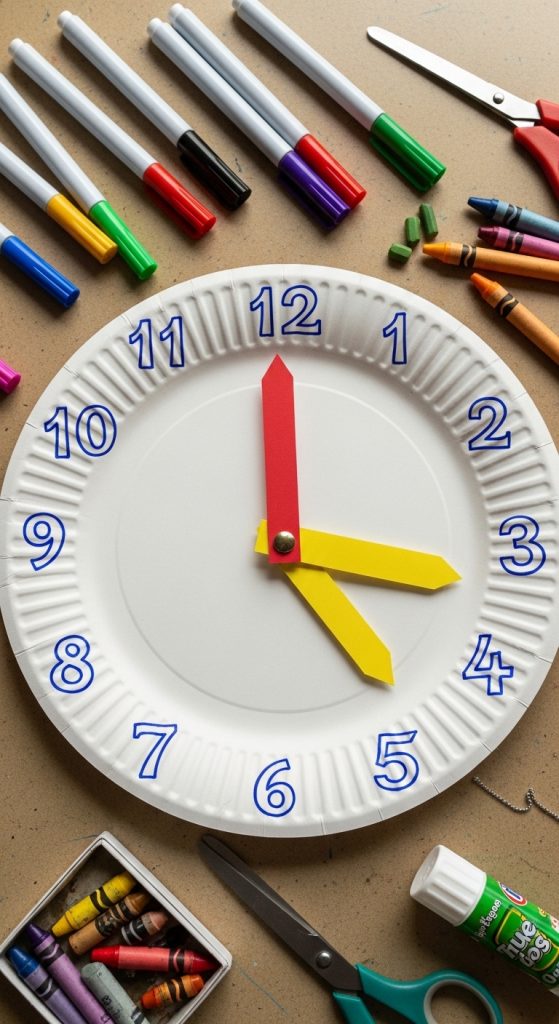
A paper plate clock craft is both creative and educational. It helps children learn how to tell time while making a fun project.
Materials needed include a paper plate, markers, scissors, glue, a brass fastener, and two strips of colored paper.
First, write numbers from one to twelve around the edge of the paper plate just like a real clock. Children can decorate the plate using colors, stickers, or drawings.
Next, cut two strips of colored paper to create the hour hand and minute hand. One strip should be shorter than the other to show the difference between the hands.
Make a small hole in the center of the plate and the ends of the paper strips. Attach the hands to the plate using the brass fastener so they can rotate.
Children can move the hands to practice reading time. Adults can ask questions such as showing three o’clock or six thirty.
This craft combines art with learning and helps children understand an important daily skill.
6. Paper Plate Flower Craft
Paper plate flower crafts are perfect for spring themed activities. They are colorful and easy to make for children of different ages.
Materials needed include paper plates, paint, scissors, glue, green construction paper, and craft sticks.
Start by painting the paper plate in bright colors such as pink, red, or yellow. Allow the paint to dry completely.
Next, cut petal shapes around the edge of the plate. The center of the plate will become the middle of the flower.
Children can paint the center a different color or glue small pieces of tissue paper to give it texture. Cut a leaf shape from green construction paper.
Glue a craft stick to the back of the plate to act as the flower stem. Attach the leaf to the stick using glue.
Children can make several flowers and place them in a paper cup to create a decorative bouquet. This craft encourages creativity and introduces children to nature and plant shapes.

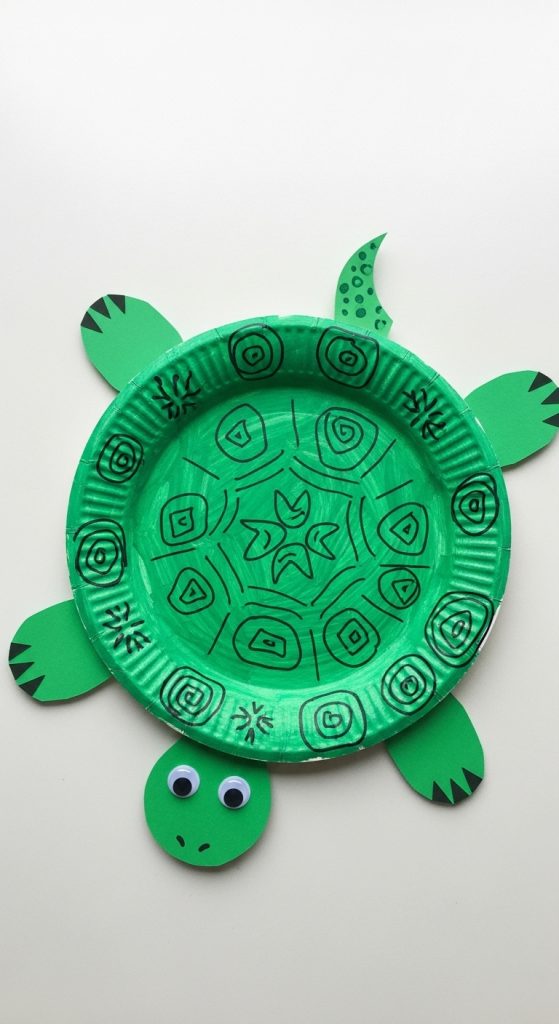
7. Paper Plate Turtle Craft
A paper plate turtle craft is a fun way to teach kids about reptiles and ocean animals. The shell design makes this craft especially creative.
Materials needed include one paper plate, green paint, green construction paper, scissors, glue, and markers.
Begin by painting the paper plate green or brown to represent the turtle shell. Allow it to dry before continuing.
Next, cut shapes from green construction paper for the turtle’s head, legs, and tail. The head can be a rounded shape, while the legs should be small oval shapes.
Glue the head, legs, and tail onto the back of the paper plate so they stick out around the edges. This will give the turtle its body shape.
Children can draw patterns on the shell using markers or glue small pieces of colored paper to create a mosaic design. Adding googly eyes to the head will make the turtle look lively.
This activity helps children learn about turtles and improves their creativity and cutting skills.
8. Paper Plate Bird Craft
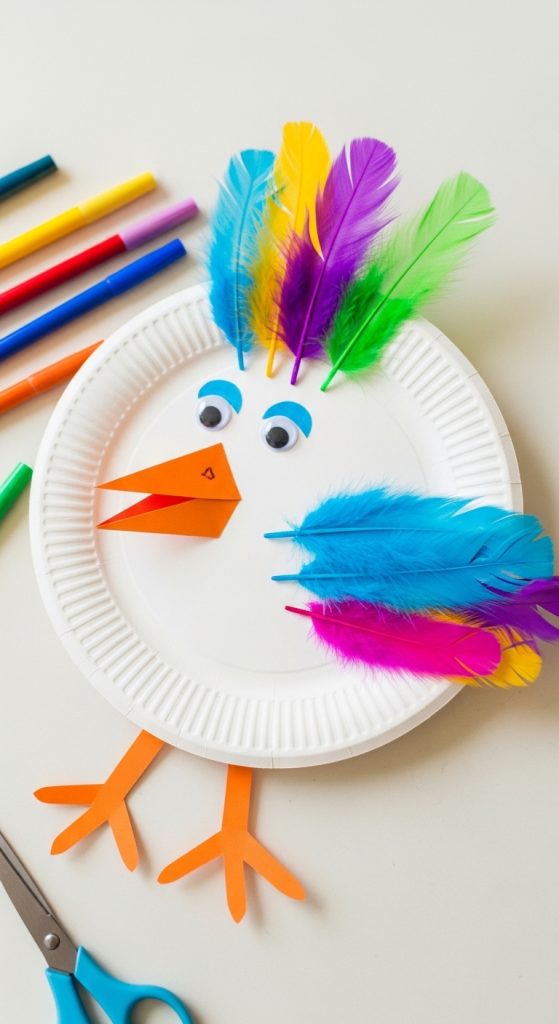
A paper plate bird craft is a colorful project that teaches children about birds and encourages artistic expression.
Materials needed include paper plates, paint or crayons, colored feathers, construction paper, glue, scissors, and googly eyes.
First, paint or color the paper plate in bright colors. Allow it to dry if paint is used.
Next, cut a small triangle from construction paper to make the bird’s beak. Glue it to the front of the plate. Attach a googly eye near the beak.
Children can glue colorful feathers around the edges of the plate to create wings. If feathers are not available, paper shapes can also be used.
Cut two small strips of paper to make the bird’s legs and glue them to the bottom of the plate.
Kids can hang their bird crafts on walls or classroom boards to create a display of colorful birds. This craft helps children learn about animals while practicing creative decoration.
9. Paper Plate Spider Craft
A paper plate spider craft is a popular activity for Halloween or insect themed lessons.
Materials needed include a paper plate, black paint, scissors, glue, black pipe cleaners, and googly eyes.
Start by painting the paper plate black and allowing it to dry completely.
Next, cut several pipe cleaners in half to create eight spider legs. An adult may help younger children with this step.
Glue or tape the pipe cleaner pieces to the back of the plate so they stick out like spider legs.
Attach two googly eyes to the front of the plate. Children can also draw a smile or add small decorations if they wish.
For extra fun, a piece of string can be attached to the top so the spider can hang from the ceiling or doorway.
This craft is simple, slightly spooky, and very enjoyable for children.

10. Paper Plate Hot Air Balloon Craft
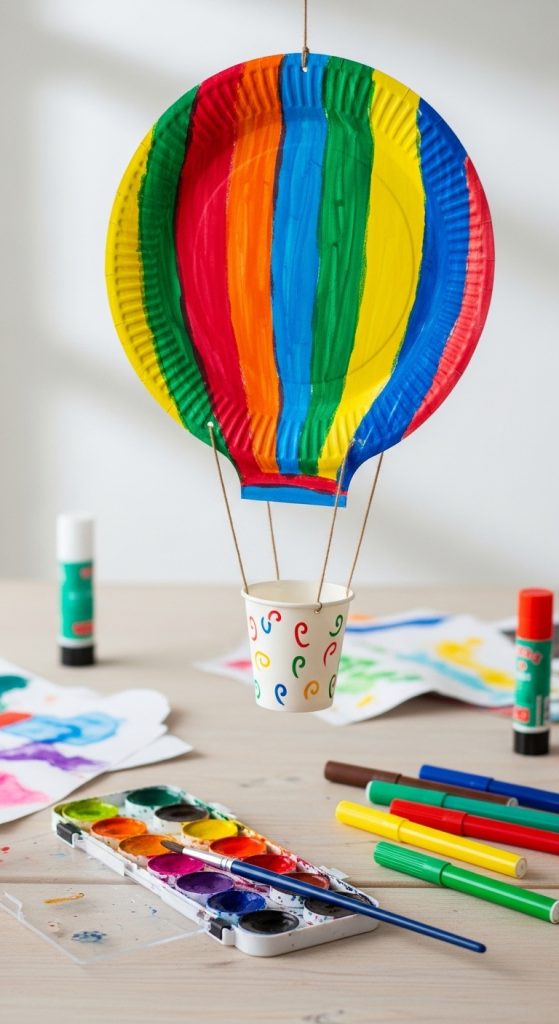
A paper plate hot air balloon craft is a creative activity that teaches children about transportation and travel.
Materials needed include a paper plate, paint, markers, scissors, glue, string, and a small paper cup.
First, paint the paper plate in bright colors and patterns to represent the balloon. Stripes, dots, or zigzag designs can be added for decoration.
Cut the plate in half to create the balloon shape.
Next, attach two pieces of string from the bottom corners of the plate to a small paper cup. The cup will represent the basket of the balloon.
Children can color the cup or decorate it with stickers.
Once the strings are attached, the hot air balloon craft will look like it is floating. It can be hung from the ceiling or displayed on a wall.
This project encourages imagination and helps children learn about different types of travel while creating a colorful decoration.