Crafting is a fun and creative way to personalize your home, gifts, and personal items. It allows you to express your creativity while also being cost-effective. One of the best ways to start crafting without spending a lot of money is by using items from dollar stores. These stores offer a wide range of materials, from basic supplies like glue and paint to decorative items such as beads, ribbons, and artificial flowers. With a little imagination, these inexpensive items can be transformed into beautiful, useful, and unique crafts.

Dollar store crafts are perfect for beginners and seasoned crafters alike. They can be completed in a short amount of time and require minimal preparation. In this blog post, we will explore ten DIY dollar store craft ideas. Each idea will include the materials needed, step-by-step preparation instructions, and tips for making your craft look professional. By the end of this guide, you will have ten creative projects that are not only fun to make but also affordable and practical.
1. Mason Jar Candle Holders
Materials Needed:
- Mason jars (any size)
- Tea light candles
- Acrylic paint
- Ribbon or twine
- Glue or Mod Podge
Preparation and Steps:
Start by cleaning the mason jars thoroughly to remove any labels or dust. Choose your favorite colors of acrylic paint and apply them to the outside or inside of the jar. You can use a sponge for a textured look or a brush for solid coverage. Let the paint dry completely. Once dry, wrap ribbon or twine around the neck of the jar and secure it with glue. Place a tea light candle inside the jar and light it to add warmth and charm to your space.
Tips:
You can add decorative elements like glitter, beads, or stickers for extra flair. These candle holders make excellent gifts and can be customized for holidays or special occasions. They are inexpensive yet stylish, perfect for creating a cozy atmosphere in any room.

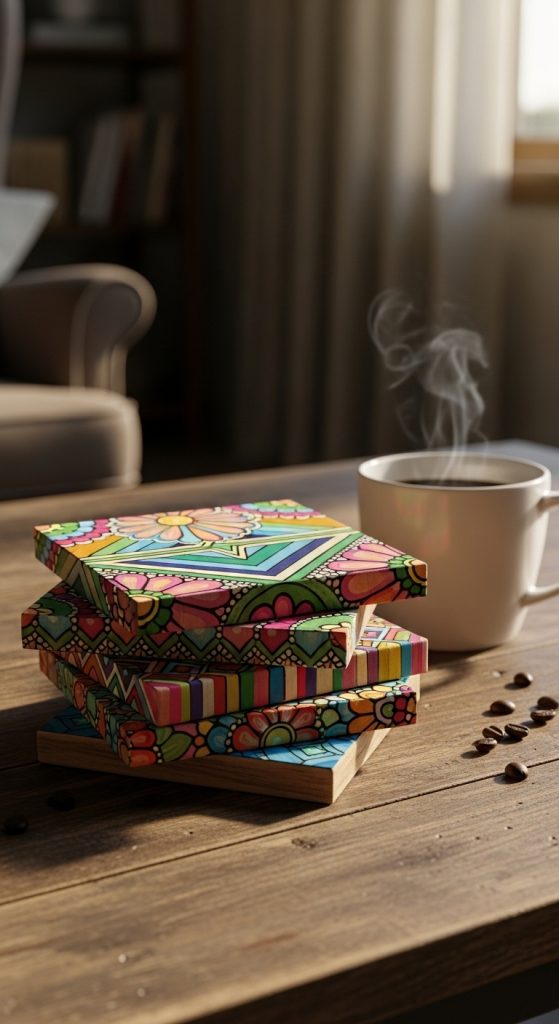
2. Painted Wooden Coasters
Materials Needed:
- Plain wooden coasters
- Acrylic paints
- Paintbrushes
- Clear sealant spray
- Stencils (optional)
Preparation and Steps:
Begin by lightly sanding the wooden coasters to create a smooth surface. Choose your paint colors and use either freehand designs or stencils for patterns. Popular designs include geometric shapes, flowers, or abstract art. Allow the paint to dry completely before applying a clear sealant spray to protect the design from water and stains.
Tips:
These coasters can be customized to match your home décor or given as thoughtful handmade gifts. Mixing bright colors with neutral tones creates a modern look. The sealant ensures your artwork lasts a long time and protects the wood from damage. This craft is simple yet highly practical.
3. Decorative Picture Frames
Materials Needed:
- Dollar store picture frames
- Acrylic paint or spray paint
- Decorative embellishments (buttons, beads, shells)
- Glue gun
- Photos or artwork
Preparation and Steps:
Start by removing any existing photos from the frames. Paint the frame in your chosen color and allow it to dry. Once the paint is dry, use a glue gun to attach decorative embellishments along the edges of the frame. Arrange buttons, beads, or shells creatively to add texture and style. Finally, insert your favorite photo or artwork.
Tips:
These frames are perfect for personalizing your home or gifting to friends. Mixing different textures and materials makes your frame unique. You can also create seasonal frames with holiday-themed embellishments. This project is easy to complete and has a high visual impact.

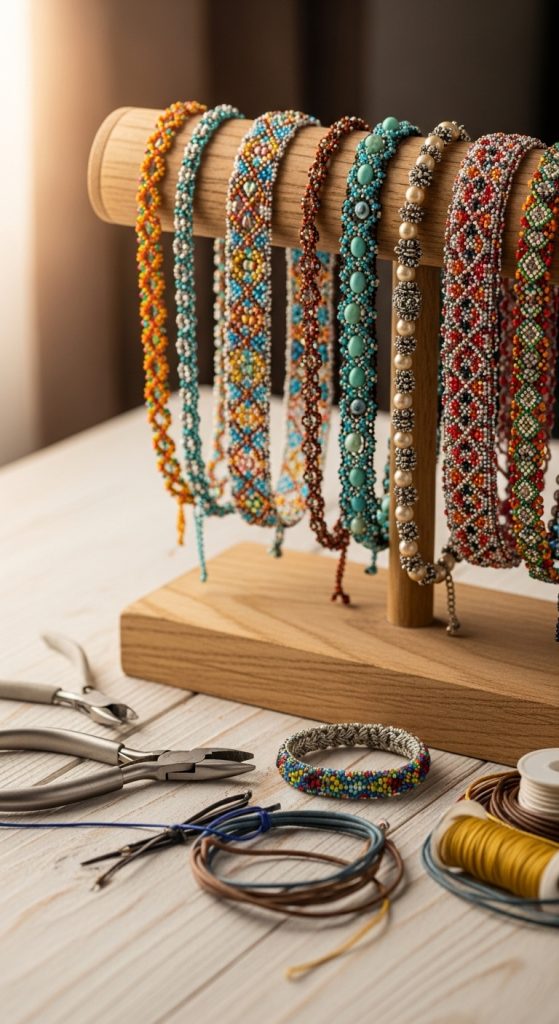
4. Beaded Jewelry
Materials Needed:
- Beads (variety of colors and shapes)
- Elastic cord or jewelry wire
- Clasps and hooks
- Scissors and pliers
Preparation and Steps:
Choose a combination of beads that complement each other. Cut a length of elastic cord or wire slightly longer than the desired bracelet or necklace. Thread the beads onto the cord, arranging them in your preferred pattern. Secure the ends with clasps using pliers, or tie a strong knot if using elastic. Trim any excess cord.
Tips:
Dollar stores often have a wide selection of beads and charms. Mixing metal, wood, and colorful beads creates unique jewelry pieces. These handmade bracelets and necklaces are excellent for gifts, craft fairs, or personal use. They are affordable, fun, and allow for endless customization.
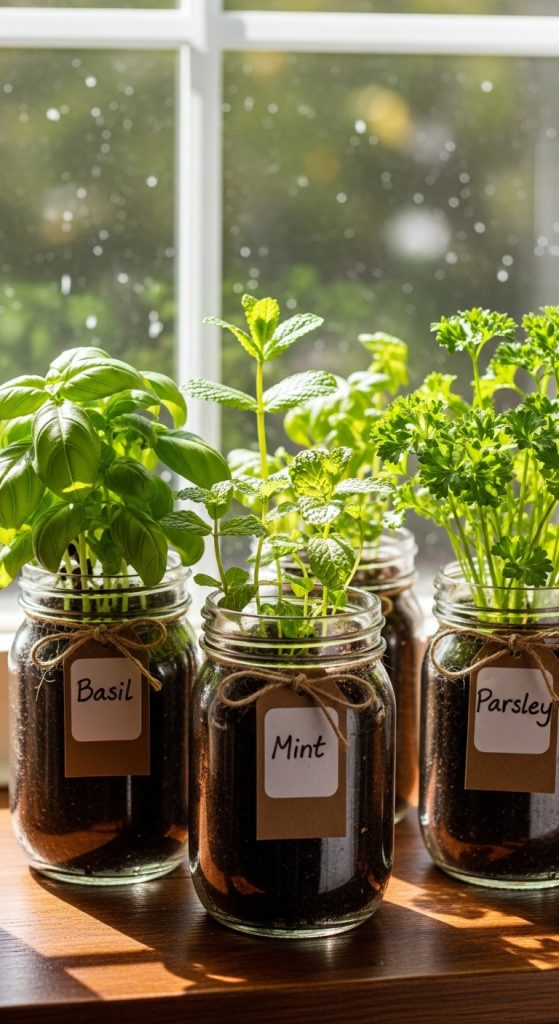
5. Mason Jar Herb Garden
Materials Needed:
- Small mason jars
- Potting soil
- Herb seeds (basil, parsley, mint)
- Pebbles or small rocks
- Labels or markers
Preparation and Steps:
Place a layer of pebbles at the bottom of each mason jar for drainage. Add potting soil on top, leaving about an inch from the rim. Plant the herb seeds according to package instructions and water lightly. Place the jars in a sunny spot and ensure they receive adequate light. Use labels to identify each herb.
Tips:
This indoor herb garden is not only decorative but also functional. It provides fresh herbs for cooking and can be grown year-round. Mason jars are inexpensive and perfect for small spaces like kitchen windowsills. This project is simple, educational, and rewarding.
6. Decorative Wall Art
Materials Needed:
- Canvas or poster board
- Acrylic paints
- Paintbrushes
- Stencils or masking tape
- Optional: glitter or stickers
Preparation and Steps:
Select a canvas or poster board from the dollar store. Use acrylic paints to create a design, either freehand or using stencils. Masking tape can help create geometric patterns or stripes. Once the painting is dry, add optional embellishments such as glitter or stickers. Hang the artwork on the wall to brighten your space.
Tips:
Wall art doesn’t need to be expensive. These DIY pieces allow you to match your home décor exactly. Creating a series of small canvases with similar colors creates a cohesive gallery wall. This craft encourages creativity and personalization of your living space.
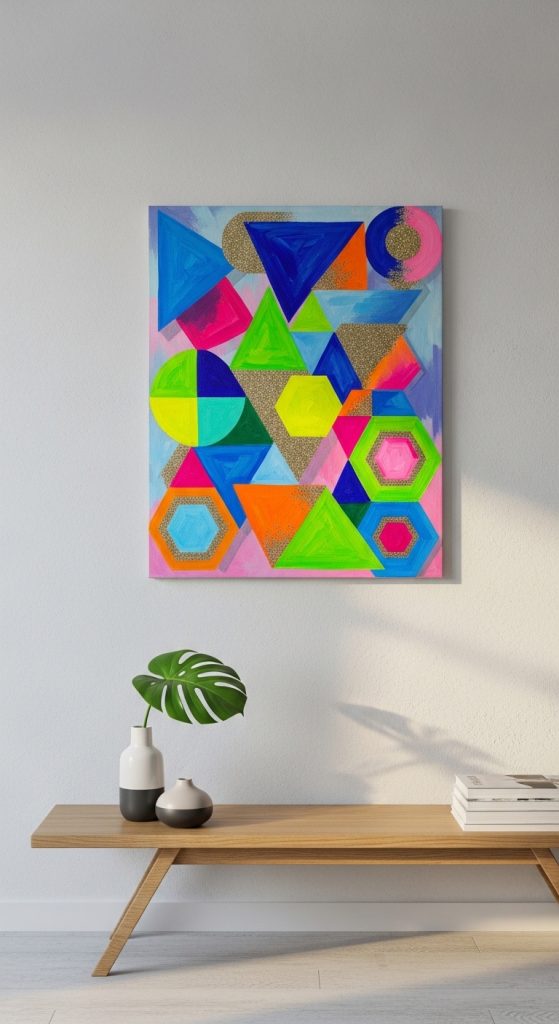
7. Decorative Pencil Holders
Materials Needed:
- Empty cans or jars
- Decorative paper or fabric
- Glue or Mod Podge
- Scissors
- Optional: ribbon, buttons, or beads
Preparation and Steps:
Clean the cans or jars thoroughly. Measure and cut decorative paper or fabric to wrap around the container. Secure it with glue or Mod Podge. Add embellishments like buttons or ribbon along the top edge for extra style. Once dry, fill the holders with pencils, pens, or craft supplies.
Tips:
These pencil holders are practical for desks, craft rooms, or study areas. They are inexpensive, easy to make, and can be personalized to match any theme or color scheme. Using dollar store materials keeps the project budget-friendly.

8. Fabric Scrap Bookmarks
Materials Needed:
- Fabric scraps
- Felt sheets
- Scissors
- Glue gun or fabric glue
- Ribbon or tassels (optional)
Preparation and Steps:
Cut fabric scraps and felt into rectangular strips of desired size. Layer the fabric on top of the felt for sturdiness. Glue the edges together and allow it to dry. Attach a ribbon or tassel at the top for decoration.
Tips:
These bookmarks are perfect for book lovers and make excellent gifts. Using scraps reduces waste and allows you to experiment with patterns and textures. This craft is simple, quick, and highly customizable, suitable for all ages.

9. Painted Flower Pots
Materials Needed:
- Small terracotta or plastic pots
- Acrylic paints
- Paintbrushes
- Optional: stencils or stickers
- Plants or flowers
Preparation and Steps:
Clean the pots before painting. Apply a base coat of paint and let it dry. Use stencils or freehand designs to decorate the pots. Once dry, plant small flowers, succulents, or herbs inside the pots.
Tips:
Decorative pots brighten any room or garden space. Dollar store pots and paints make this project very affordable. You can mix and match colors and patterns to create a collection of unique planters. These pots also make thoughtful gifts for friends and family.

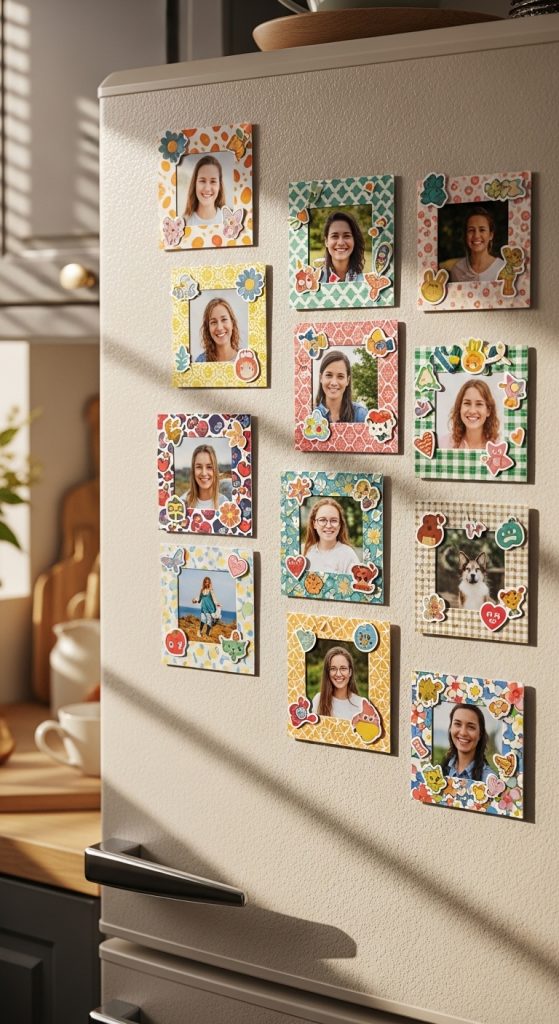
10. DIY Photo Magnets
Materials Needed:
- Small magnets
- Photos or printed images
- Glue or Mod Podge
- Scissors
- Optional: decorative paper or stickers
Preparation and Steps:
Cut photos or images to fit the size of the magnets. Apply glue or Mod Podge to the back of the photo and attach it to the magnet. Let it dry completely. Decorate with stickers or patterned paper if desired. Place the magnets on your fridge or magnetic board to display.
Tips:
Photo magnets are a great way to personalize your home space. They are also perfect for gifting, especially with memorable pictures. This simple craft combines creativity with functionality and can be customized endlessly.