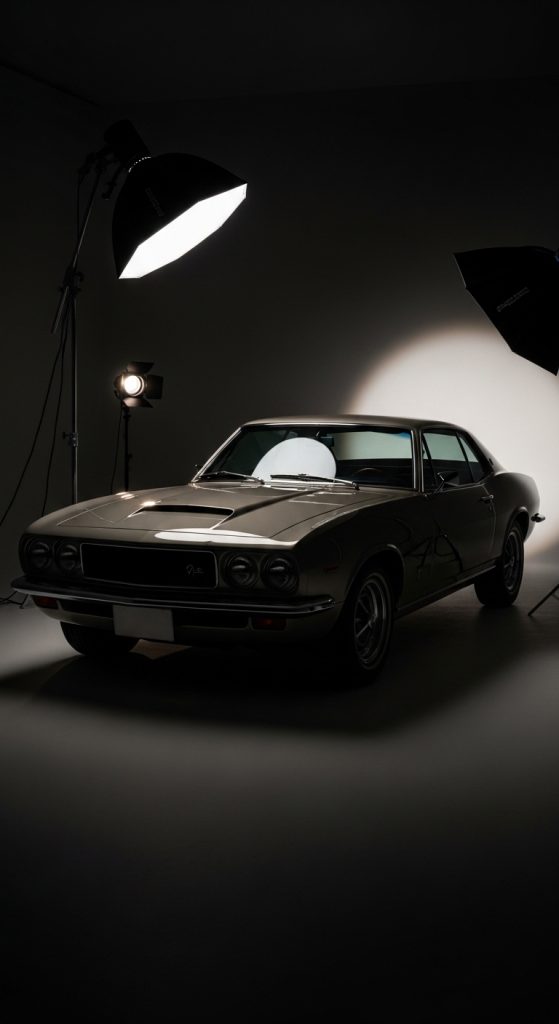
Lighting plays a powerful role in art. Whether you are drawing, painting, photographing, or creating digital artwork, the way light interacts with your subject can completely change the mood, depth, and realism of the piece. Good lighting helps artists show form, texture, emotion, and atmosphere. Even a simple object can look dramatic or mysterious depending on how it is lit.

Artists have studied lighting for centuries. Classical painters used candlelight and windows to observe shadows and highlights. Modern artists use lamps, studio lights, natural sunlight, and digital lighting tools. Understanding different lighting techniques helps artists create stronger compositions and more engaging visuals.
Lighting also helps guide the viewer’s eye. By placing highlights on certain areas and shadows in others, an artist can control where the viewer looks first and how they move through the artwork. This is important in storytelling, portrait art, product illustration, and many other creative fields.
In this article, we will explore ten lighting ideas that artists can use to improve their work. Each idea explains how the lighting works, what materials you may need, how to prepare your setup, and when the technique is most effective. These lighting approaches can be used by beginners as well as experienced artists who want to add more depth and creativity to their artwork.
1. Side Lighting for Strong Shadows and Depth
Side lighting is one of the most effective techniques for creating depth in artwork. In this method, the light source is placed to the left or right side of the subject rather than directly in front. This creates strong shadows on the opposite side and helps highlight the shape and texture of objects.
Preparation for side lighting is simple. You need a single light source such as a desk lamp, studio light, or natural window light. Place your object on a table and position the light at about a 45 degree angle from the side. Turn off other lights in the room if possible so the main light source becomes more visible.
Materials needed include a simple lamp, a neutral background, and your drawing or painting tools. Artists often use graphite pencils, charcoal, or acrylic paints when practicing this lighting style because the shadows become easier to study.
Side lighting is excellent for still life drawing. Objects like fruits, bottles, statues, and cloth folds look more dramatic under side lighting. The light creates bright highlights on one side while the other side gradually fades into shadow.
Artists should carefully observe how the light changes across the surface of the object. Look for the highlight, mid tone, core shadow, reflected light, and cast shadow. Practicing this lighting style improves observation skills and helps artists understand form more clearly.
2. Backlighting for Dramatic Silhouettes
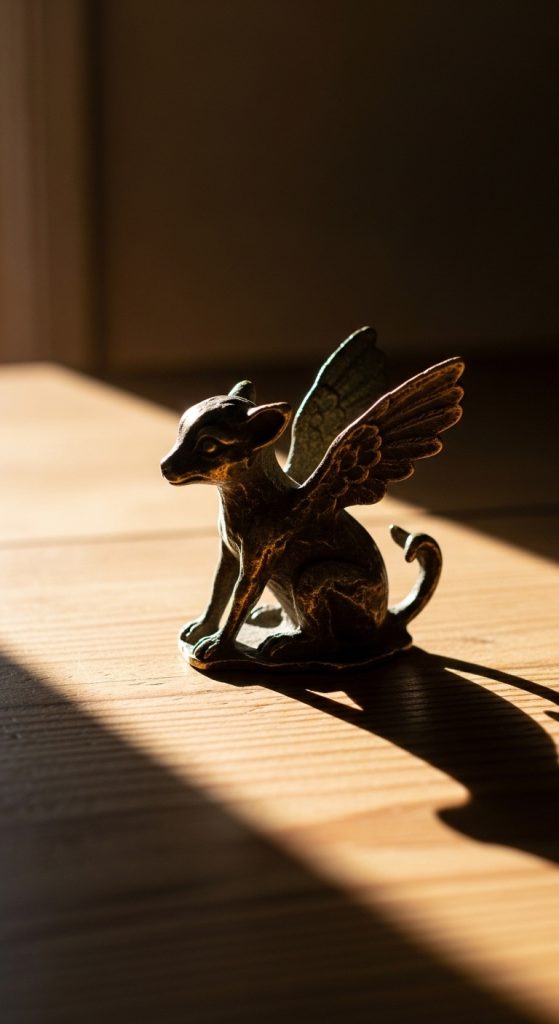
Backlighting is a lighting technique where the light source is placed behind the subject, facing toward the viewer. This method creates a bright glow around the edges of the subject and often turns the subject itself into a dark silhouette.
To prepare a backlighting setup, place your object or model between the viewer and a strong light source. This can be a window with sunlight or a bright lamp positioned behind the subject. The background will appear bright while the subject becomes darker.
Materials for this setup include a strong light source, a simple background, and drawing or painting tools. Photographers and digital artists often use this method as well.
Backlighting is commonly used in portrait art and storytelling scenes. It creates a mysterious and dramatic atmosphere. The glowing outline around the subject is sometimes called rim light. This outline helps separate the subject from the background and adds visual interest.
Artists using backlighting should focus on the overall shape of the subject rather than small details. Because the subject becomes darker, the main focus is the outline and the contrast between light and dark areas.
This technique is very useful for learning composition and value control. Even simple shapes can look powerful when they are turned into strong silhouettes against bright light.

3. Top Lighting to Emphasize Form and Texture
Top lighting is created when the light source is placed directly above the subject. This is similar to how sunlight appears at midday or how a ceiling light illuminates objects indoors. The light falls downward, creating shadows beneath the object.
Preparing a top lighting setup requires placing a lamp or light fixture above your subject. If you are working with natural light, you can place objects under a skylight or near a high window.
The materials required include a stable table, an overhead lamp, and your art tools such as pencils, markers, or paints. A neutral background is helpful because it keeps attention on the subject.
Top lighting is useful for studying surface textures. When light comes from above, it creates shadows inside wrinkles, folds, and small surface details. This makes textures such as fabric, wood, stone, and skin easier to observe.
However, artists should be aware that top lighting can create very dark shadows under the eyes, nose, or chin when used for portrait drawing. This effect is sometimes used intentionally to create a serious or dramatic mood.
By practicing top lighting, artists learn how gravity affects shadow direction. Observing how shadows fall downward helps develop a stronger understanding of three dimensional form.

4. Front Lighting for Clear and Even Illumination
Front lighting occurs when the light source is placed directly in front of the subject, facing the same direction as the viewer. This lighting style produces even illumination across the subject with minimal shadows.
To prepare this setup, place a lamp behind you so that the light shines directly onto the object. If using natural light, sit facing a window so the light falls evenly on your subject.
The materials needed are very simple. A desk lamp or window light works well, along with your drawing tools and a neutral surface.
Front lighting is commonly used when artists want to show details clearly. Because shadows are reduced, the colors and textures of the subject become easier to see. This technique is often used in product illustrations, educational drawings, and scientific sketches.
However, front lighting can sometimes make objects appear flat because there is less contrast between light and shadow. For this reason, artists may combine front lighting with a small secondary light from the side to create a little depth.
For beginners, front lighting is a good starting point because it makes it easier to understand the basic structure of objects without complicated shadows.

5. Rembrandt Lighting for Classical Portraits
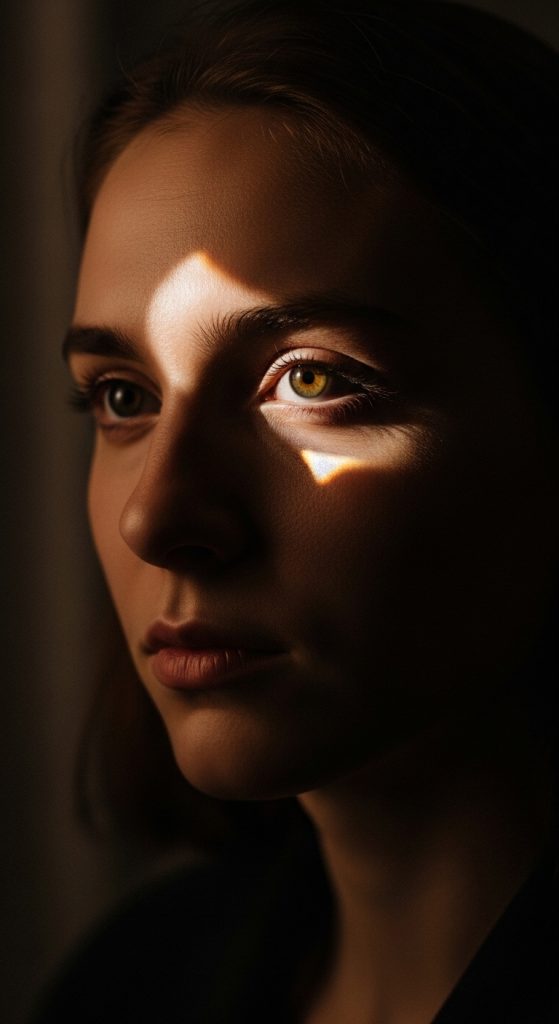
Rembrandt lighting is a famous portrait lighting technique named after the Dutch painter Rembrandt. This style creates a small triangle of light on the cheek opposite the main light source.
To set up Rembrandt lighting, place the light slightly above the subject’s eye level and about 45 degrees to the side. This angle creates a shadow from the nose that connects with the shadow on the cheek. The result is a small triangle of light on the darker side of the face.
Materials needed include a single strong lamp or studio light, a model or reference image, and drawing or painting tools. Artists often use oil paints, charcoal, or digital painting for portrait practice.
This lighting style is popular because it adds depth and drama to portraits while still showing important facial features. The triangle of light helps balance the composition and creates a natural sense of form.
Rembrandt lighting is widely used in painting, photography, and film. It is especially effective when artists want to create a classic and timeless look.
Practicing this lighting technique helps artists understand facial structure, including the planes of the cheeks, nose, and forehead.
6. Split Lighting for Bold Contrast
Split lighting is a technique where the light source illuminates only one half of the subject while the other half remains in shadow. This creates a strong contrast between light and dark areas.
To prepare this setup, place a single light source directly to the side of the subject at about a 90 degree angle from the viewer. Half of the subject will receive light while the other half stays dark.
Materials required include a single lamp, a dark background if possible, and drawing or painting materials. Charcoal and ink are particularly effective for this style because they allow strong dark values.
Split lighting is often used in dramatic portraits and character illustrations. It creates a sense of mystery, strength, or tension. Because the contrast is strong, the viewer’s attention focuses on the illuminated side of the subject.
Artists should carefully observe how the light stops at the center of the face or object. The edge between light and shadow is called the shadow boundary. Studying this boundary helps improve shading techniques.
This lighting method is also useful for practicing value contrast. Learning to balance bright highlights with deep shadows helps artists create more powerful compositions.

7. Natural Window Lighting for Soft and Realistic Effects
Natural window lighting is one of the most popular lighting choices for artists. Sunlight coming through a window creates soft shadows and natural color tones that are ideal for painting and drawing.
To prepare this setup, place your subject near a window where sunlight enters the room. A table near the window works well for still life arrangements. If the sunlight is too strong, you can soften it with a thin curtain.
Materials needed include a stable table, simple objects for still life practice, and your preferred art supplies. Many artists prefer watercolor, colored pencils, or oil paints for this type of lighting.
Natural light changes throughout the day. Morning and evening light is warm and soft, while midday light is brighter and cooler. Artists should observe these changes and adjust their work accordingly.
One advantage of window lighting is that it produces gentle shadows rather than harsh ones. This helps create a realistic and calm appearance in the artwork.
Practicing with natural light also helps artists develop a stronger sense of color because sunlight shows the true colors of objects more accurately than artificial light.
8. Candle Lighting for Warm and Atmospheric Art
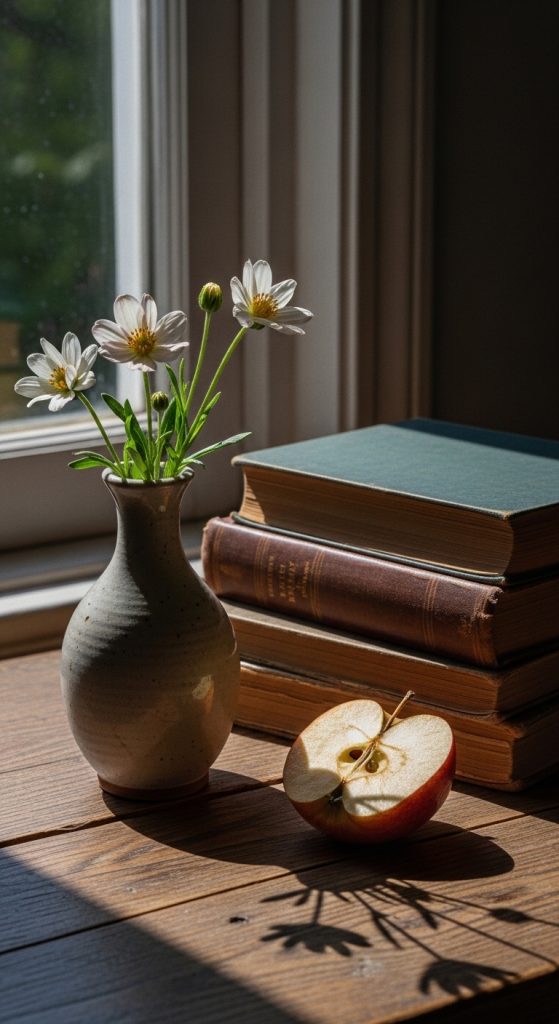
Candle lighting creates a unique and warm atmosphere that is often used in classical paintings and dramatic scenes. The light from a candle is soft, warm, and limited in range, which produces deep shadows and glowing highlights.
To prepare this setup, place one or two candles near your subject in a dark room. Turn off other lights so the candle becomes the main source of illumination. Be sure to follow safety precautions and keep candles stable.
Materials needed include candles, a holder for safety, a simple subject such as a small statue or object, and art materials like charcoal, oil paints, or graphite pencils.
Candle lighting creates strong contrasts between bright highlights and dark shadows. Because the light is warm in color, the artwork often appears more emotional and dramatic.
Artists should pay attention to how the light fades quickly as it moves away from the candle. Objects close to the candle will appear bright, while objects farther away become darker.
This lighting style is excellent for storytelling scenes, historical illustrations, and mood focused artworks.

9. Colored Lighting for Creative and Modern Effects
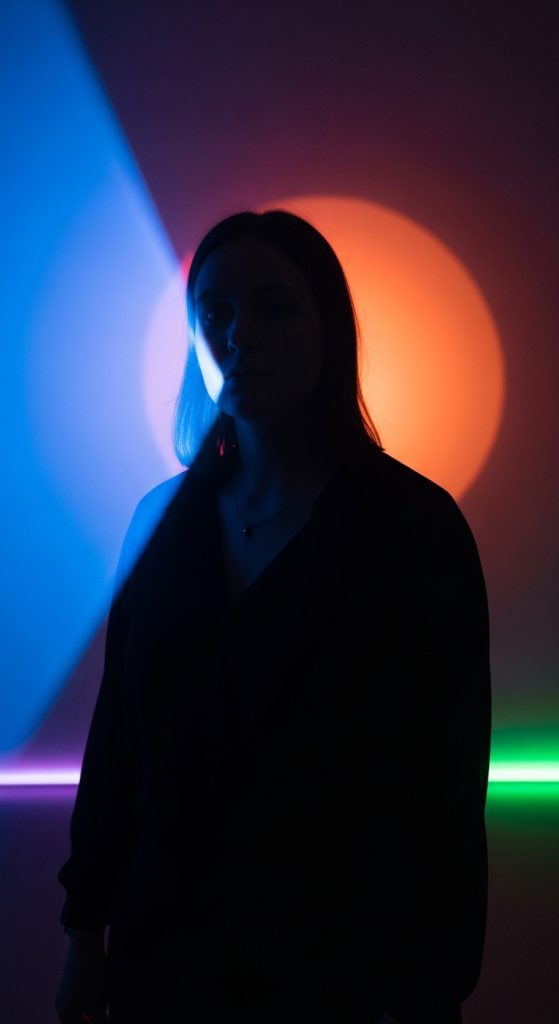
Colored lighting is a creative technique where artists use lights of different colors to change the mood of the artwork. Instead of using only white light, colored bulbs or gels can create blue, red, green, or purple lighting effects.
To prepare this setup, place colored lights around your subject. For example, one blue light from the left and one red light from the right. This creates interesting color contrasts across the object.
Materials required include colored LED lights or colored transparent gels placed over regular lamps. Artists may also use reflective surfaces or colored backgrounds.
Colored lighting is popular in modern photography, digital art, and concept art. It can create futuristic, fantasy, or cinematic atmospheres.
Artists should carefully observe how the colors mix on the surface of the subject. Where two colors meet, they may create new tones and subtle variations.
Practicing colored lighting helps artists understand how light affects color perception. It also encourages experimentation and creativity in composition and mood design.
10. Multiple Light Sources for Complex Scenes
Using multiple light sources allows artists to create more complex and realistic lighting setups. Instead of relying on one light, two or three lights can illuminate different parts of the subject.
A common setup includes a main light, a fill light, and a back light. The main light is the strongest source and defines the primary shadows. The fill light softens those shadows. The back light separates the subject from the background.
To prepare this setup, place the main light at a 45 degree angle, a weaker fill light on the opposite side, and a small light behind the subject.
Materials needed include several lamps or studio lights, adjustable stands, and your art tools. Reflectors or white boards can also help bounce light into shadow areas.
This lighting method is often used in film, photography, and professional studio art. It allows the artist to control exactly how light and shadow appear.
Learning to manage multiple lights helps artists understand advanced lighting concepts such as balance, intensity, and direction. It also prepares artists for more professional studio environments.